We love quesadillas at our house! We make them for breakfast with scrambled eggs and bacon. We make them for lunch with olives or ham and cheese. Sometimes we even do it for dinner with pepperoni for pizza flavors or chicken and peppers and onions for a fajita style. The possibilities are endless!
I love that everyone can make theirs however they choose and everyone enjoys! We have some keto folk at our house and you can make it with keto tortillas. We have some gluten free people here too and you can use gluten free tortillas. It truly is the easiest meal!
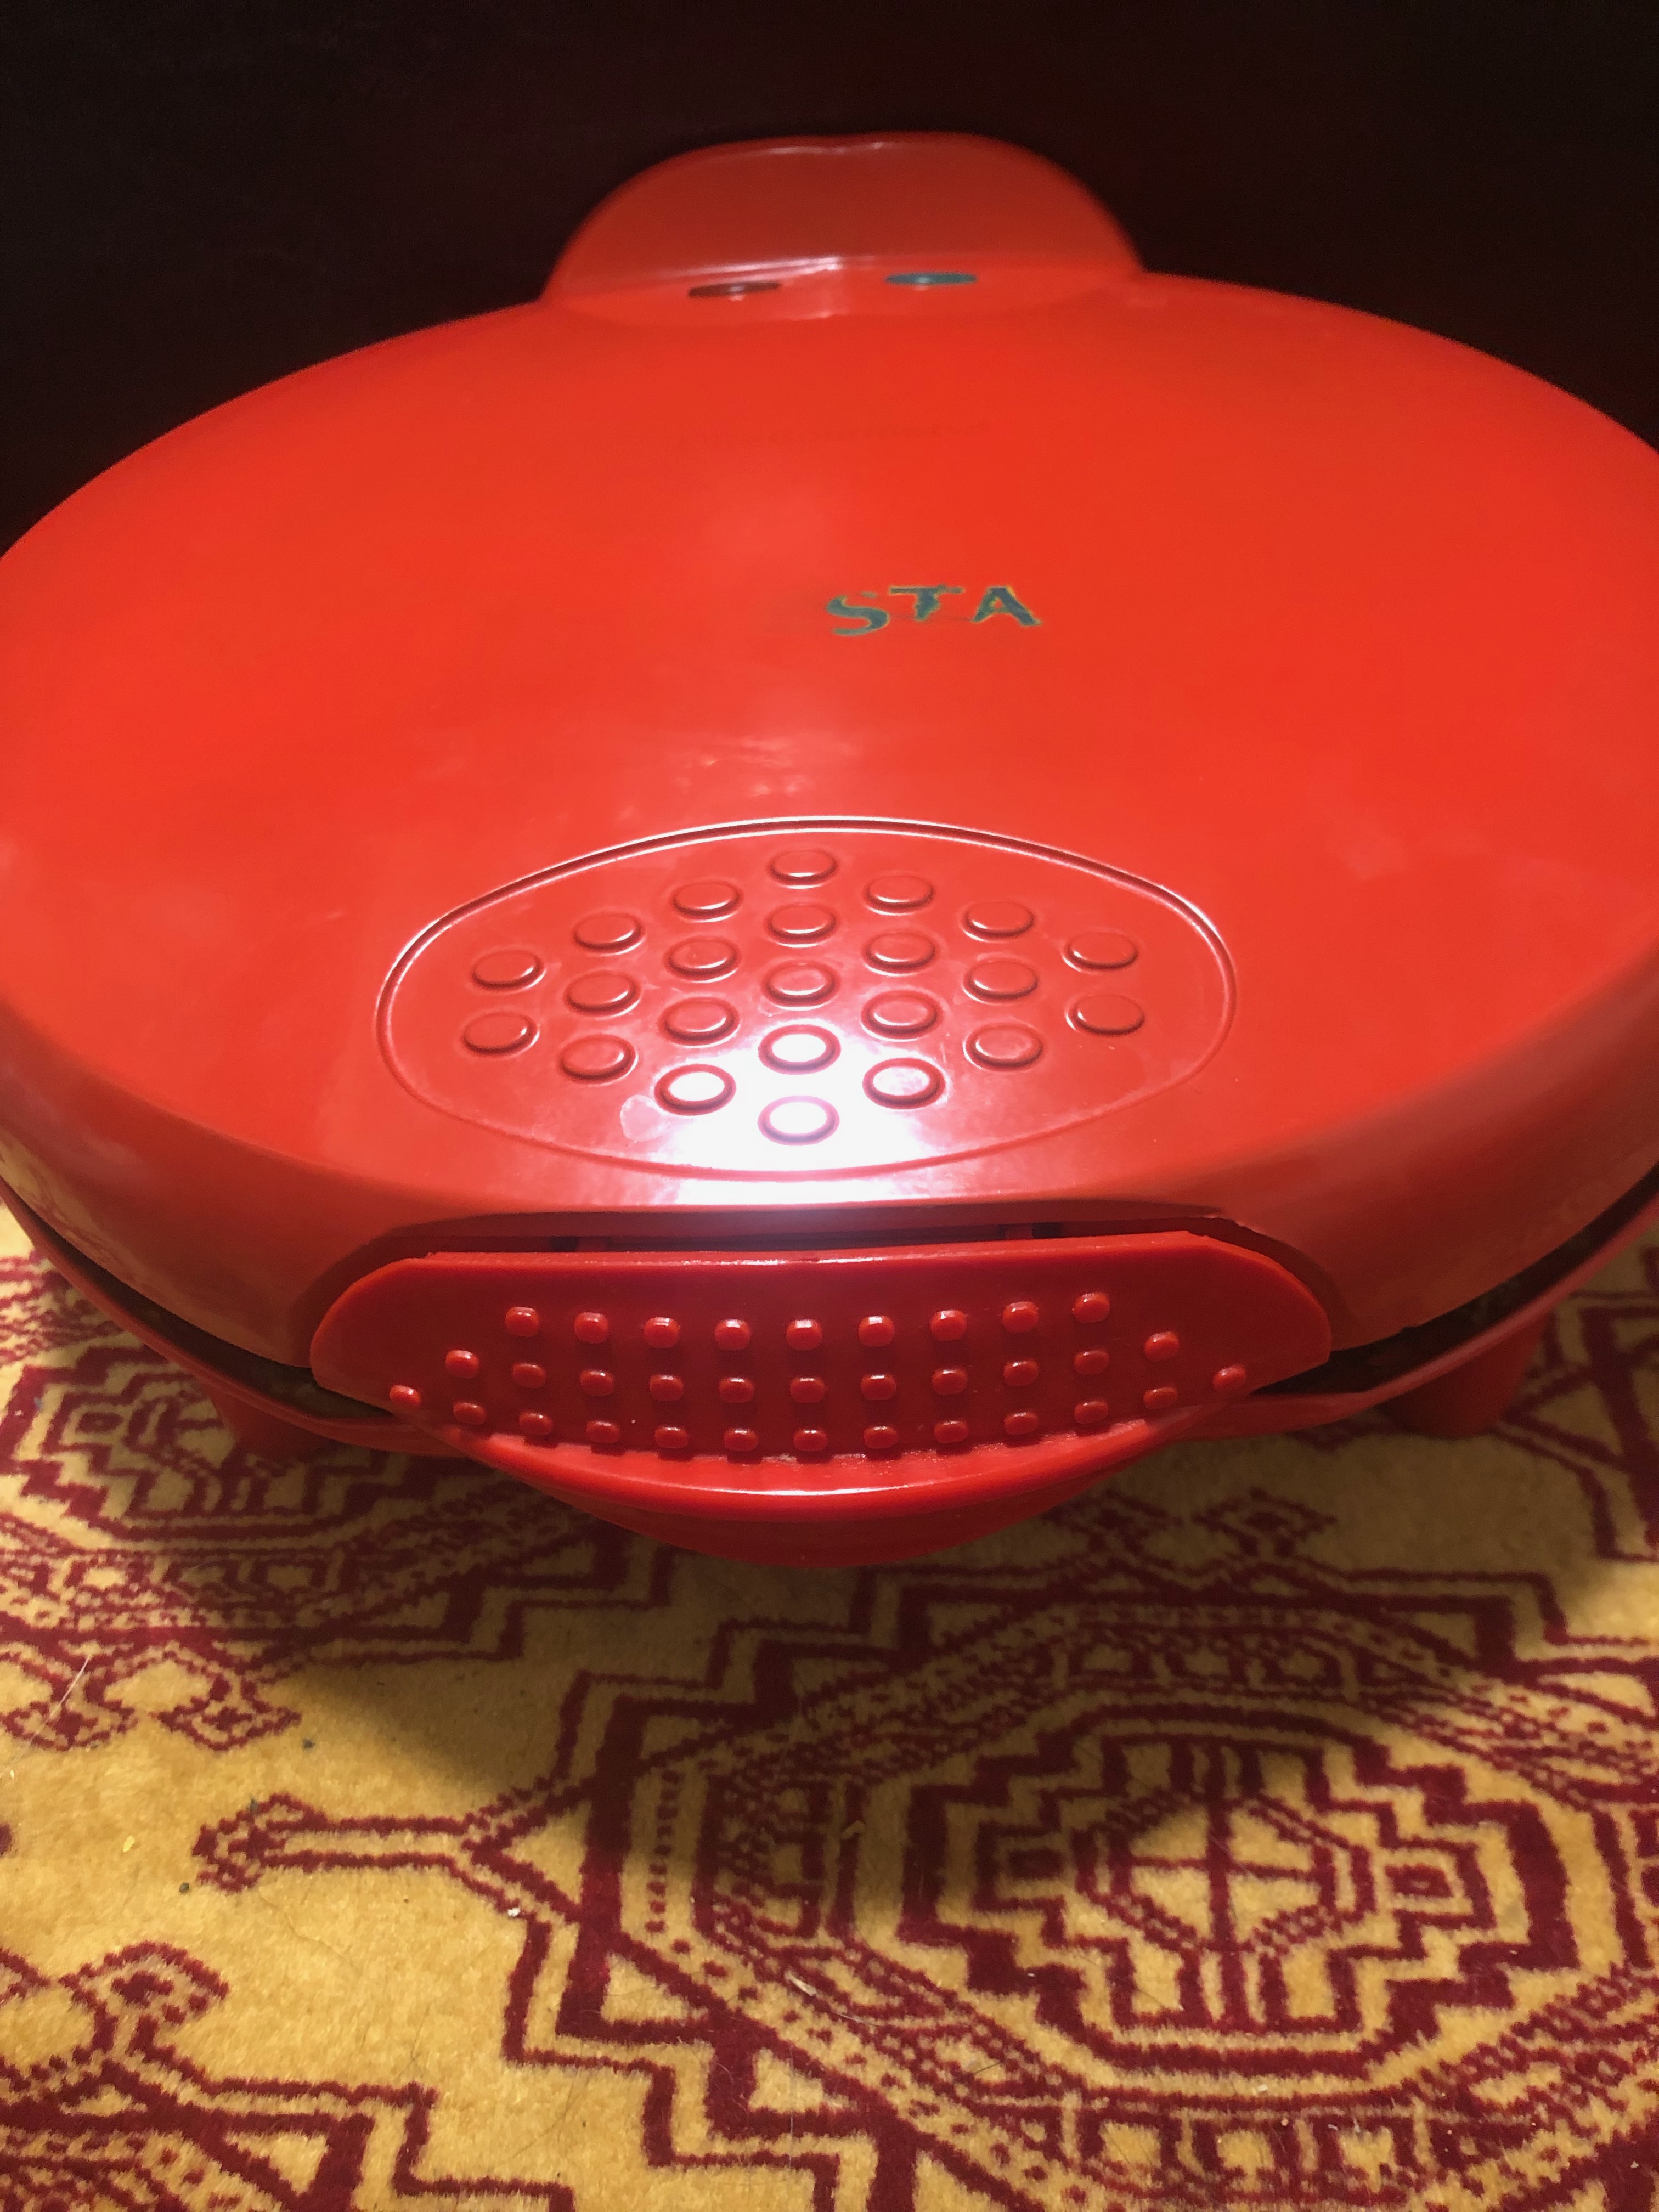
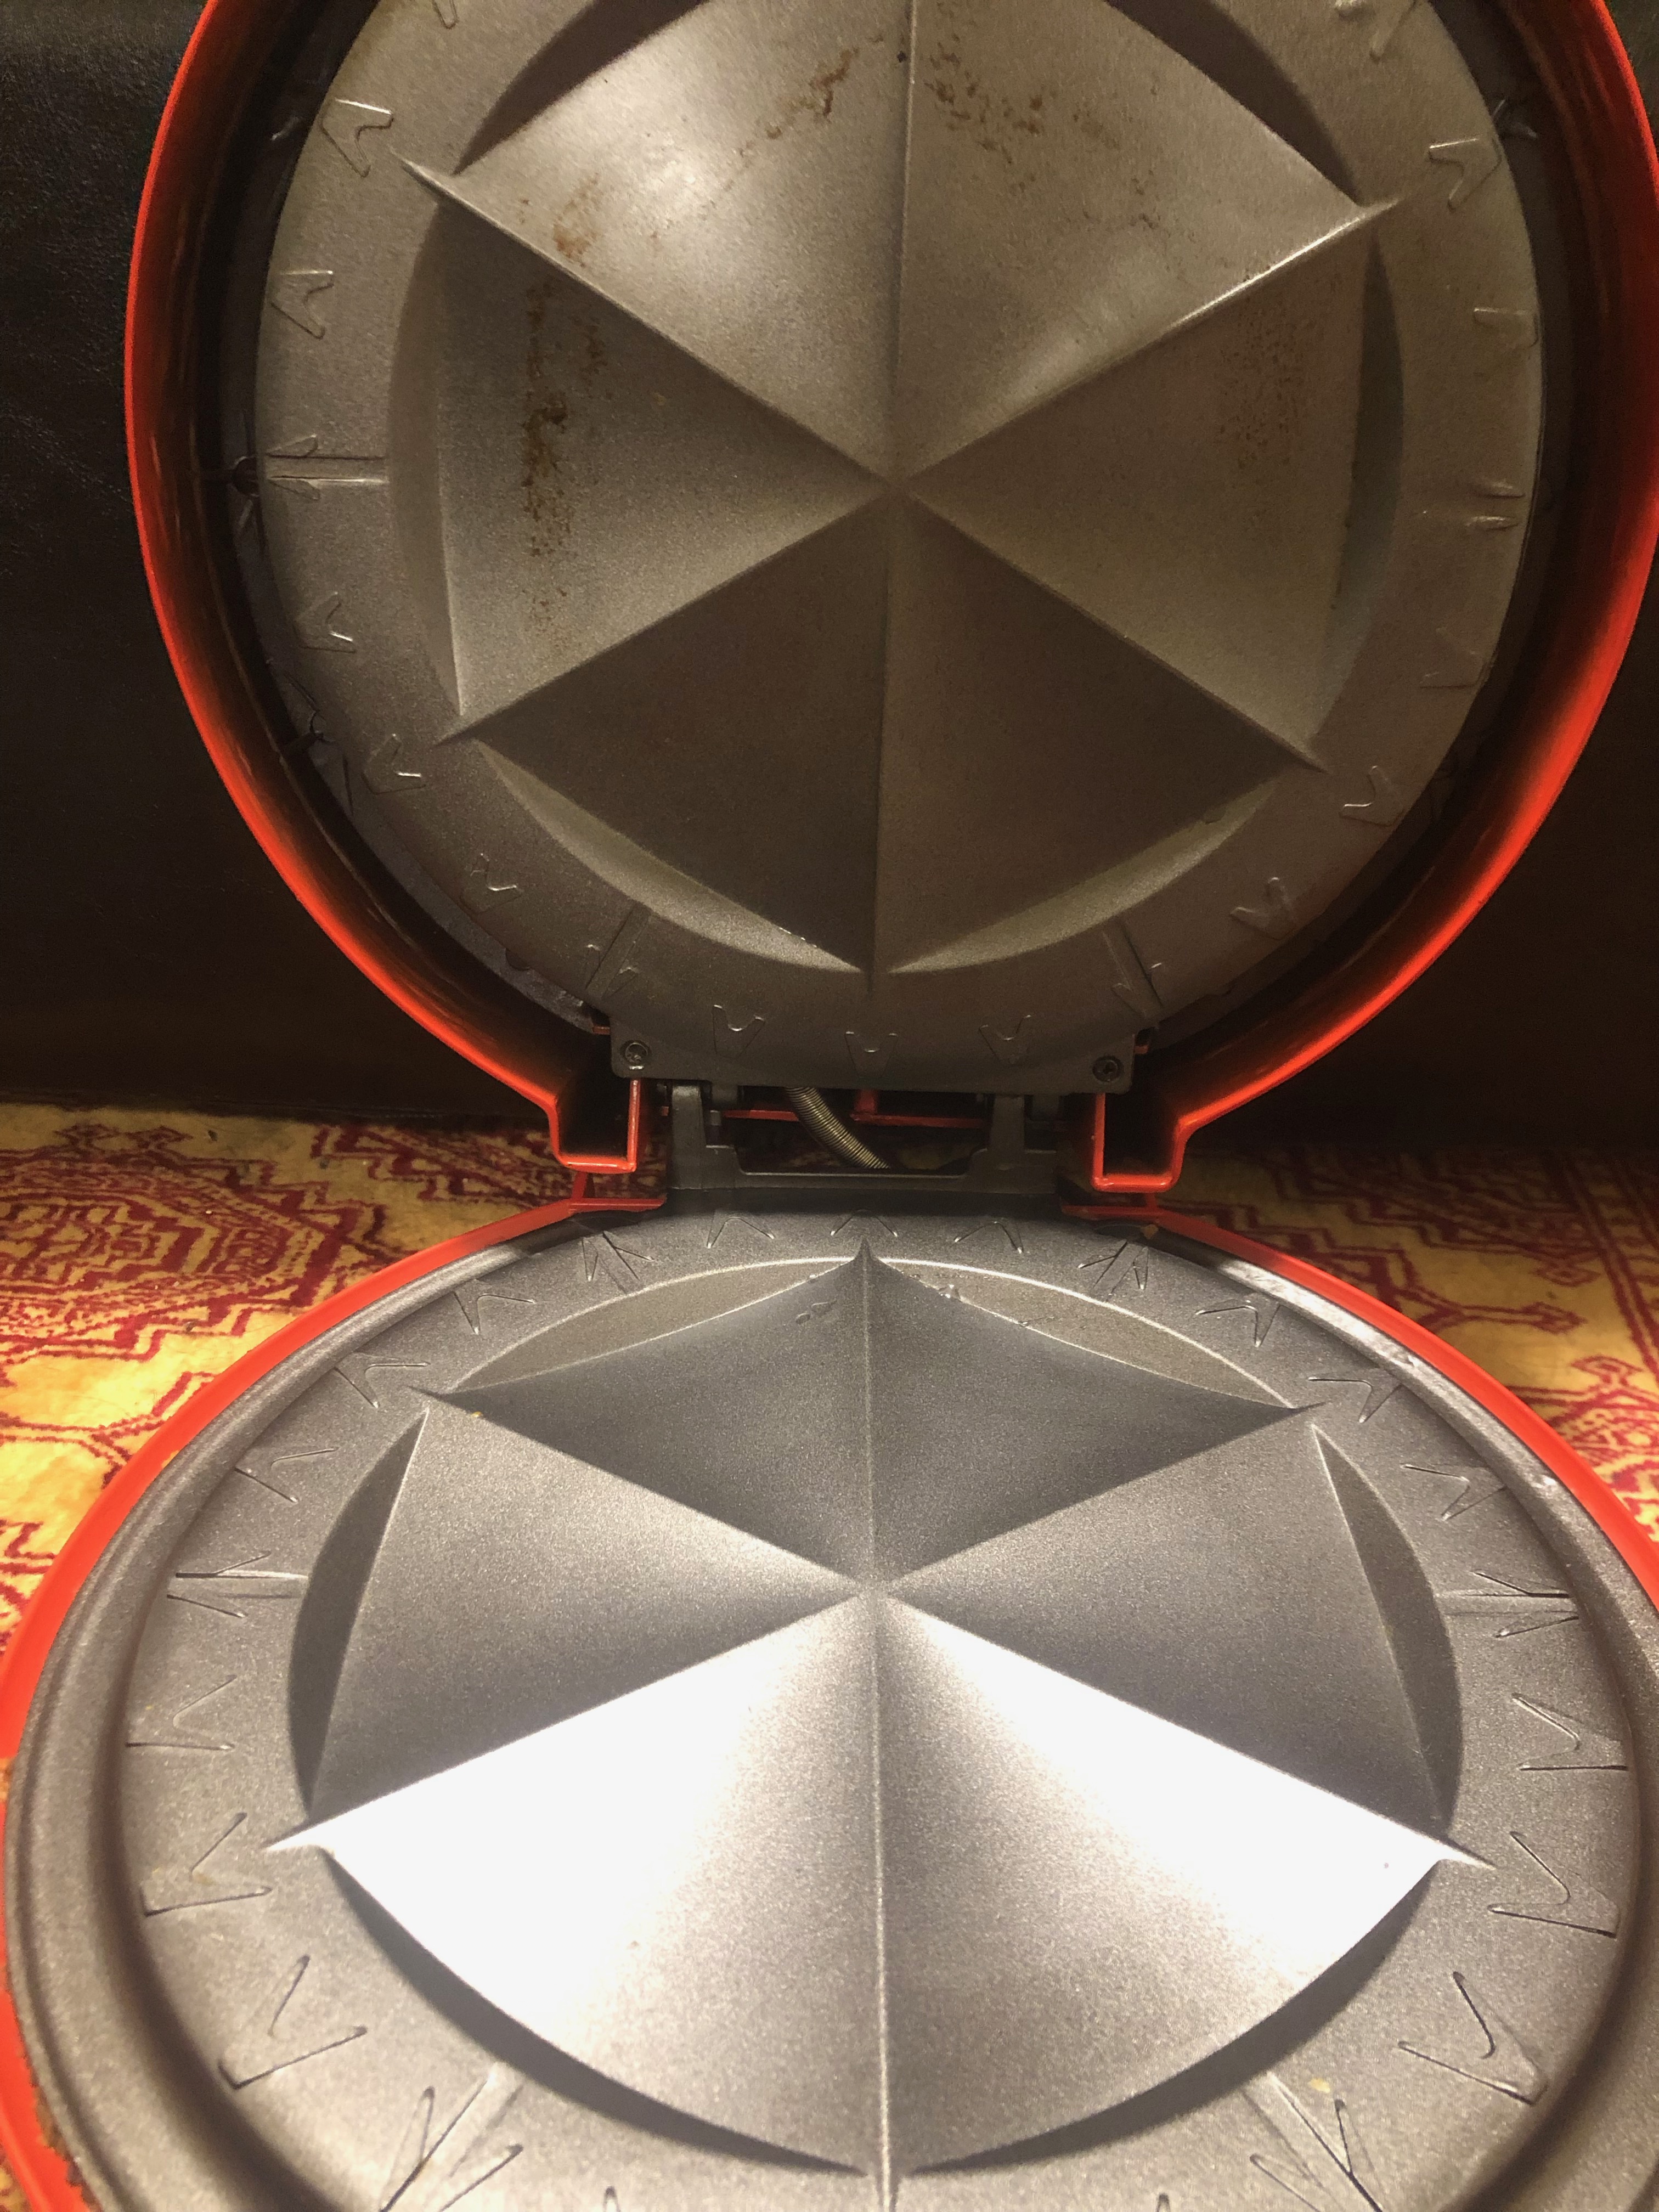
One year for my birthday, Dan came upon this quesadilla maker at a garage sale and grabbed it for me. I had never seen one before and it has been an amazing find! It makes your job so much easier and there’s no more flipping the tortillas on the stove. We even take ours with us on vacation every year so we can feed all 13 people quickly.
You definitely need one of these in your house if you like quesadillas too!
Years ago, my Dad sent me a link to a penny pincher website article about homemade gifts. With three little kids at the time, I loved the idea of homemade gifts and was always happy to find a new idea. This gift idea is SO simple and easy and yet is sure to please!
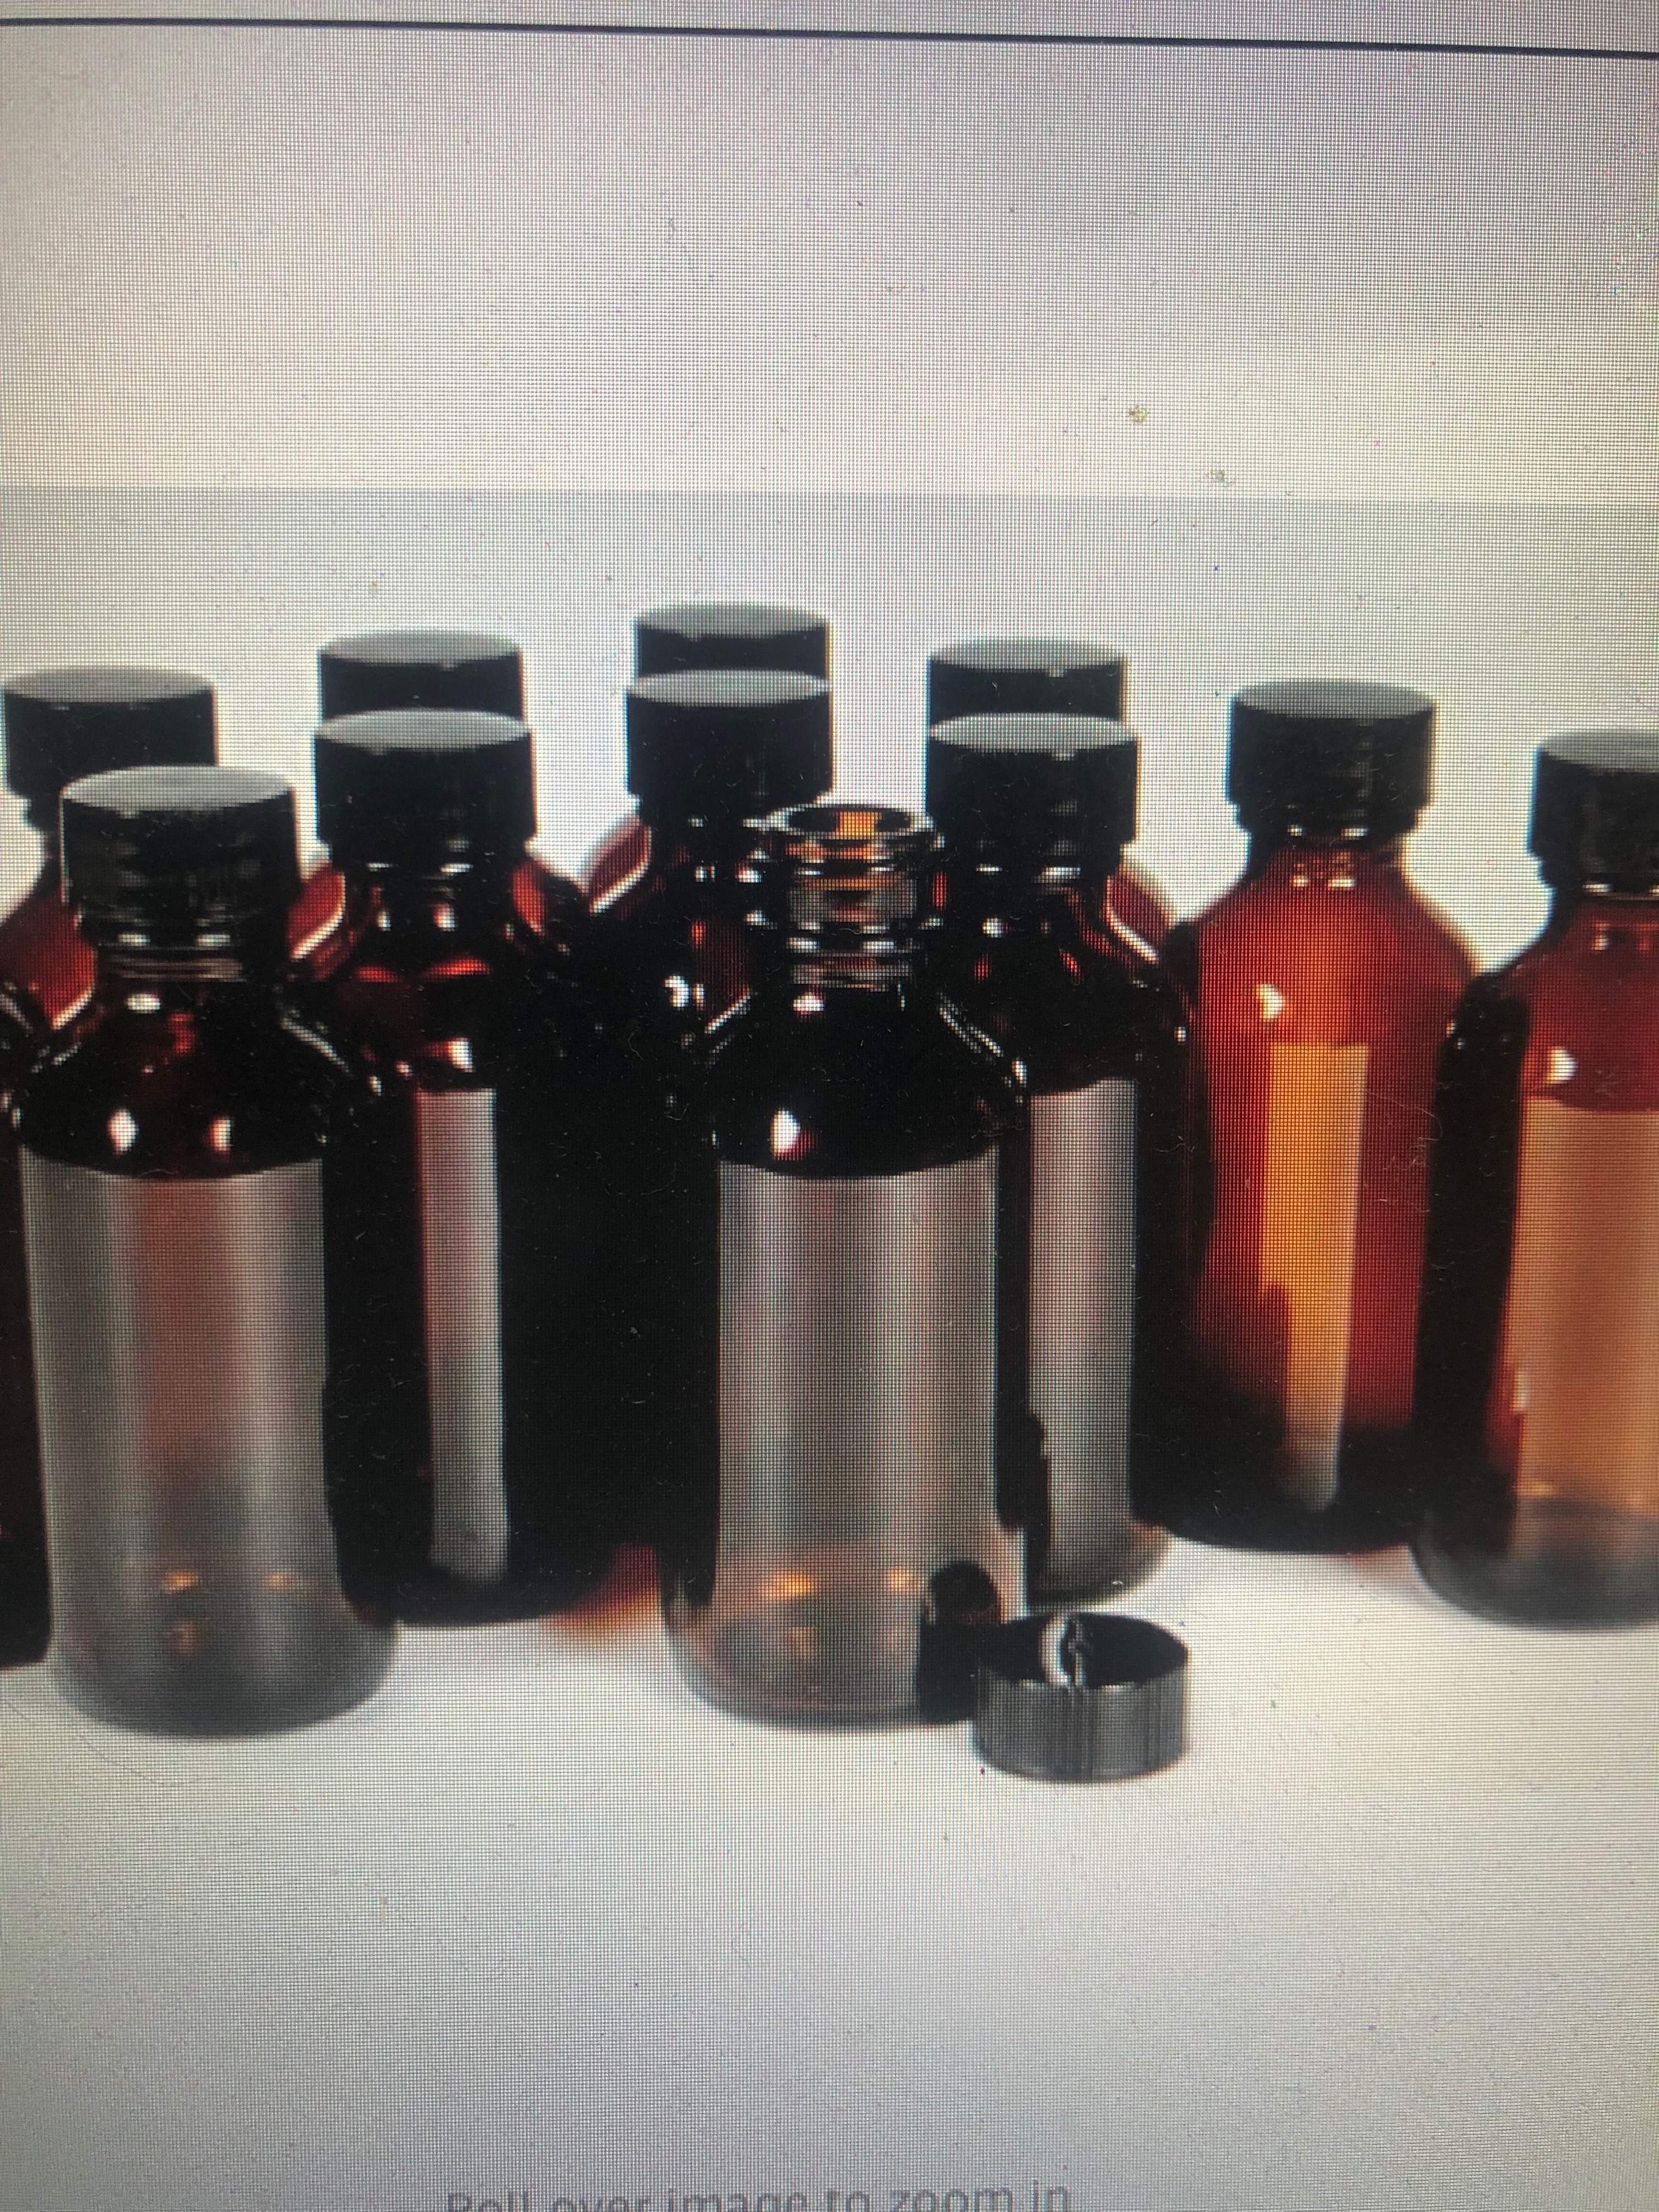
Here’s what you’ll need: Glass jars, labels, vodka, vanilla beans…TIME!
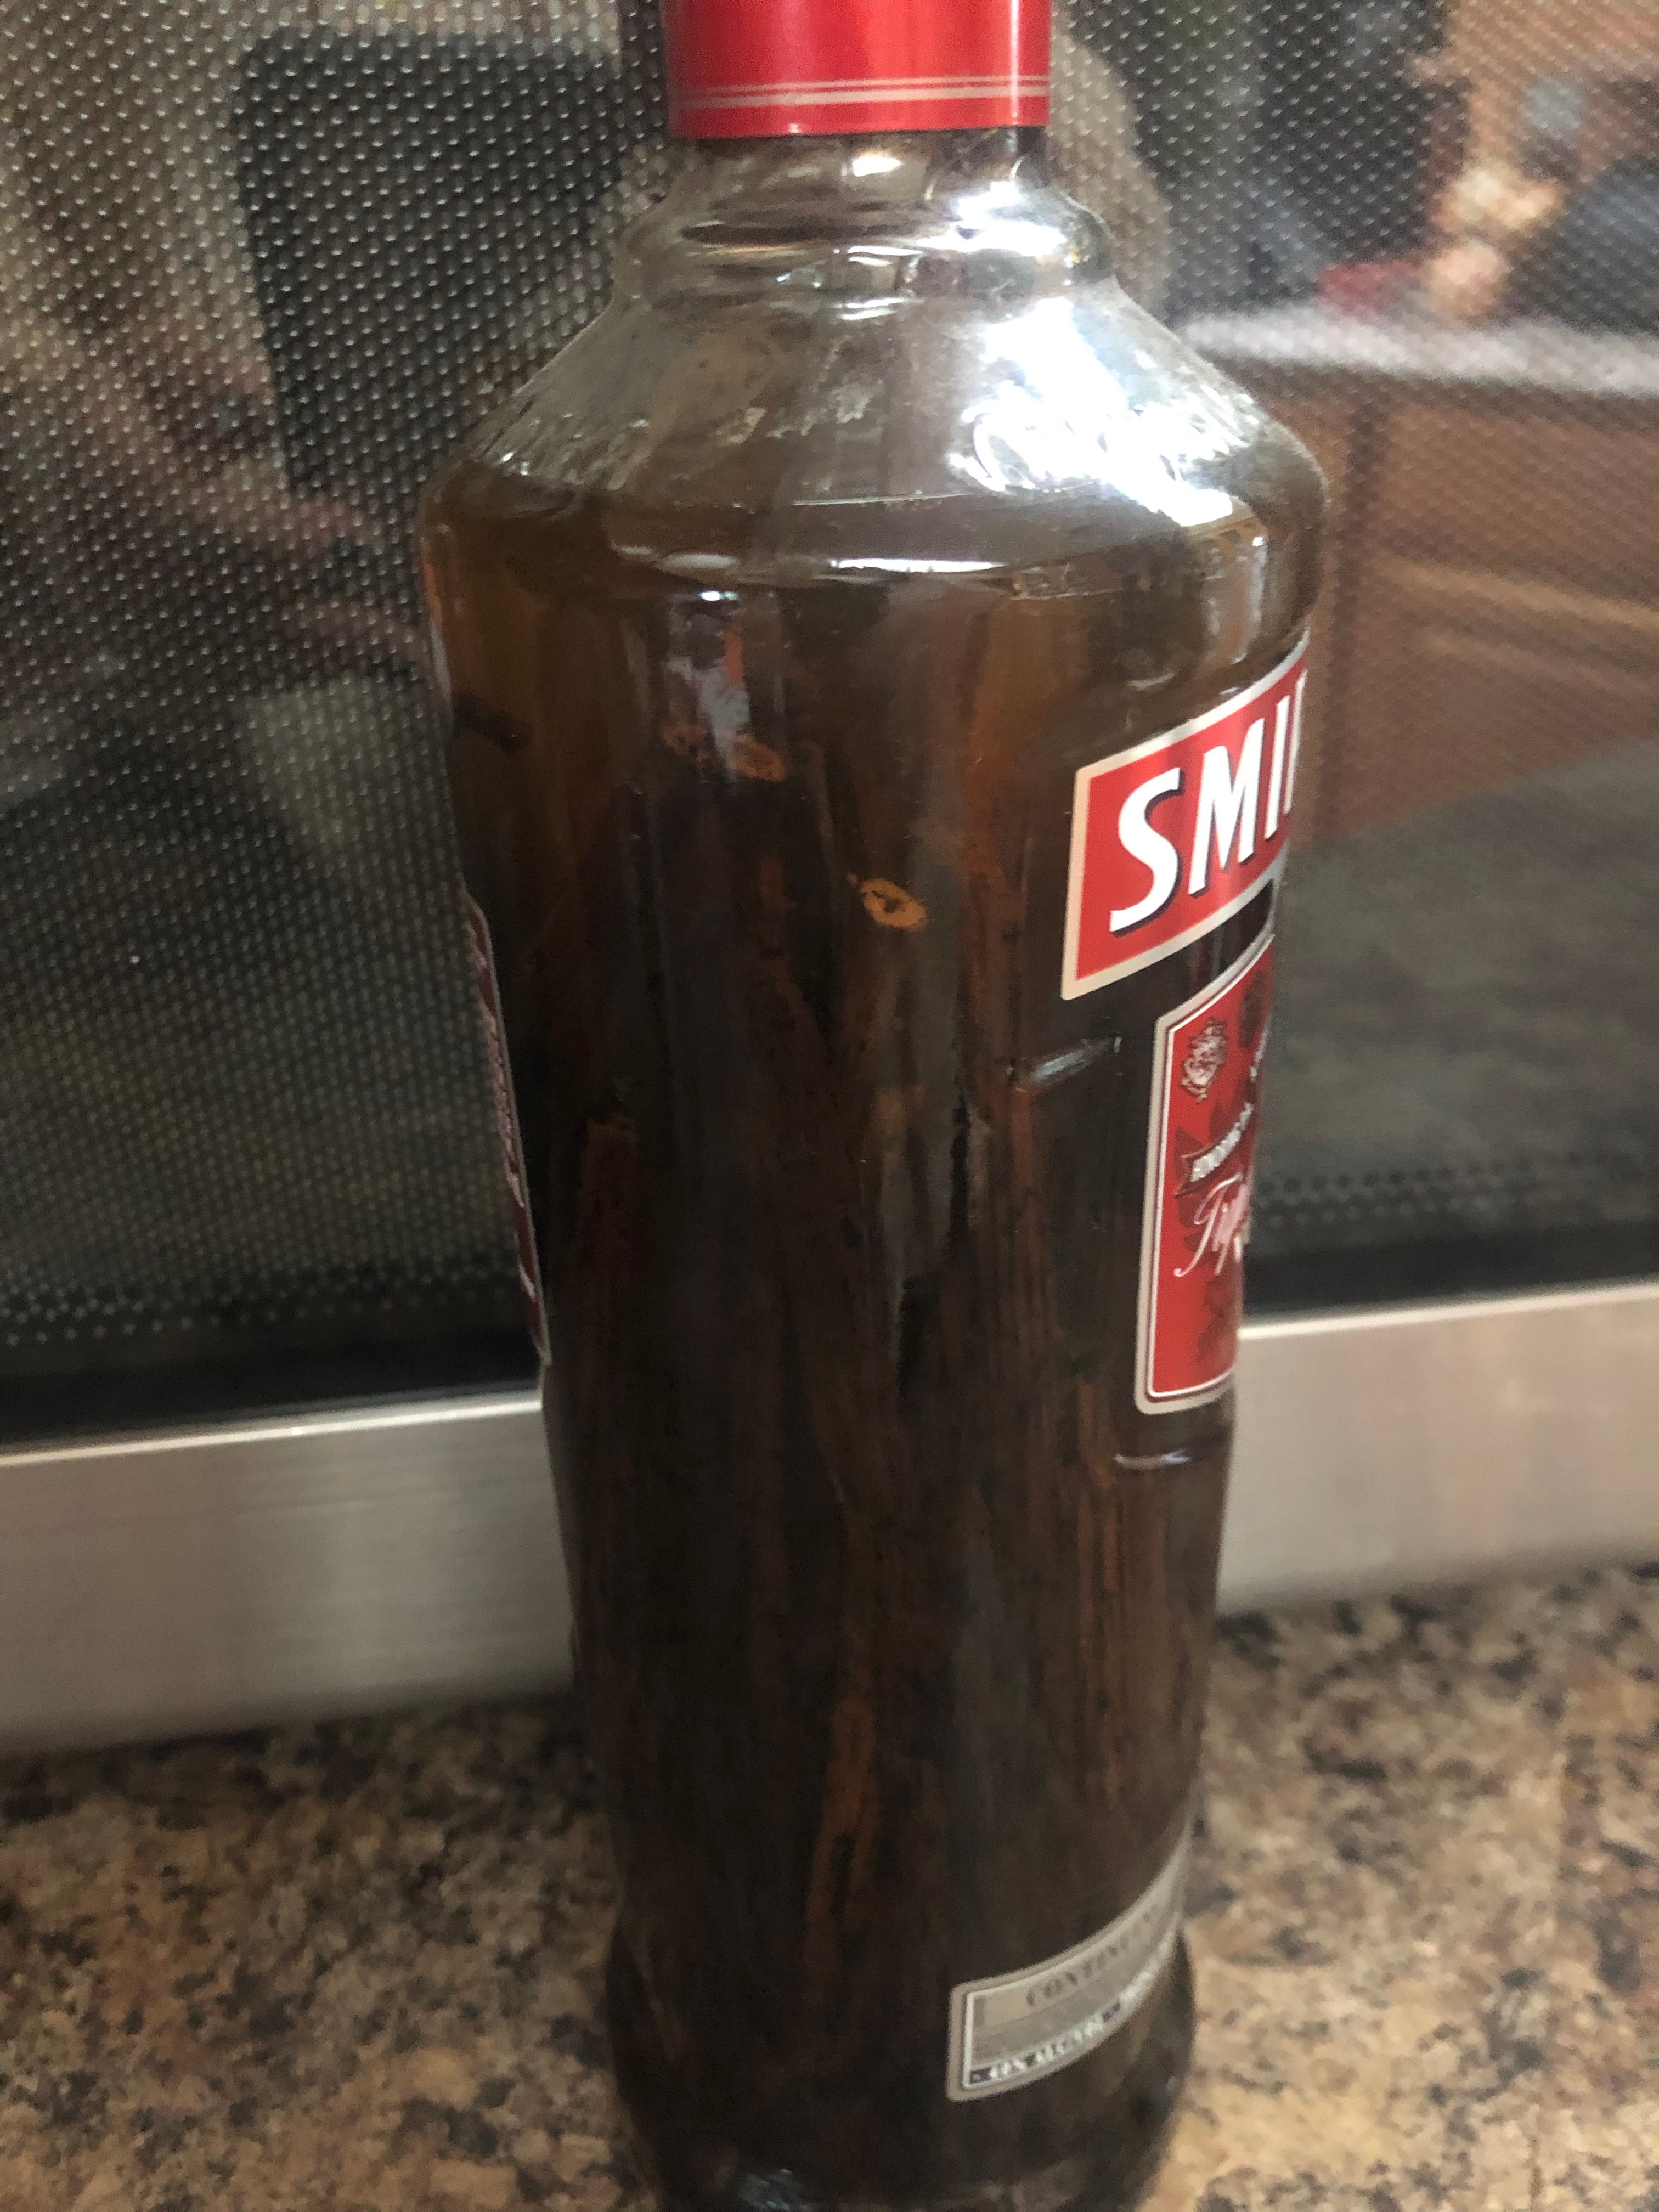
Go to the store and buy a bottle or two of vodka. I usually go with Smirnoff, but you can get away with any brand. You want to find some really good vanilla beans. You may be able to source them locally, but I have had to go through Amazon. I got these here: https://amzn.to/3OxF5S6
Simply open the vanilla beans and use a sharp knife to spread out the inner goodness. Put the whole beans and the inner bits in the vodka jar. Give it a good shake and viola!
You want to keep your jar(s) in a dark place so the vanilla has a chance to seep into the vodka. I keep mine in my pantry. Your main job is done. From here you just want to shake the jars every so often to really keep mixing up the vanilla beans. Since mine are in the pantry, I notice them periodically and give them a good shake.
The only thing that makes this a little tricky is the time it takes. The process is simple, but it takes about 4-6 months to get the vanilla truly infused into the vodka. So if you start now, your vanilla will be ready for Christmas gifts!
I put mine in these cute little jars and label them. Just about everyone who cooks will use vanilla in their kitchen, so it’s a pretty safe gift to give. It’s all I use in my own kitchen and it’s sure to please those on your gift giving list. I have played around with bottle size and shape and have landed on these: https://amzn.to/3A9RoQ8
I remember it so vividly. It was my first day at my new job at Seattle Yachts. I was learning the phones and it was a busy day. In the middle of the busyness and feeling like my brain was on overload, I got a text that slowed down time. “It’s Cancer.”
My Dad had had some blood in his urine and had been to see a few doctors. They treated him for a UTI but that didn’t change the bleeding. So, this appointment on this day was the one we held our breath for…the one that would change our lives.
That appointment went smoothly and he was told the cancer was minimal and it would not be a problem to remove. Surgery would be scheduled and it would be a day procedure. While knowing it was cancer was really hard to cope with, the news sounded encouraging and the outcome good.
Nothing about the last year has been easy and it’s all been hard to cope with! That initial surgery was a nightmare. The tumor was huge and in the process of trying to remove it, his bladder was nicked. He had to be rushed to the ER to check him out. He had to have a blood transfusion and a few day stay to let the bladder heal. Those moments of not knowing what was going on were excruciating. We were just told the bladder had been punctured and he was going via ambulance to the ER. They didn’t even wait for my Mom to hop on the ambulance. It was only about 30 minutes before we found him and she could be with him, but it was an awful 30 minutes.
What has followed has been more surgeries, so many anxious moments, scans, lots of travel and decisions to make.
As with everything in life, it’s so hard to see someone you love suffer, knowing you are not able to ease the pain. Both of my parents have been superheroes through this whole ordeal and they are battling this beast head on. My Dad is tired, but is able to do what he wants to do most of the time. He is active and will tell you he feels fine. For that I am so grateful!
The latest scans don’t show much of a change, so it’s decision time once again. There are two clinic options that offer an alternative to the traditional chemo method. So we will find out soon what the CA clinic recommends. So far he’s been doing 10% chemo and it seems to be holding the cancer at bay, but not reducing the tumor load. There is a local clinic that recommends a higher chemo dose as well as radiation.
Thank you for being a part of our journey over the last year. We definitely feel your prayers and appreciate your check ins and kind words. There have been soo many difficult moments and so much stress for all of us. However, we are trying to find moments in each day to take a breath, find joy and be grateful for the moments. This is a formidable beast and we continue to fight.
Avocado oil! We love us some avocado oil and we use it a lot. It has the highest smoke point of all the plant based oils, so it’s not as easy to burn. I used to get mine from Costco and loved it, but our Costco has switched up the way they do their oils and started putting their avocado oil in plastic bottles. I don’t love the idea of plastic and it’s soo big for my cabinet!
So when my Mom told me about this one I knew I had to try it. Now I’m hooked!
This avocado oil is so tasty and easy to use. It is the perfect little size so that it fits on my shelf and is in BPA free cans. Check it out!
If you know me at all, you know that Amazon is my jam! I order a lot from there…from clothes and shoes to kitchen gadgets and games. Today I want to share with you one of my most recent purchases that I love!!
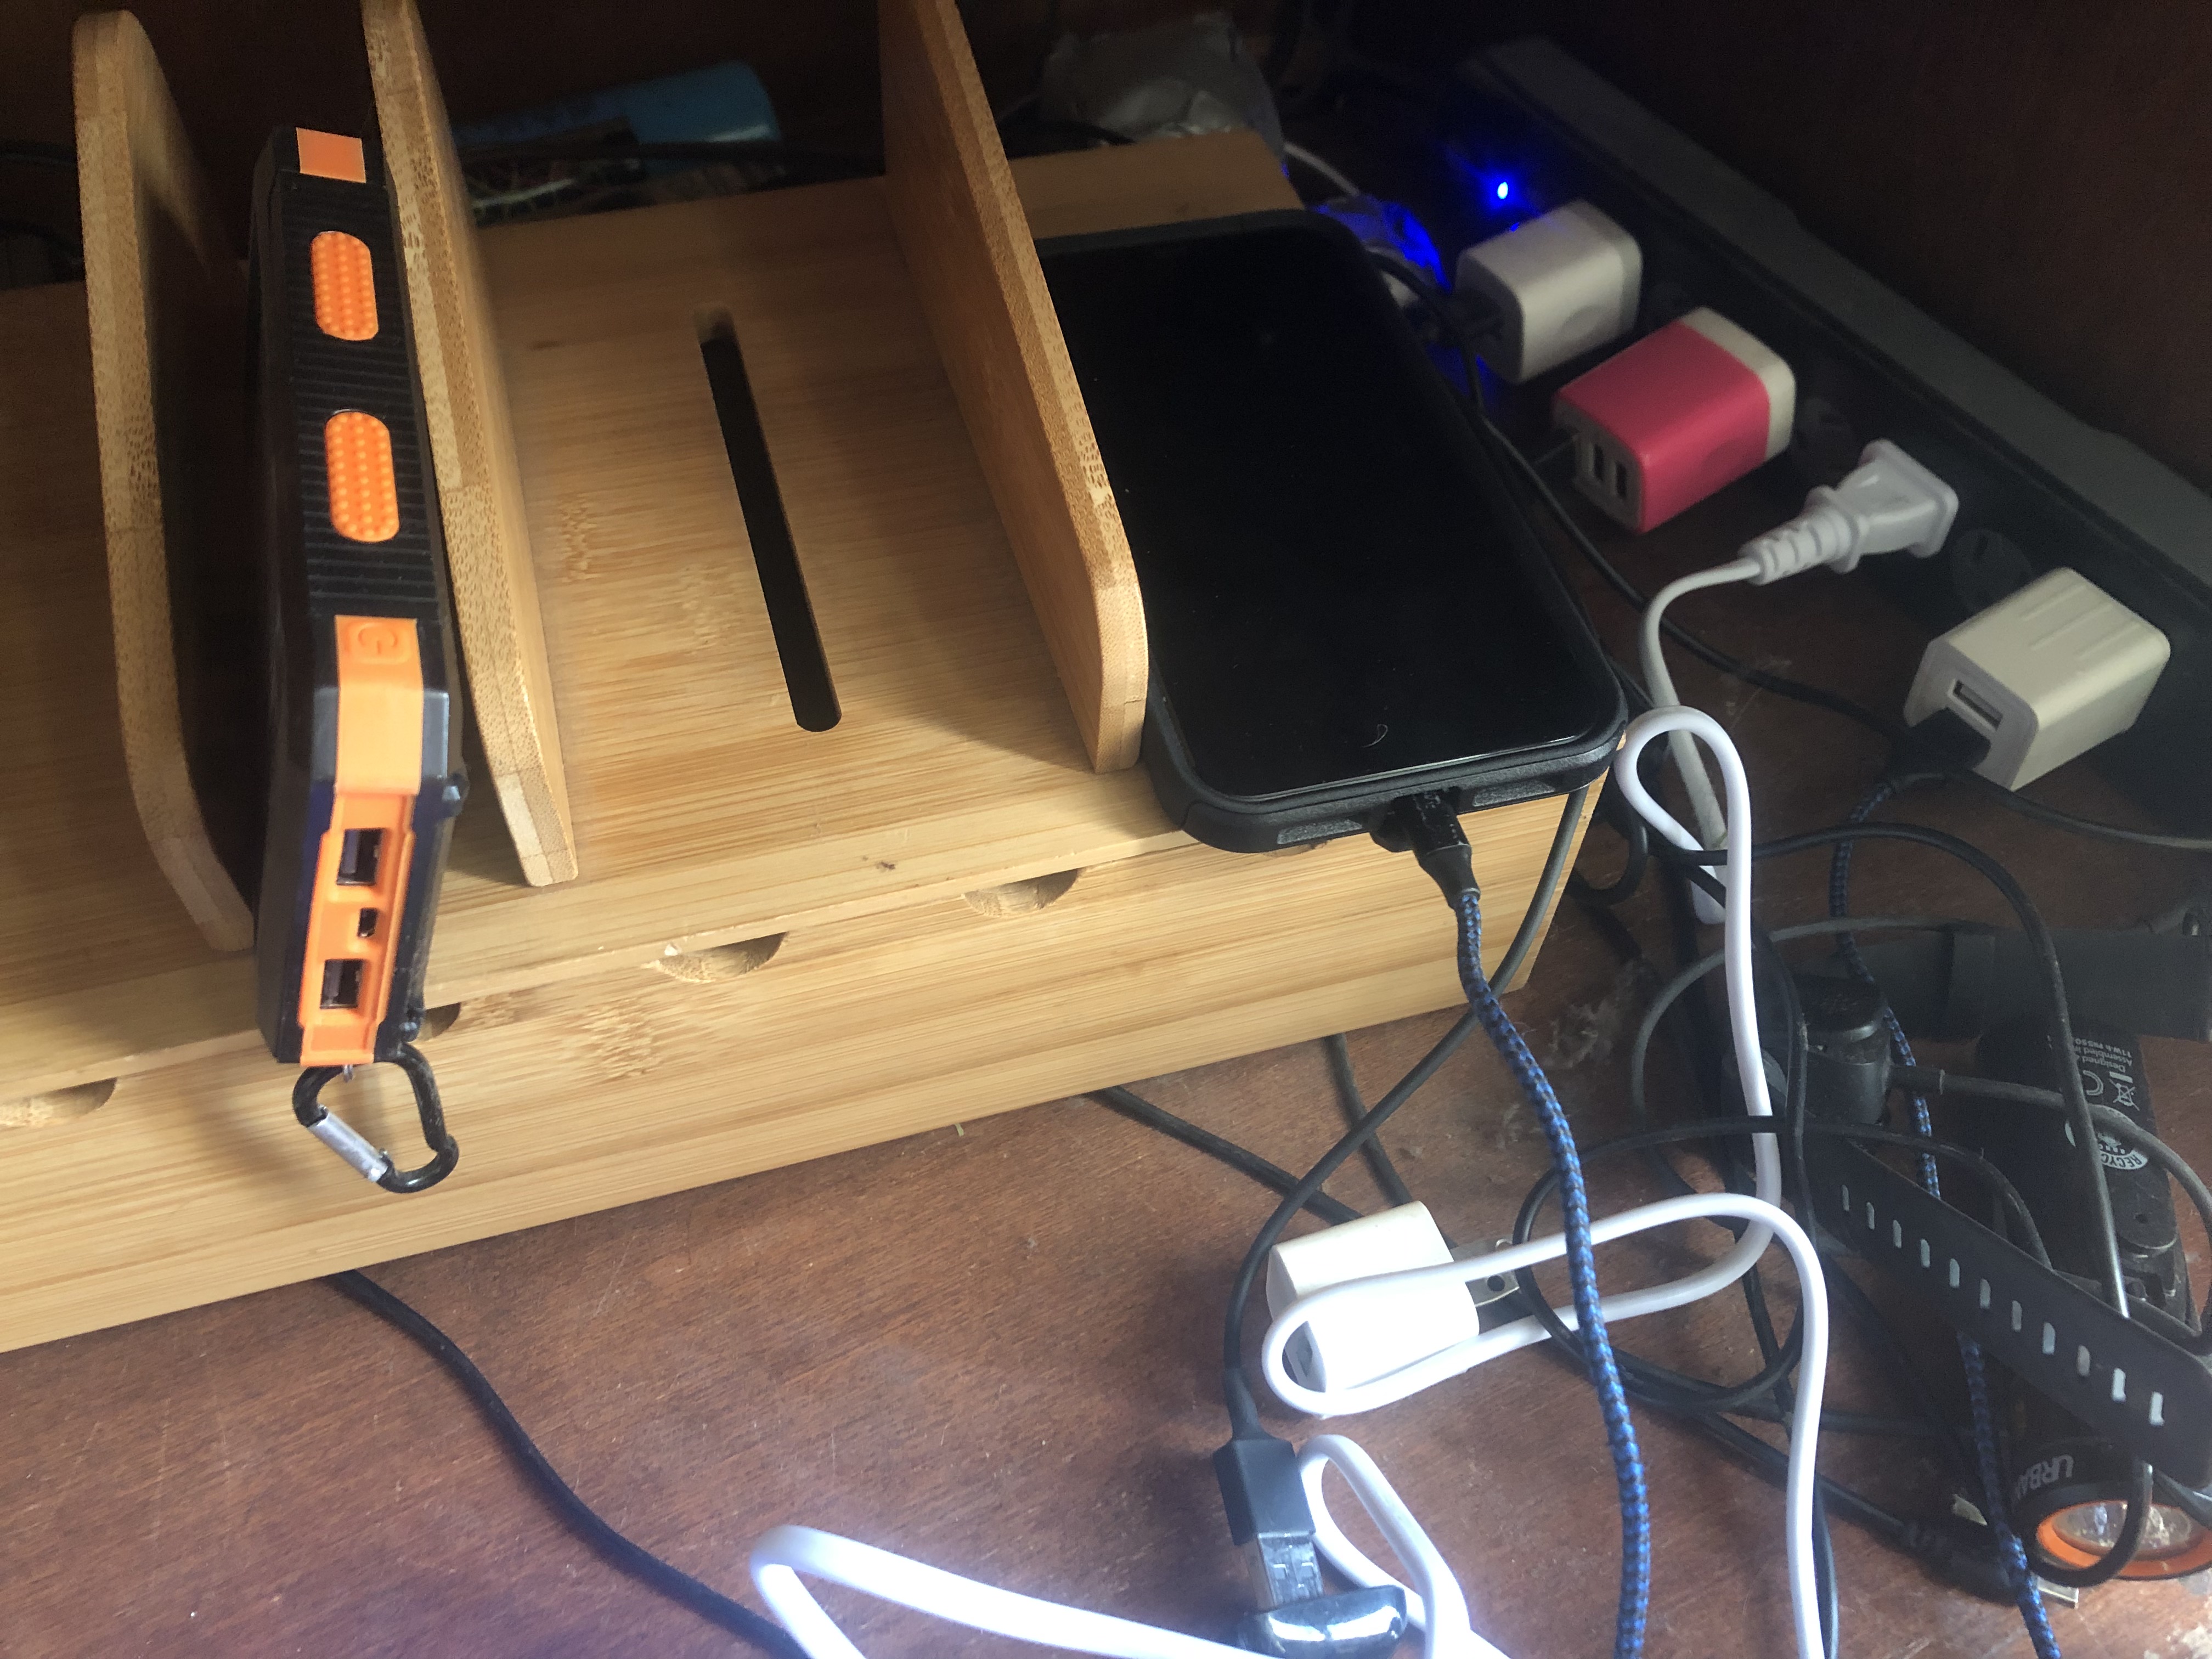
I don’t know what your charging station looks like, but ours is always a hot mess. We have iPads and phones and watches that all need to be plugged in and we can never keep the area organized! We’d go through, put all the cords tied up in this little box and plug things in, but it never stayed tidy! It would end up looking like this:
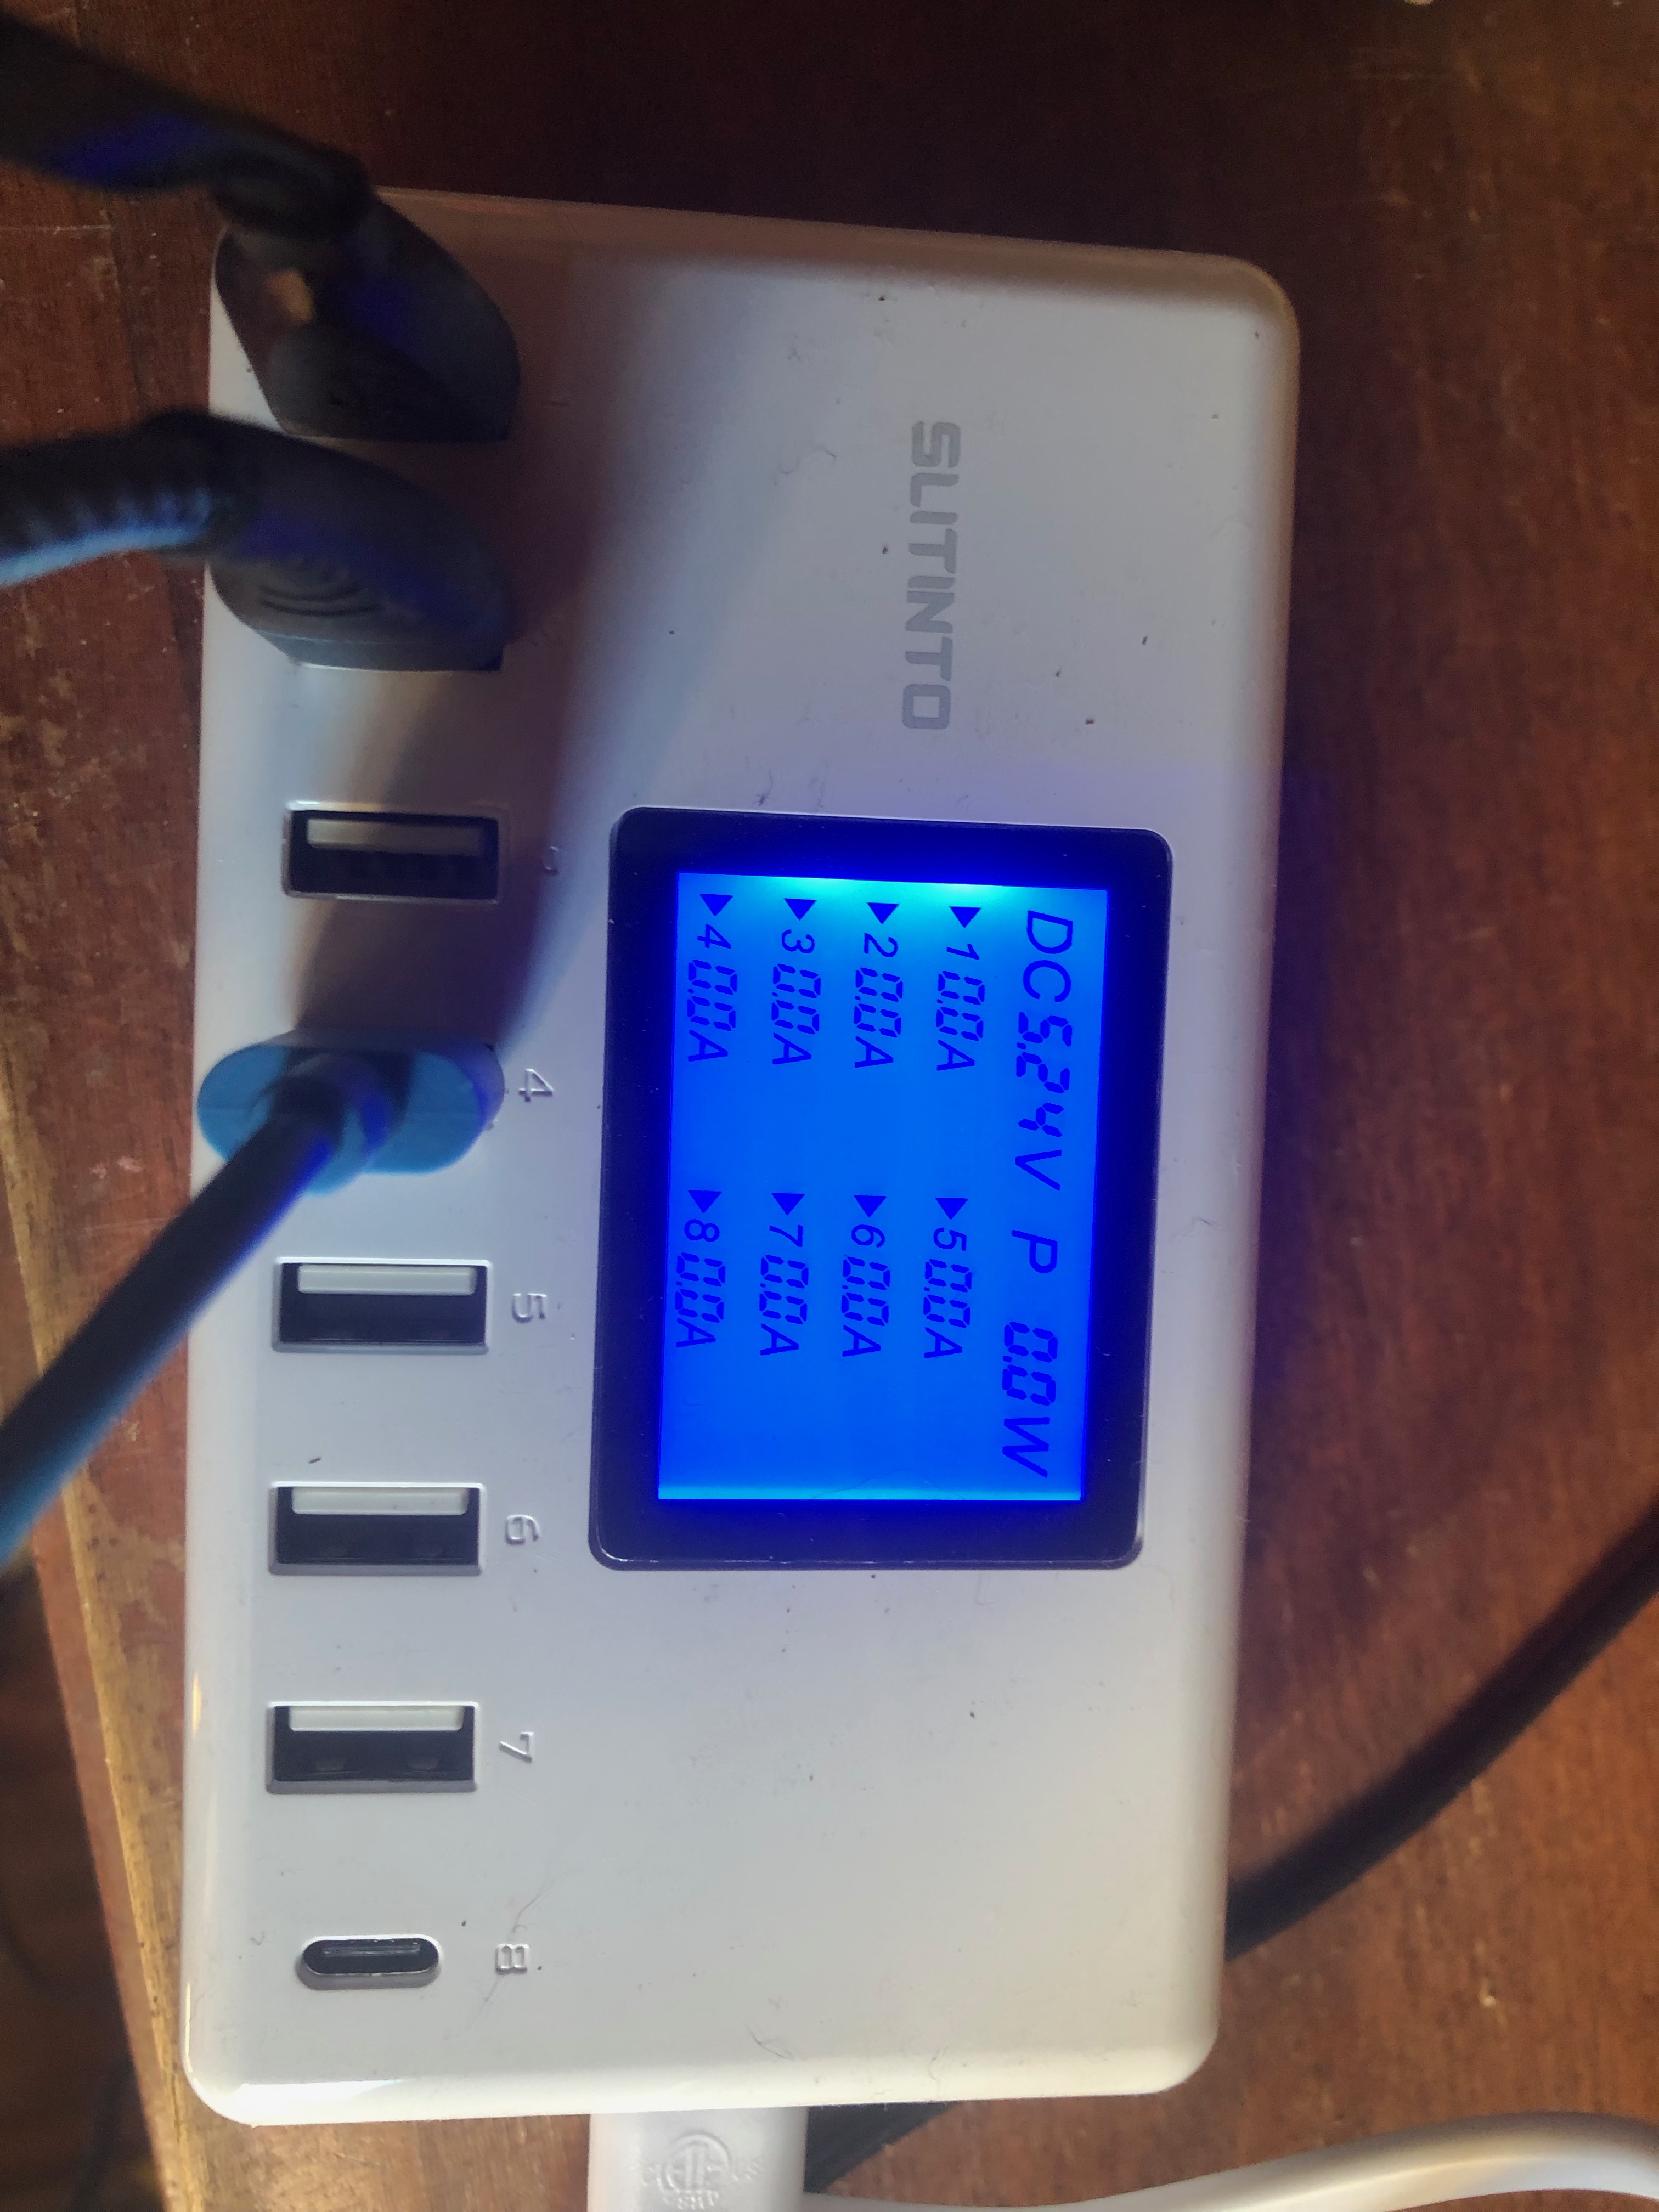
I just happened to find this little box on Amazon and I am already in love! This little box, allows you to plug in 8 things at once…without the need for the cubes! So one plug in is all you need to be able to charge ALL 8 things! You still have the cords, but it saves from having the big power strip with all the cubes hanging around.
This part doesn’t mean a whole lot to me, but it also is able to do this: Intelligently detect and deliver the appropriate charging current for each device, with high-resolution LCD Digital Display screen, now you can visually monitor the current and the charging status through your naked eyes. ” If that’s important to you, it does it! 🙂
Amazon for the win!! If you want to try it, you can find it at our link here: https://amzn.to/3bsW3SS
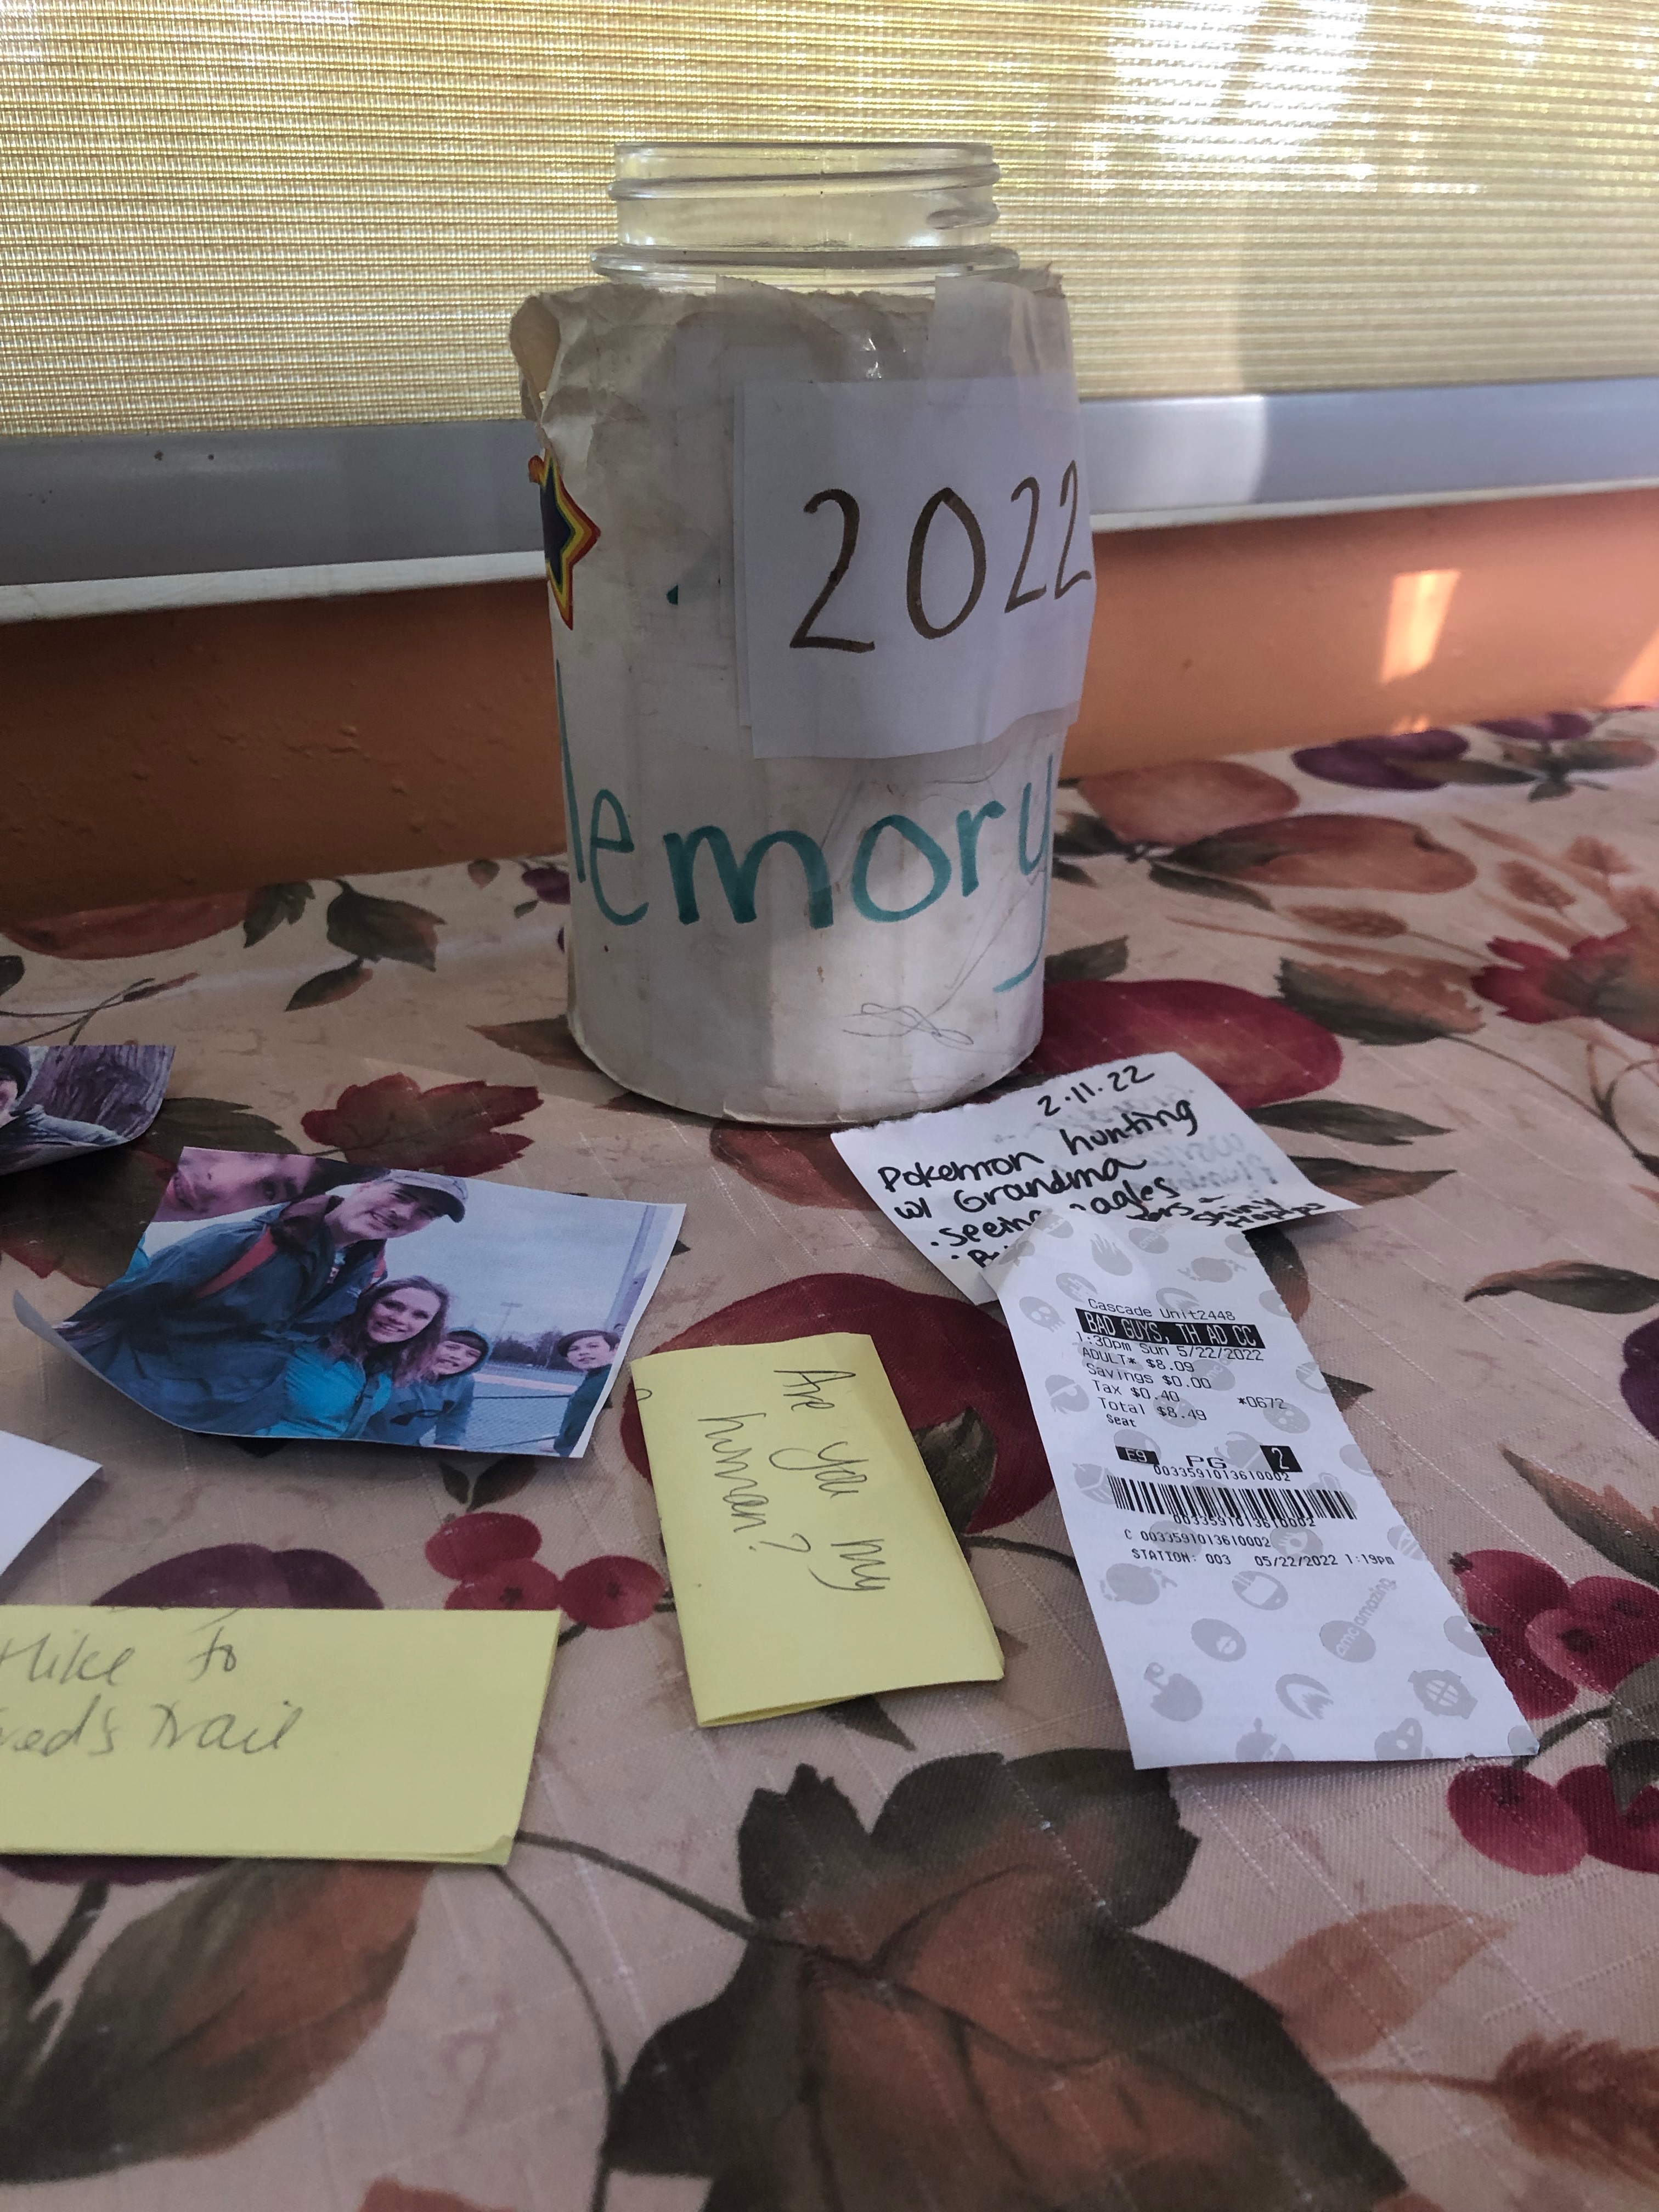
A number of years ago, I saw a post about a Memory Jar and I knew we had to try it. I found a big glass jar and made a little label for it and we were off!
The whole idea is to keep the jar out on your counter and add in any fun memories from the year. Every movie we go to, I save a stub to put in our jar. Every time we go to the Fair or a trampoline park or anything we get a ticket for, it goes in the jar. If we go on a big hike, I write it on a 3×5 card and in it goes. If we go to a restaurant or find a new ice cream shop, I write it down and put in in the jar. If someone learns how to do something new, it goes in the jar. If we visit a new playground or park, in it goes. This year I started to add in a little picture to the jar if we took a selfie. You get the idea!
You will notice we still have the same original paper around the jar from when we started years ago. I just change the date. It think it’s fun to see it age and know it’s growing with us.
The cool part is, it collects in there as memories from our year. Then every year on New Year’s Eve, we pour our sparkling cider and take turns reaching into the jar and pulling out a memory. It’s has been a fun tradition that the boys ask about as it gets closer to NYE. We have a very real scrapbook of sorts as we reflect on our year.
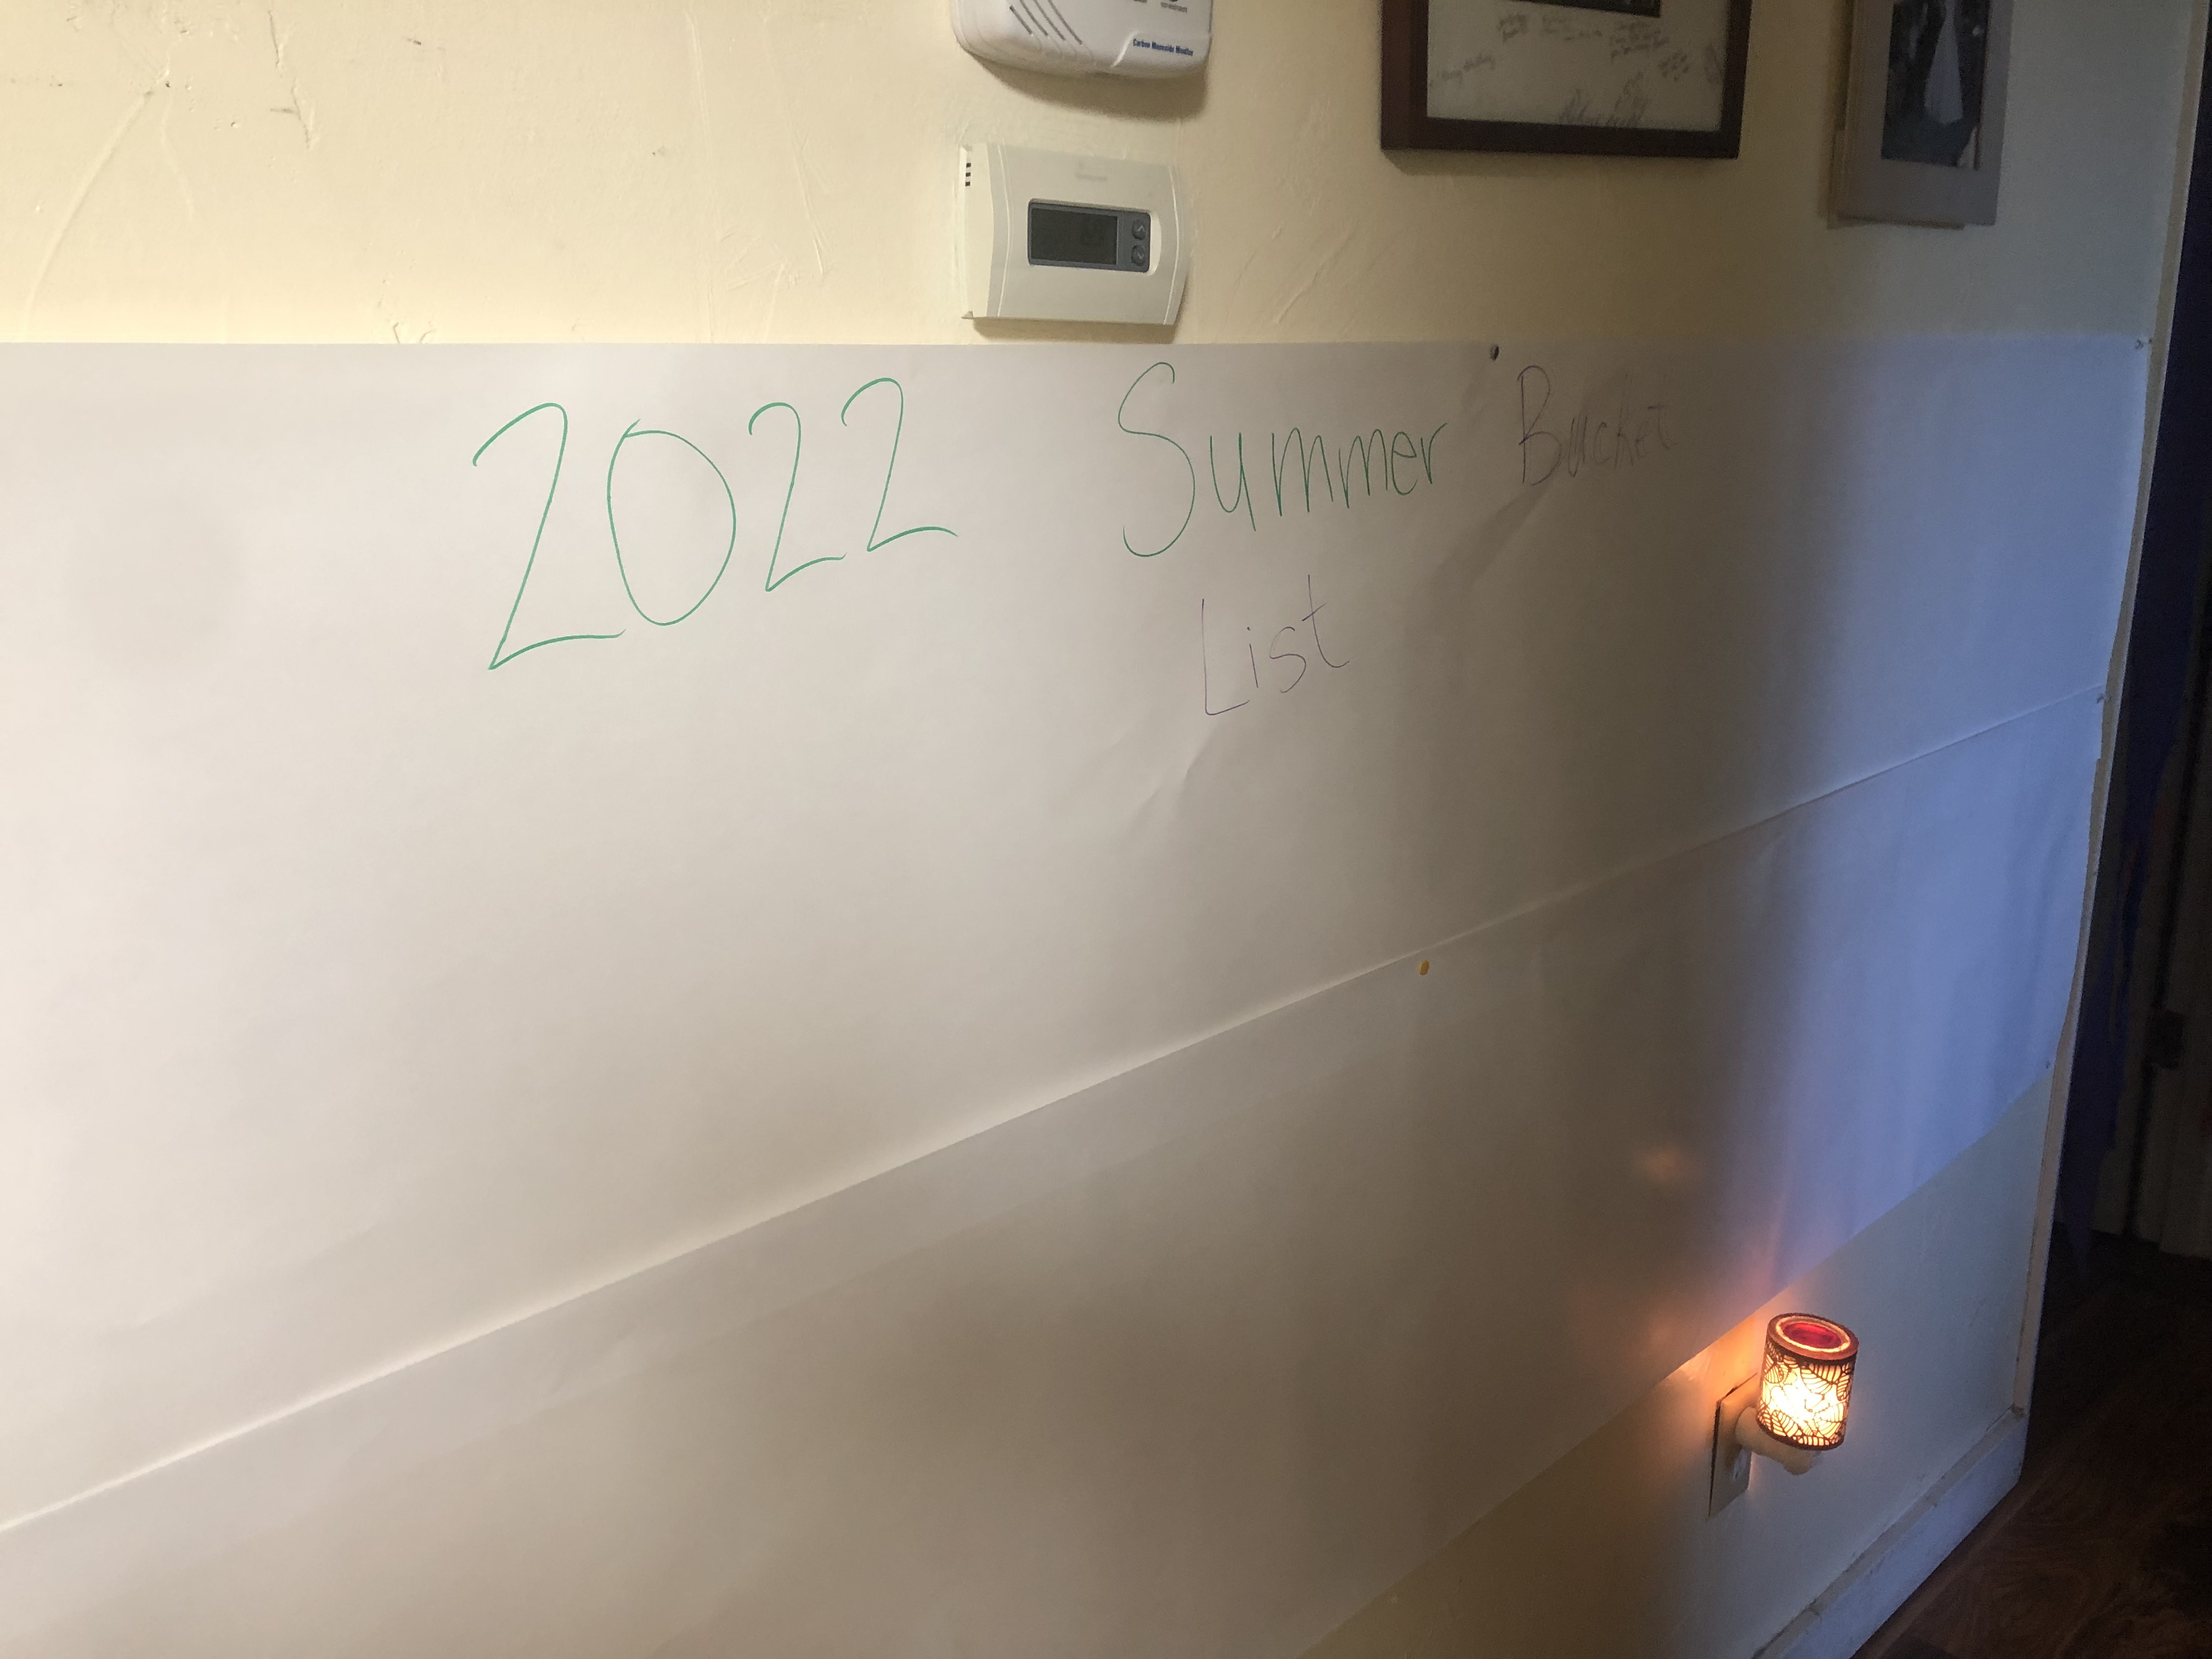
It’s officially summer and we are going to sit down to do our bucket list for 2022! The last couple years have been doozies for so many reasons so I am really looking forward to seeing what we come up with this year.
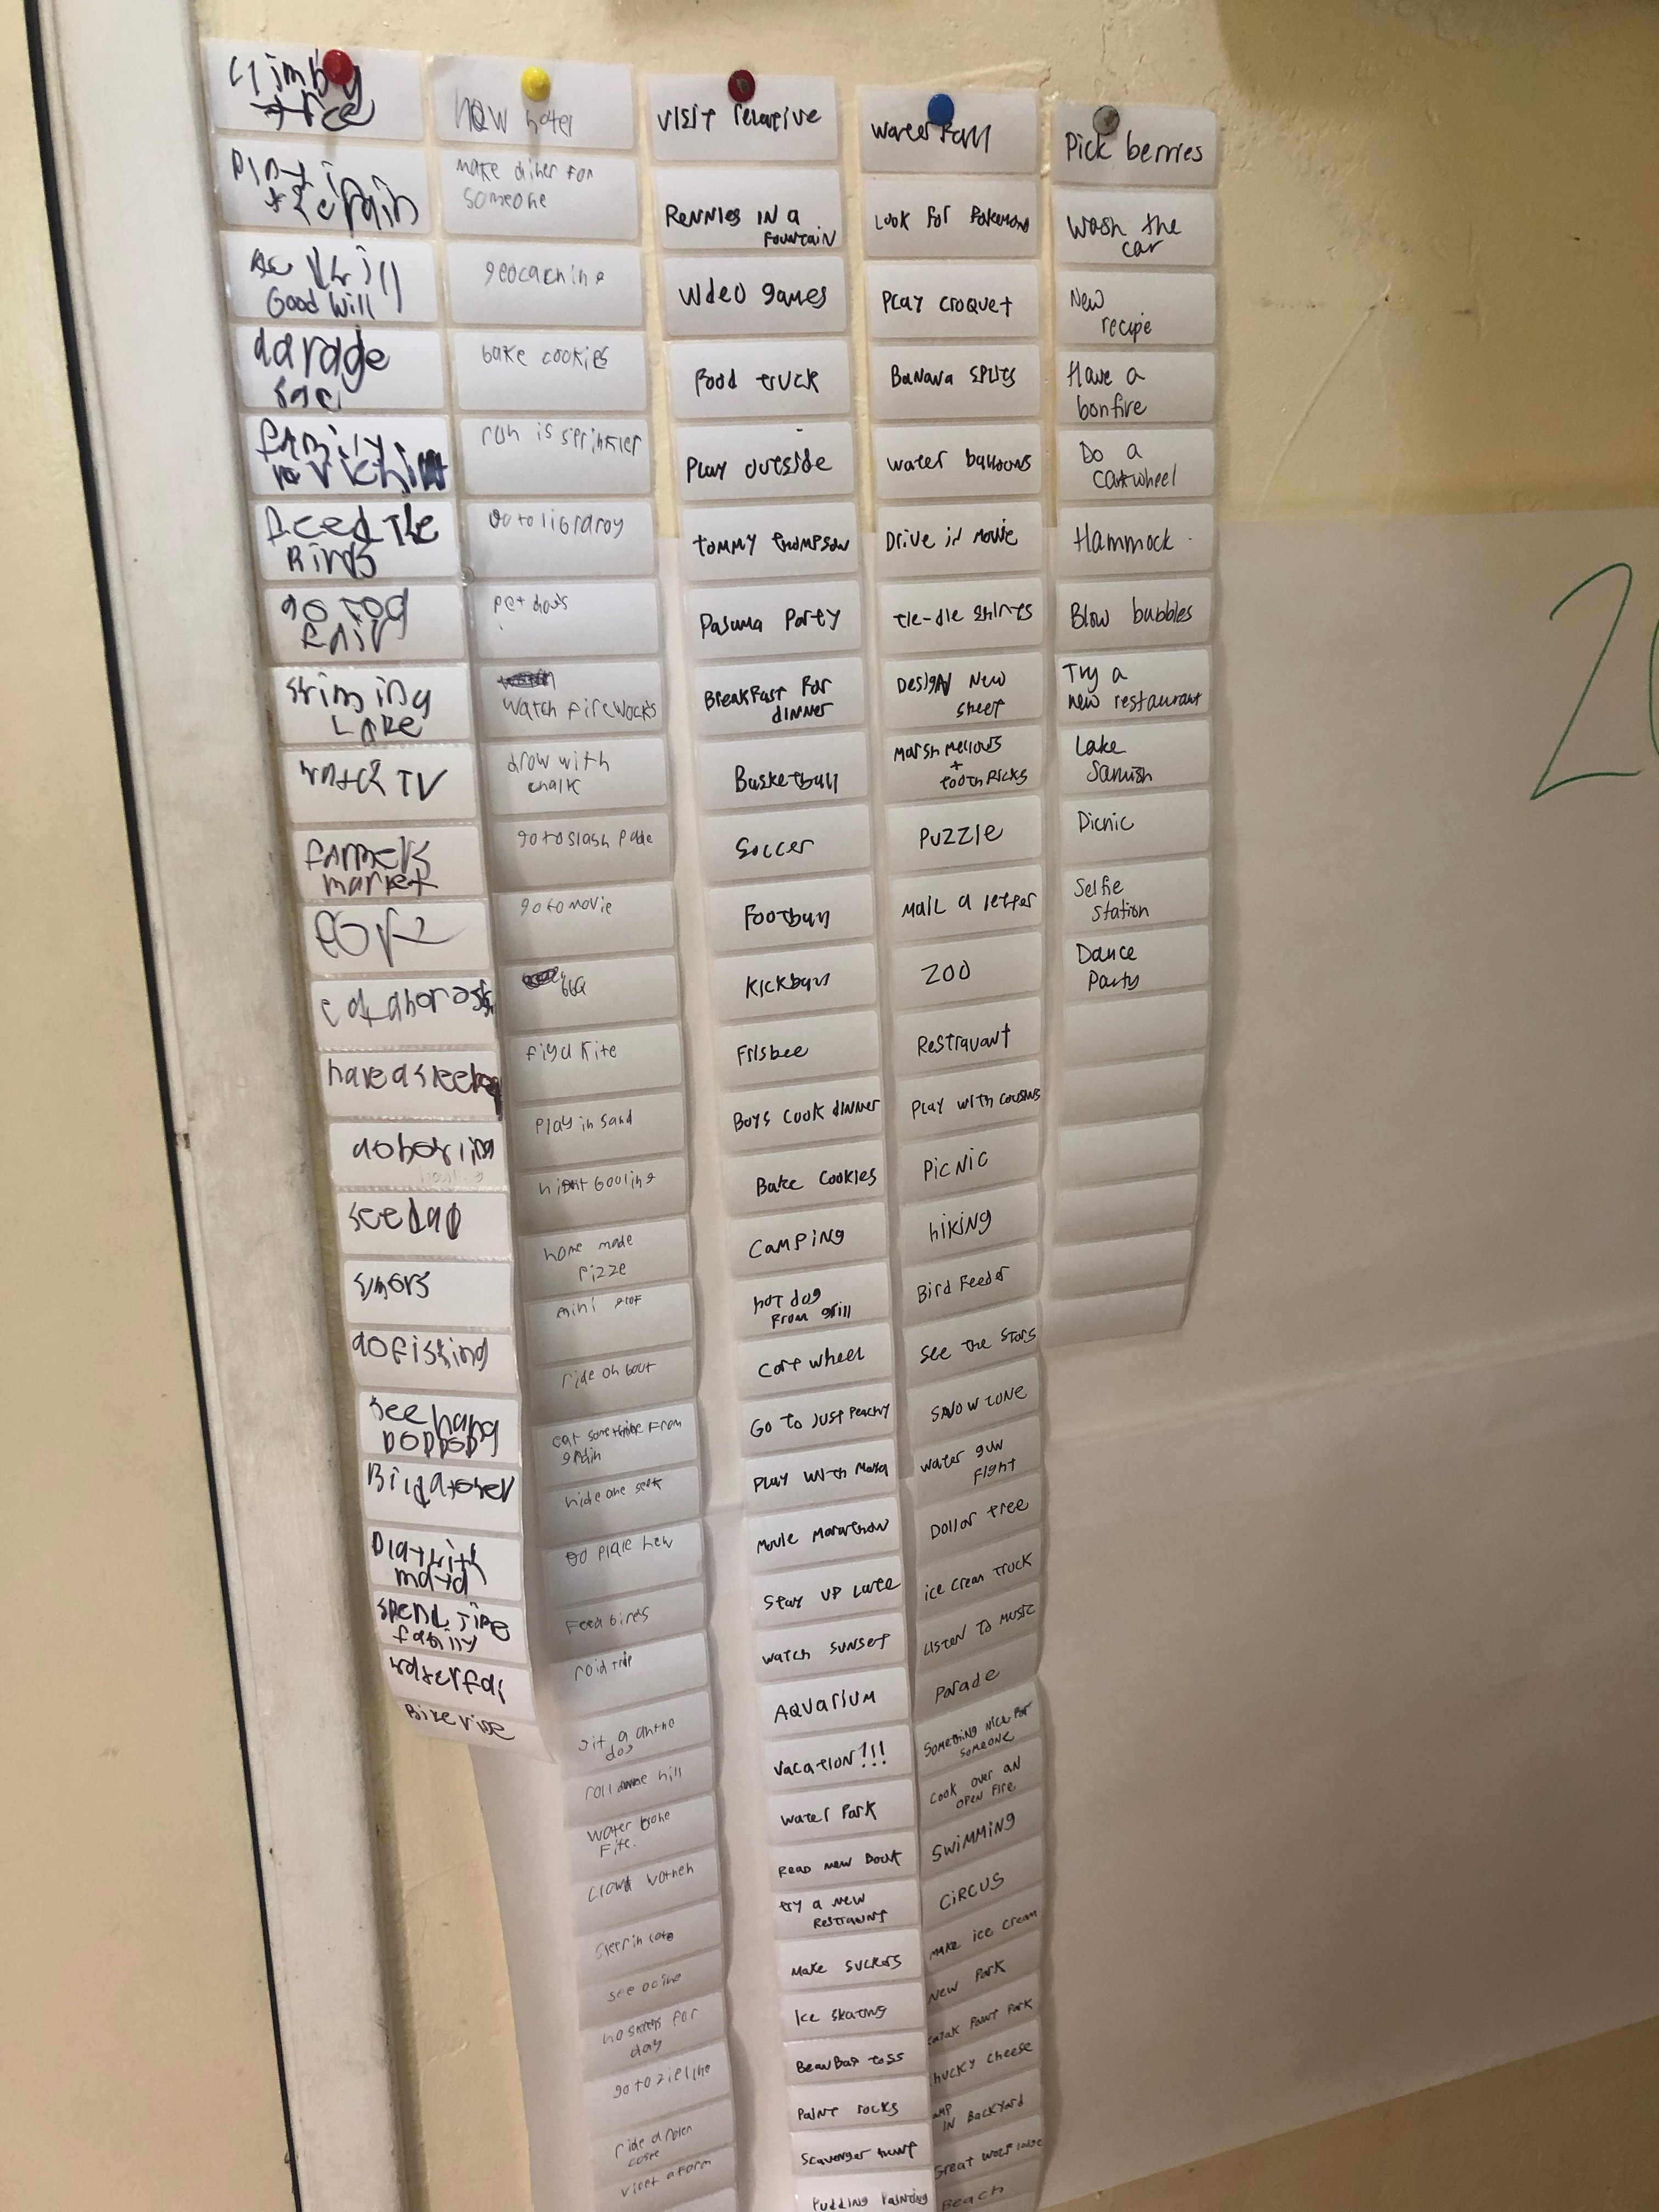
Here’s how we do ours: We have a big roll of white paper that we put up on our wall. Then we each write on sticky labels what we’d like to do this summer. Now that the kids are old enough to write, I have them write the ideas down so they are invested in it. We hang those up next to our Bucket List Sheet and then we can move over what we do as we do them.
It’s been a tradition for years and so much fun!!! Here are some of our ideas:
go on a bike ride
go to the beach
camp in the backyard
make dinner for someone
go to chuck-e-cheese
go to kayak point park
go geocaching
visit a new park
play with playdough
build a tower
make ice cream
bake cookies
go to a circus
go fishing
play hopscotch
run in the sprinkler
go swimming
make smores
cook over an open fire
go to the library
go bowling
jump on a trampoline
do something nice for someone
pick flowers
finger paint
make musical instruments
learn something new
have a sleepover
watch fireworks
see a parade
eat a popsicle
visit the ice cream truck
make a pillow fort
donate some toys
go to the Dollar Tree
draw with chalk
blow bubbles
have a water gun fight
make a snocone
do a watercolor painting
Skype with a relative
see the stars
go to a splash pad
go to a farmer’s market
make a bird feeder
go to a movie
go hiking
swim in a lake
have a picnic
have a beach BBQ with family
play with our cousins
go to a fair
dress up silly
go to a new restaurant
play the cheeto game (just shaving cream on your head and have someone throw cheetos to try to get them to stick)!
play with shaving cream
fly a kite
feed the birds
go to the zoo
mail a letter
do a puzzle
have a family game night
make a marshmallow structure (marshmallows and toothpicks)
play in the sand
make a puppet show
go to a garage sale
design new sheets (get old sheets and have the kids color on them)
play drip, drip, splash (think duck, duck goose with water)
make a bike obstacle course
go on a bug hunt
make a marble launch (cut up pool noodle and run marbles down the middle)
go night bowling in our yard (stick glow sticks in water bottles and bowl)
go to a drive-in
build with legos
do a home depot workshop
play in the rain
make water balloons
help make dinner
make homemade pizza
have banana splits
climb a tree
play croquet
play mini golf
eat fro yo
play freeze tag
wash the car
visit a waterfall
ride on a boat
go to a baseball game
eat something from the garden
have a dance party
pick berries
do a pudding painting
have a gratitude journal
go on a scavenger hunt
play charades
paint rocks
paint our own pots
have a bean bag toss
play hide-n-seek
try a new recipe
go ice skating
make suckers
Here’s our finished list. You’ll notice we leave some stickers blank so we can add the amazing things that pop up over the summer. Maybe there are some on here for you too!
You know I couldn’t just post 5. I have a whole bookshelf of games! Here are 5 more fun ideas for summer practice that are guaranteed to please!
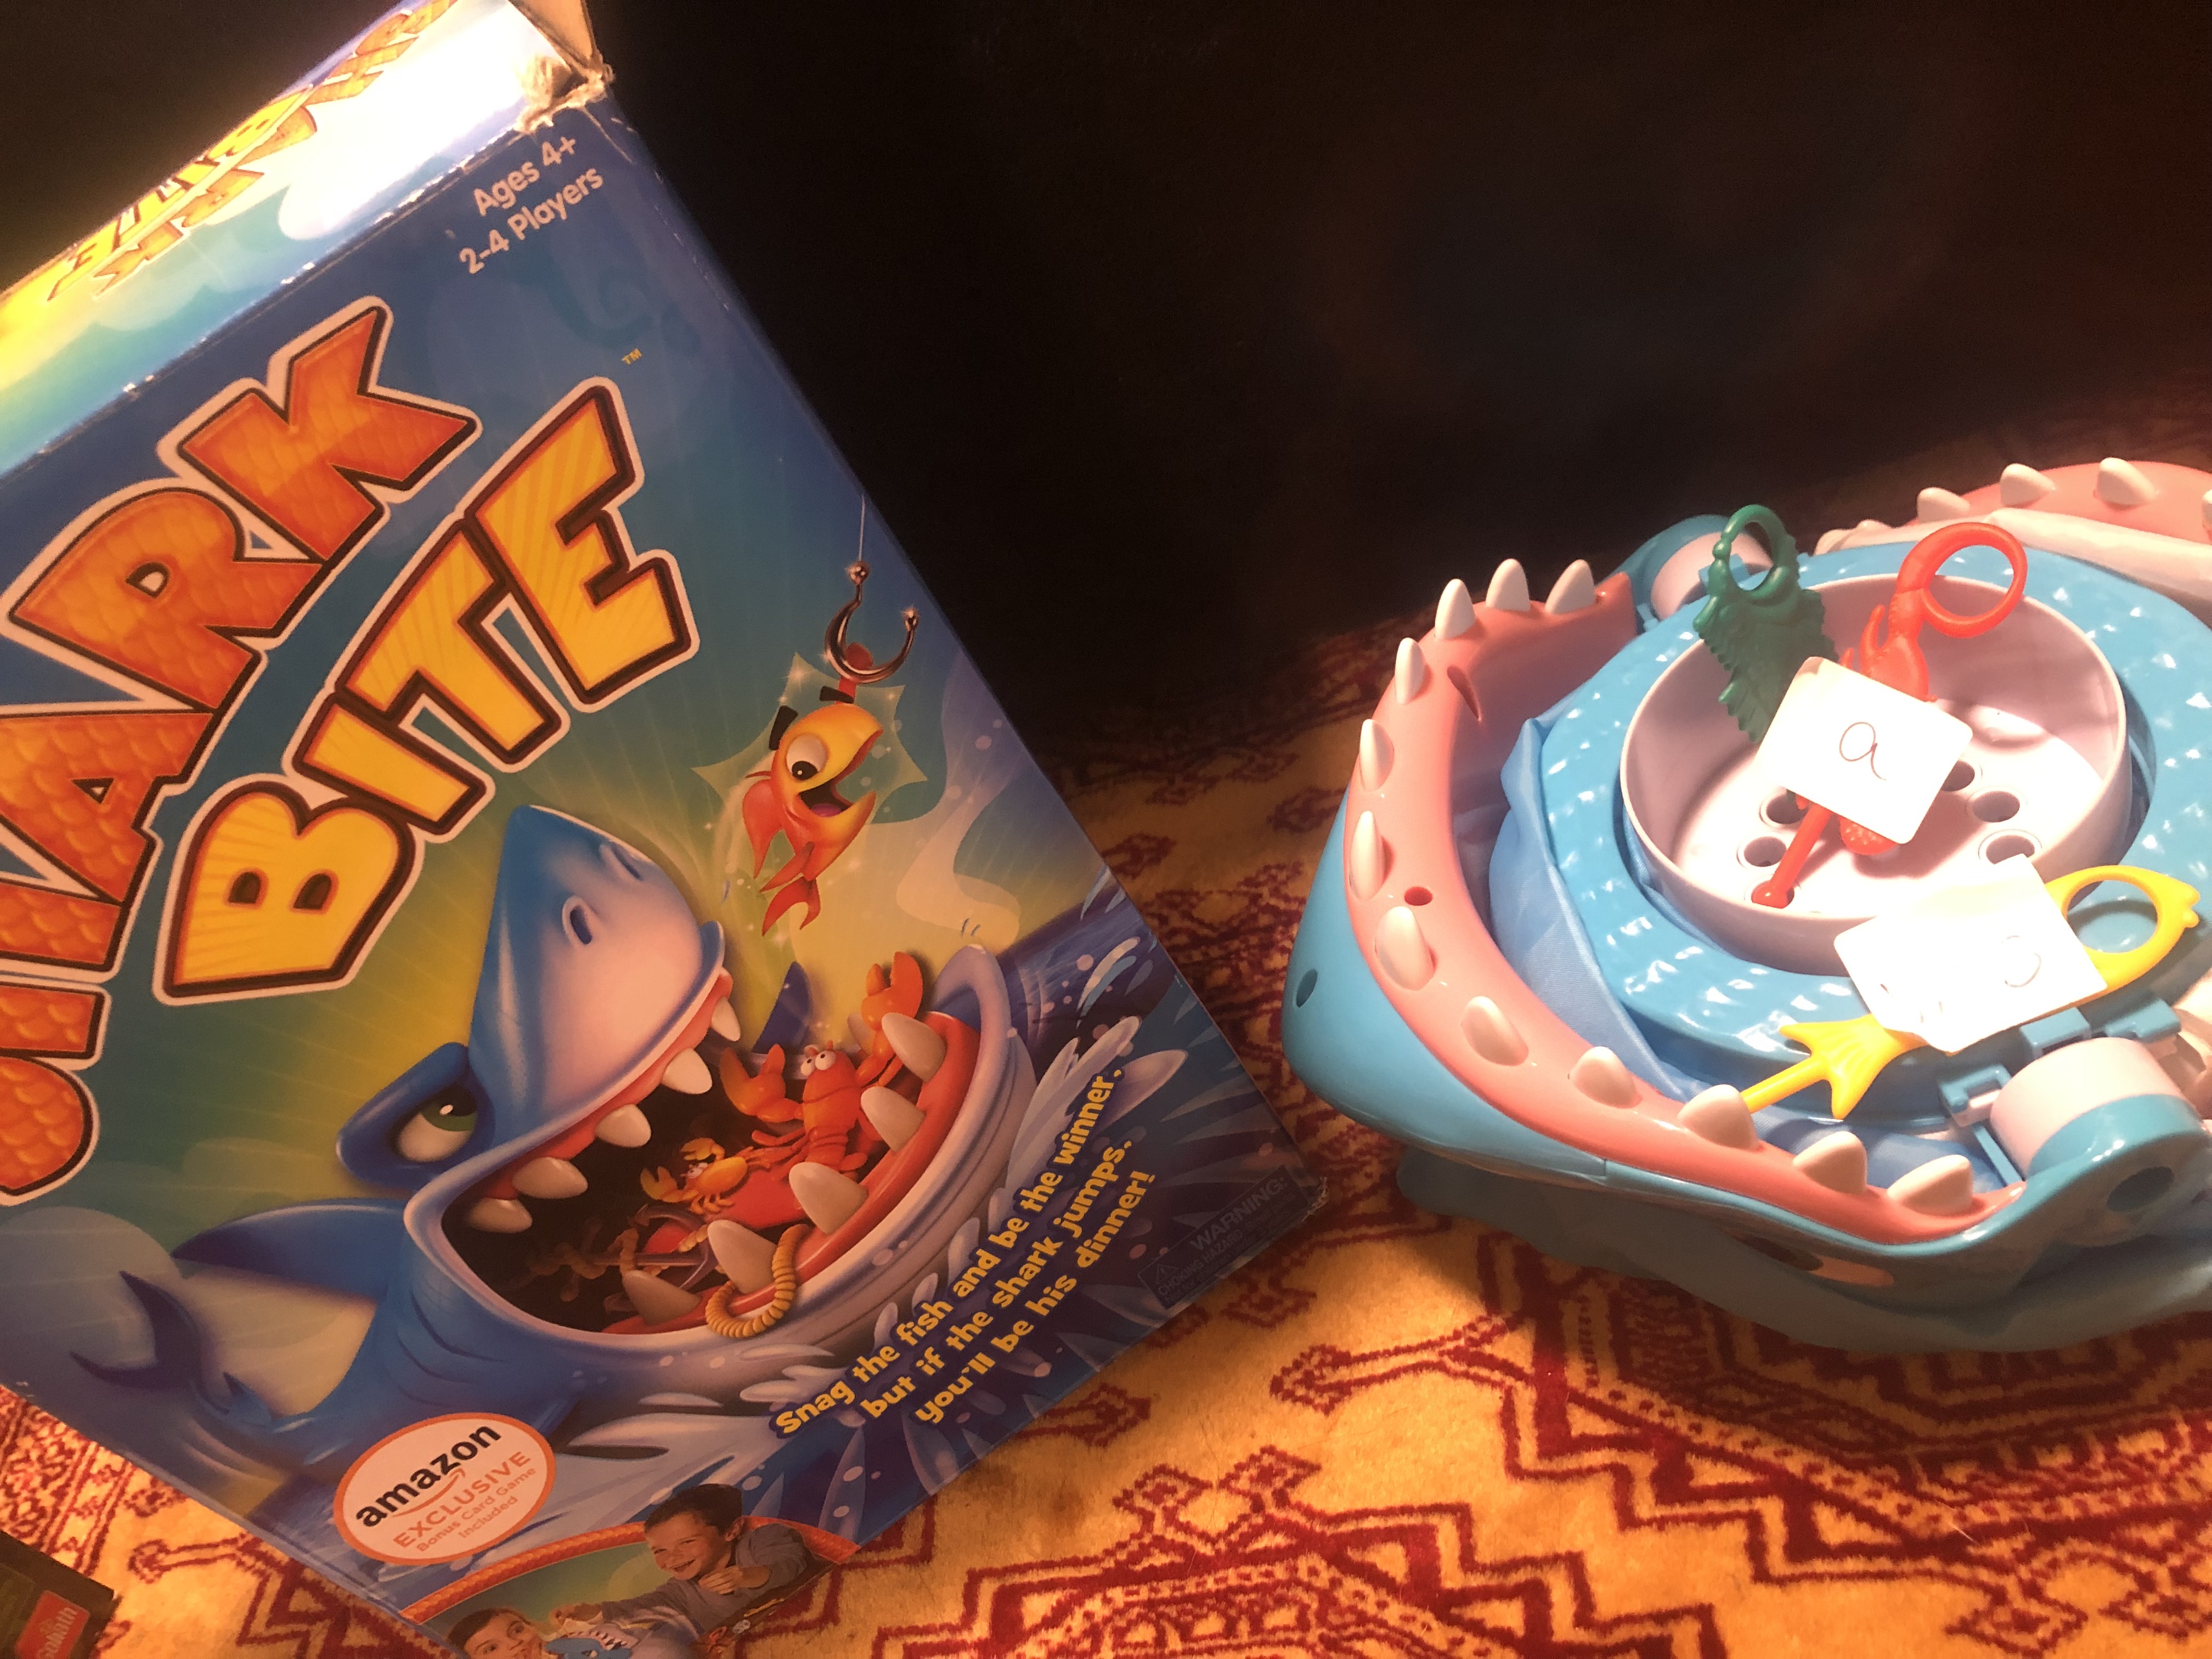
Number 1: Shark Bite! This is hilarious! The kids get to reach into the shark’s mouth and snag a fish before the shark bites! I add sight words to the fish and they can read the words as they play. Super fun and it’s sure to provide some giggles. Find it here: https://amzn.to/3OqPWg8
Number 2: Pop the Pig! Aww this one makes me so happy! This cutie eats burgers and eventually gets too full and he pops his shirt! You can write small words, letters or numbers on the burgers to turn it into a learning game. Find it here: https://amzn.to/3OcFM2P
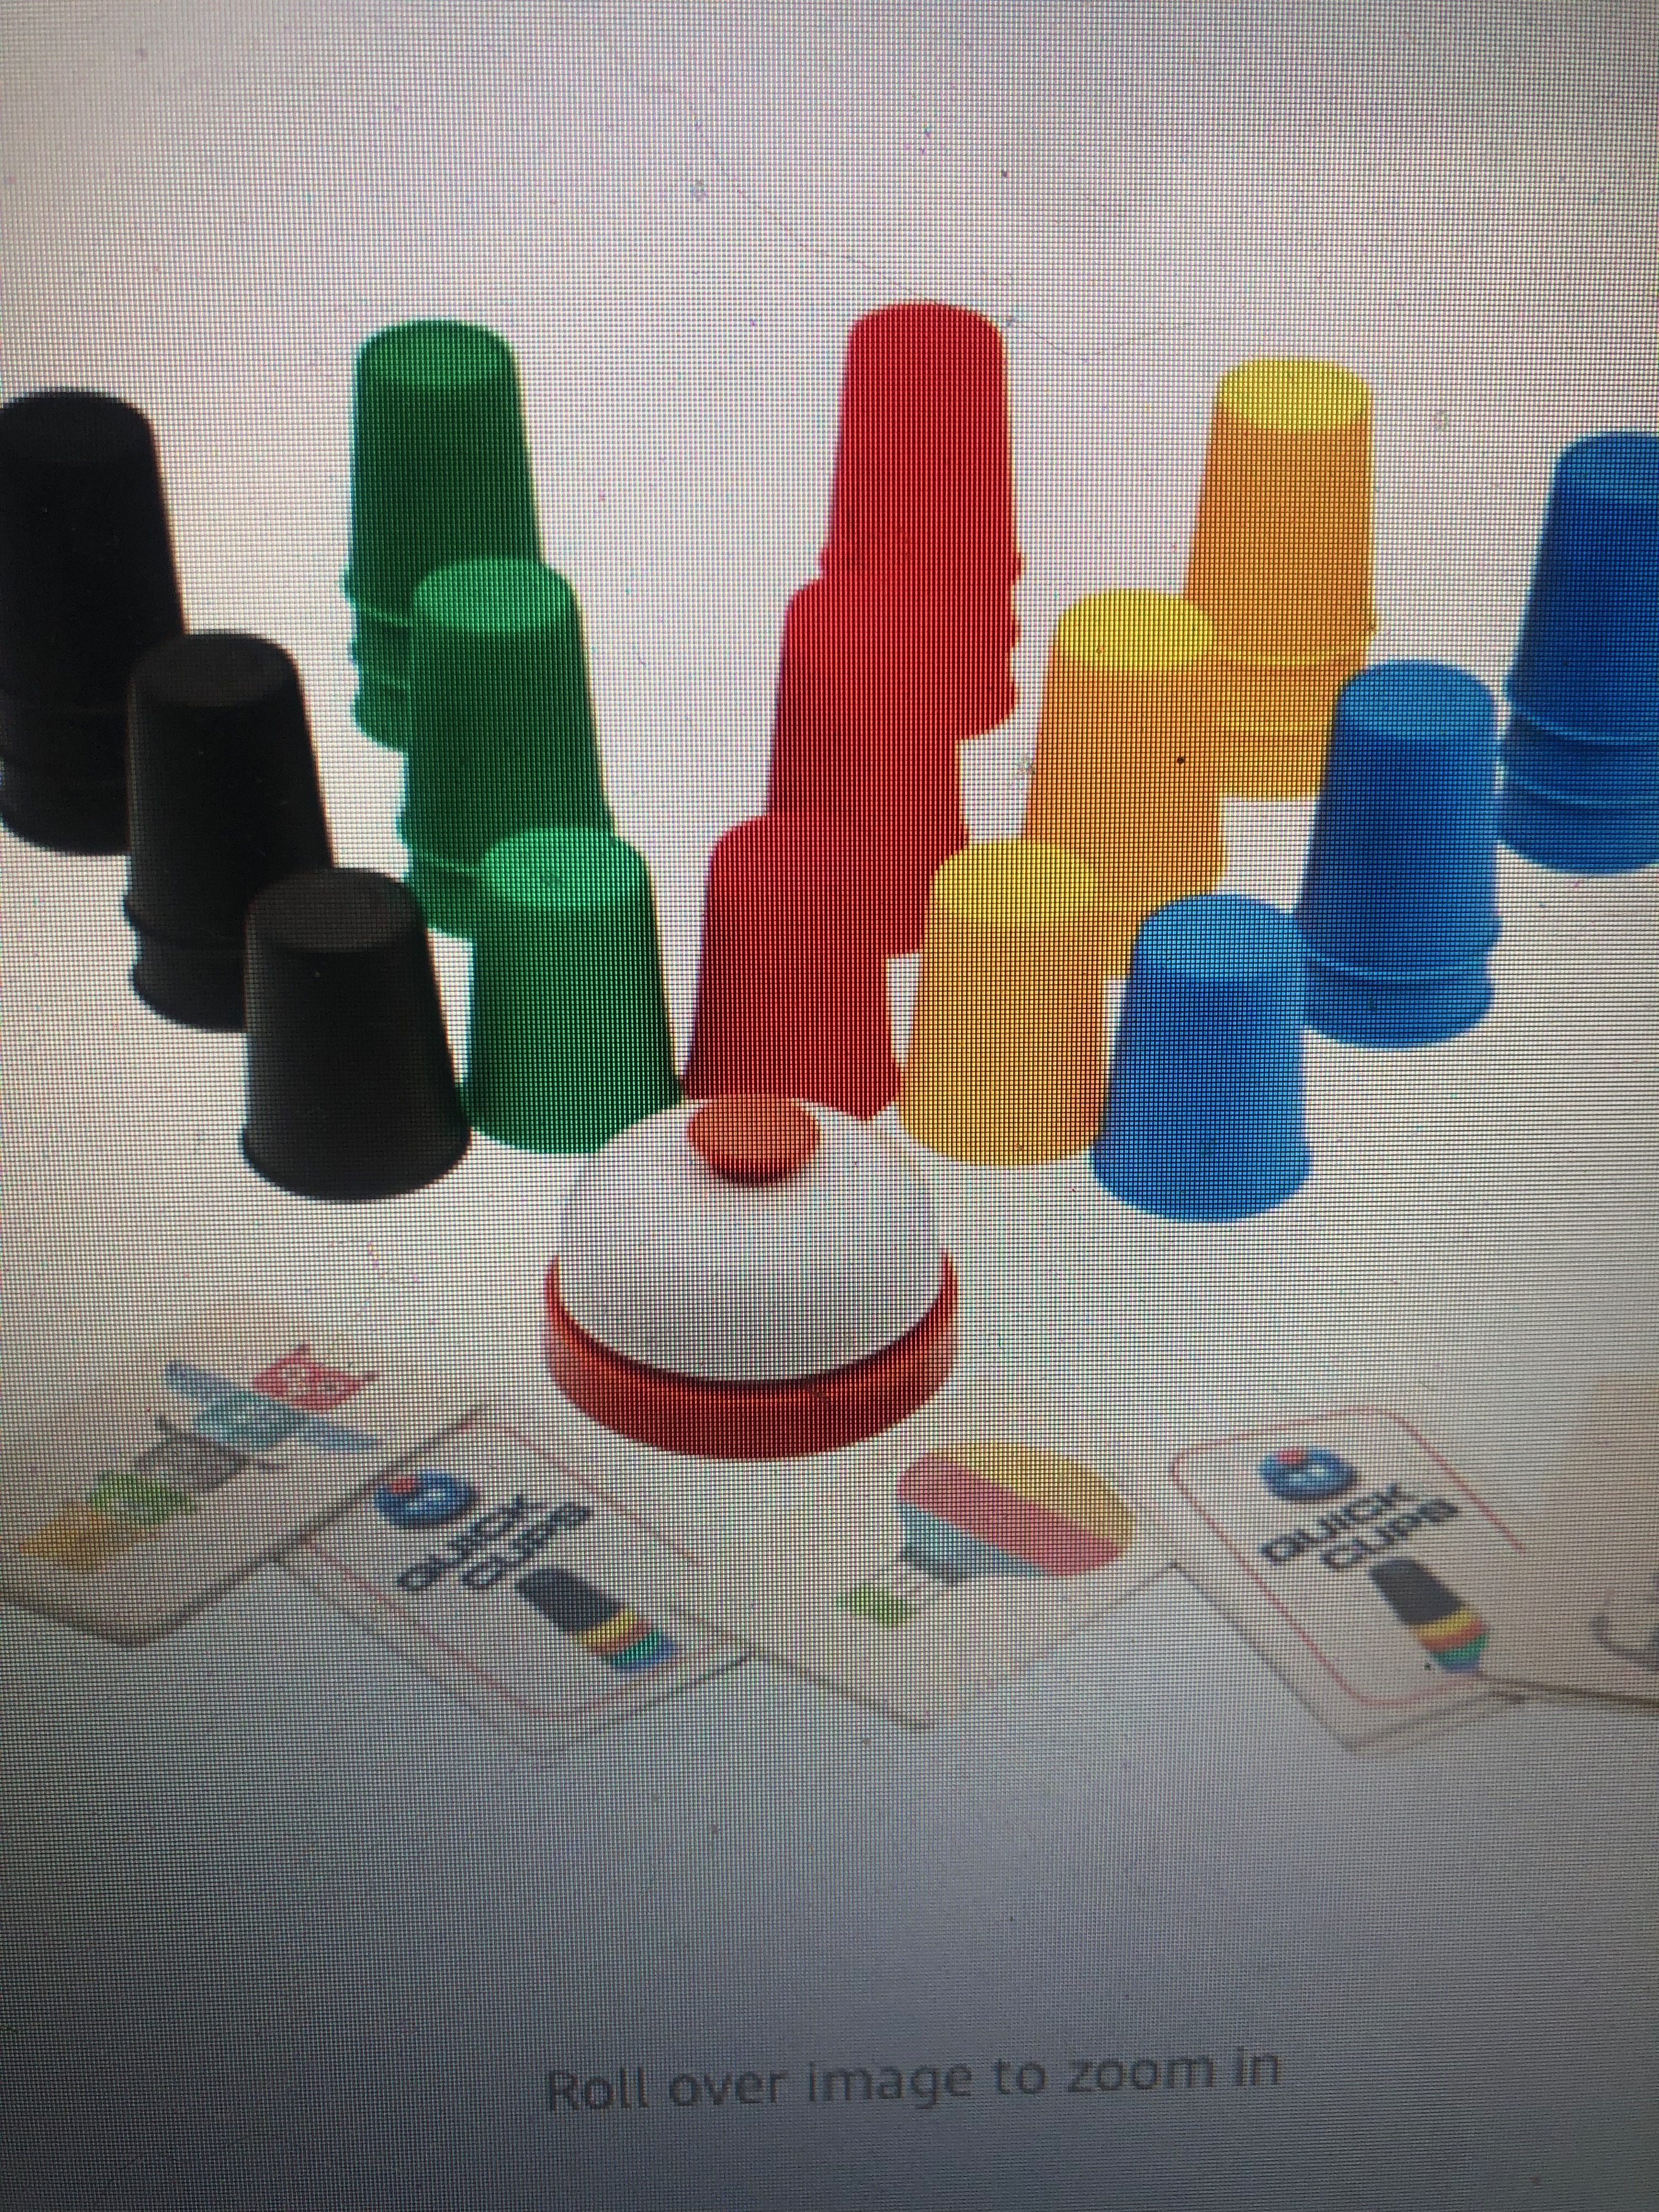
Number 3: Quick Cups! This one is a good warm up for learning time. It requires you to try to put your colored cups in a way that matches the colors on the card. It’s a brain teaser! https://amzn.to/3zTbTAl
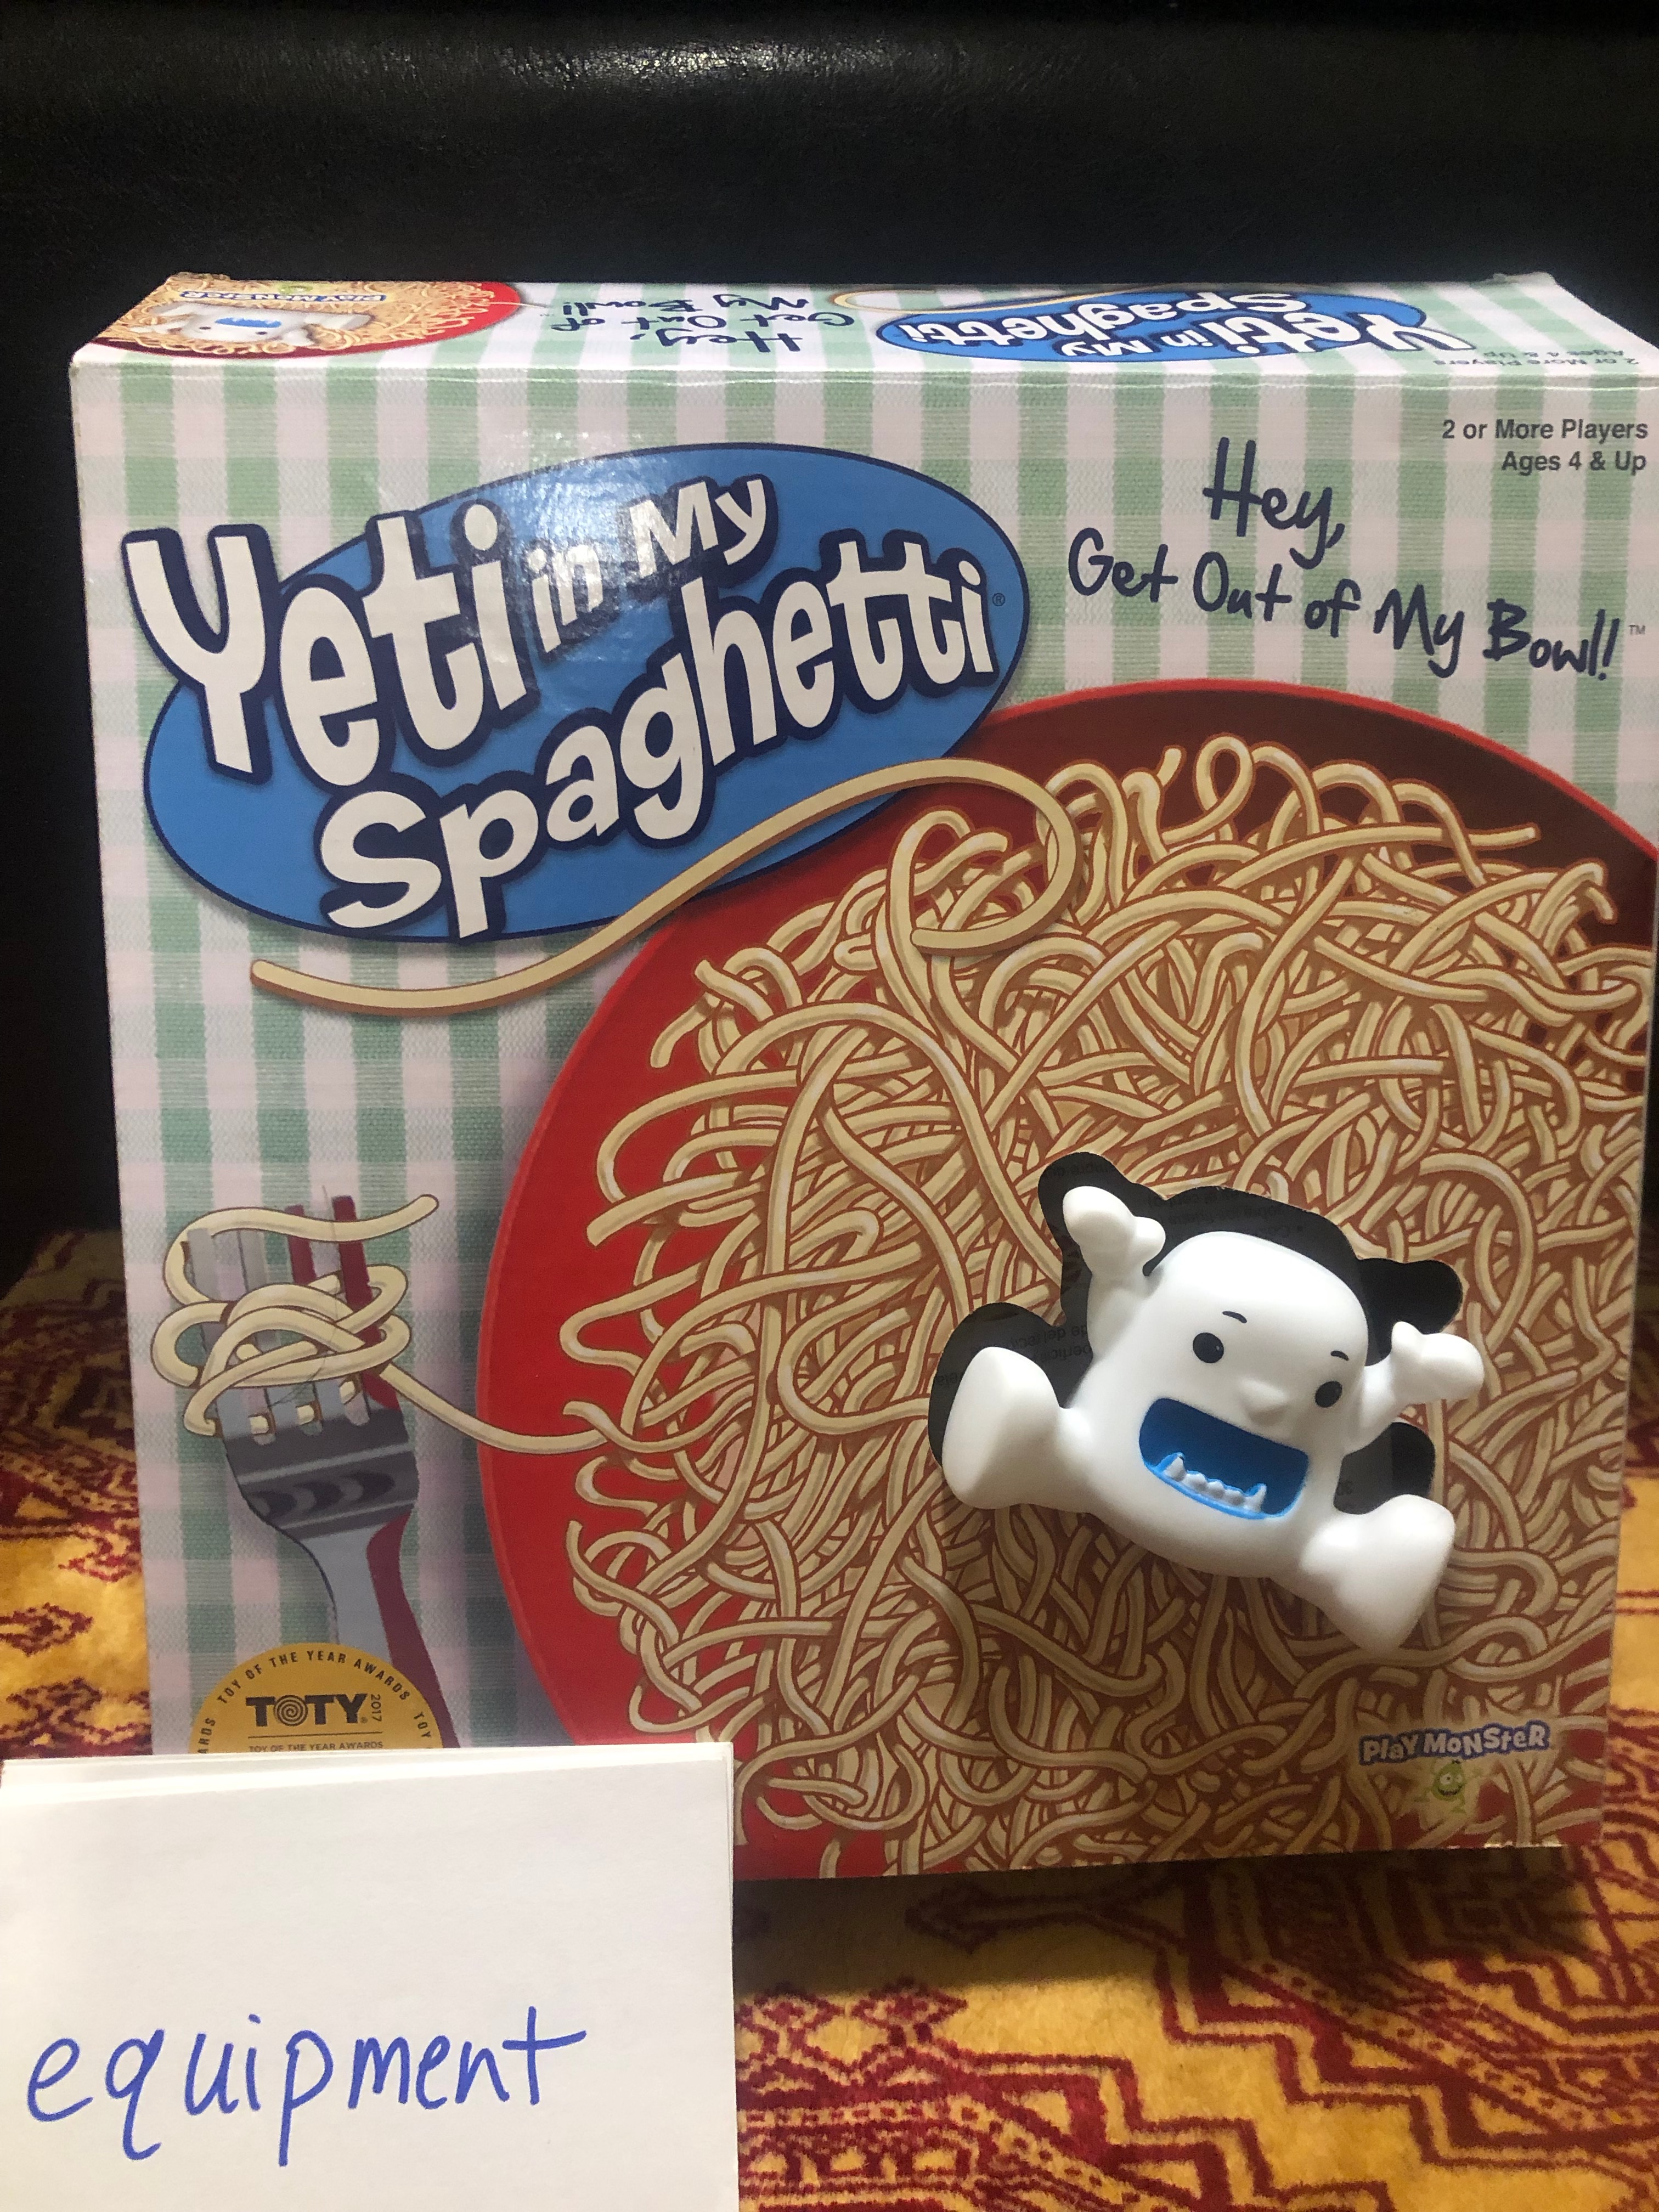
Number 4: Yeti in my Spaghetti! How steady are your hands? You have to move the noodles in this game without making the Yeti fall! Pre make a set of 3×5 cards with some type of content on them. Sight words, letter names/sounds, numbers, equations, etc. After each turn, have your kiddo read one of the cards you’ve created. https://amzn.to/3QFlErN
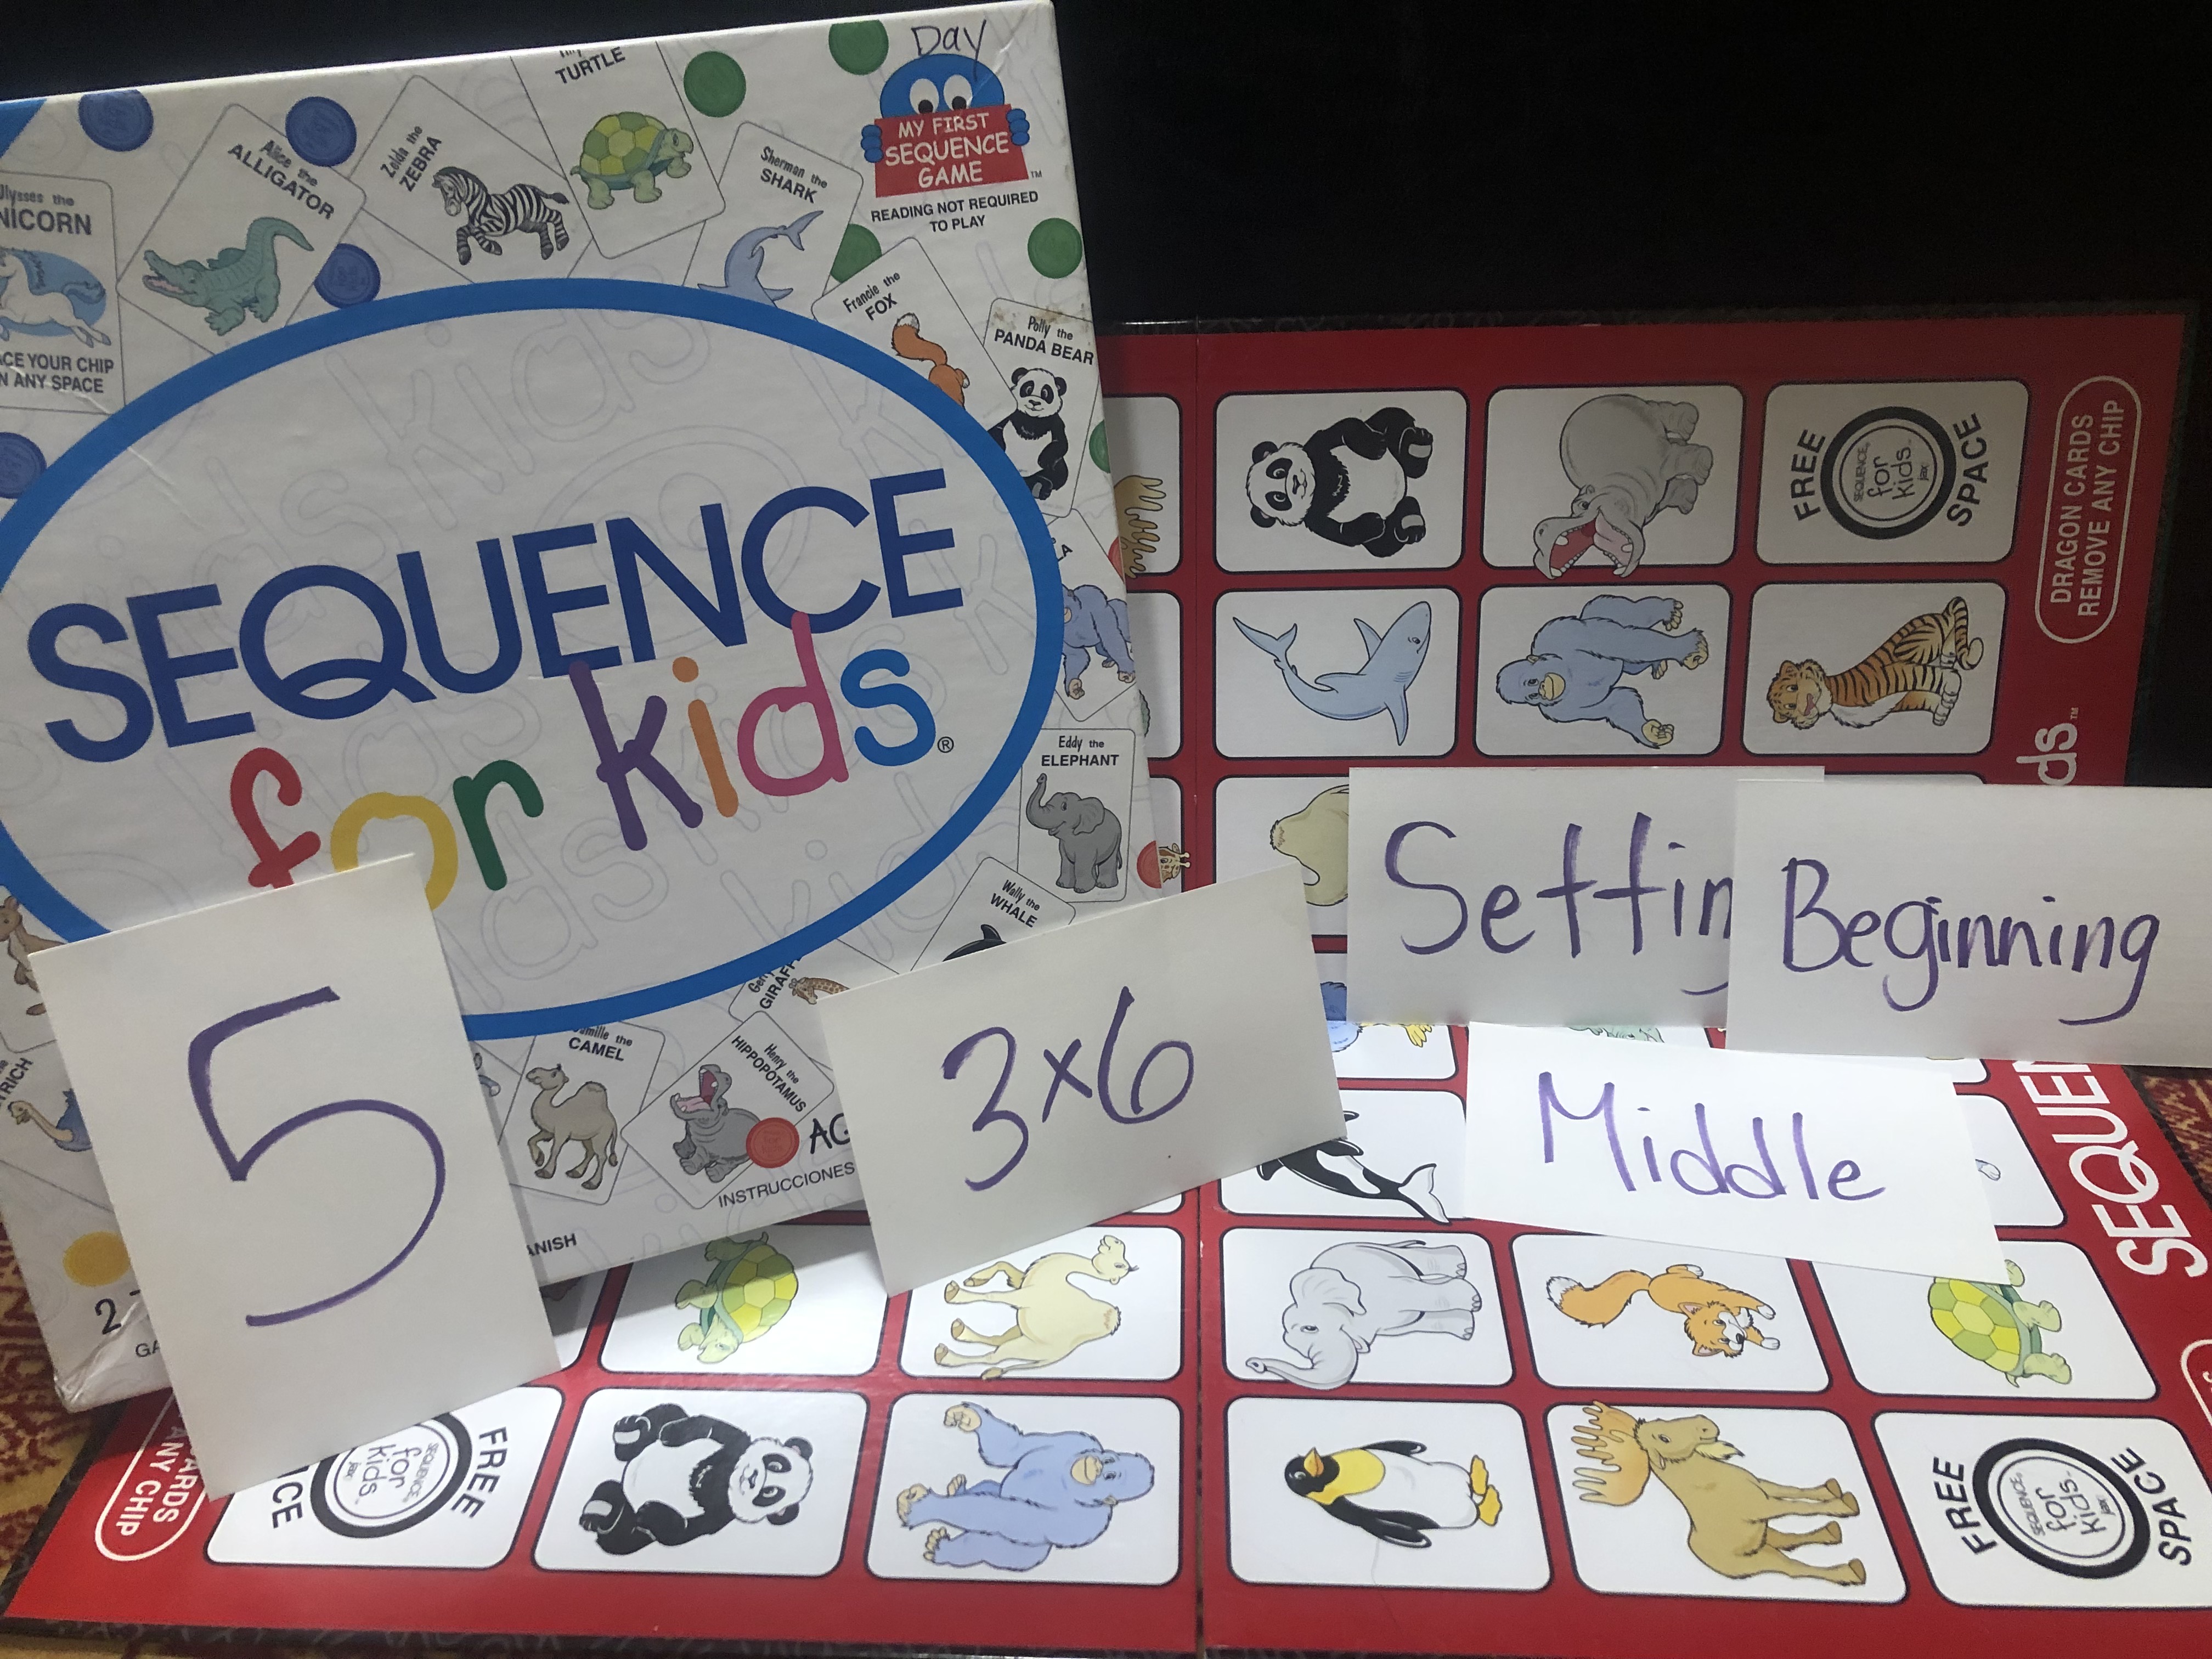
Number 5: Sequence! This is fun! Simply match the animals on the cards to the animals on the board. The first to get 4 in a row wins! After each turn, have your student read a content card. https://amzn.to/3NboMsq
(The above are affiliate links so I get a small commission at no extra cost to you.)
Are you looking for some fun games for your kids this summer? Look no further, I got you!
I have been a tutor for years now and love it. My whole goal is to make learning fun and working one-on-one with a kiddo gives me the perfect opportunity to do that. I try to turn any game into a learning game. Here are 5 of my unusual favs to try out with your own kids.
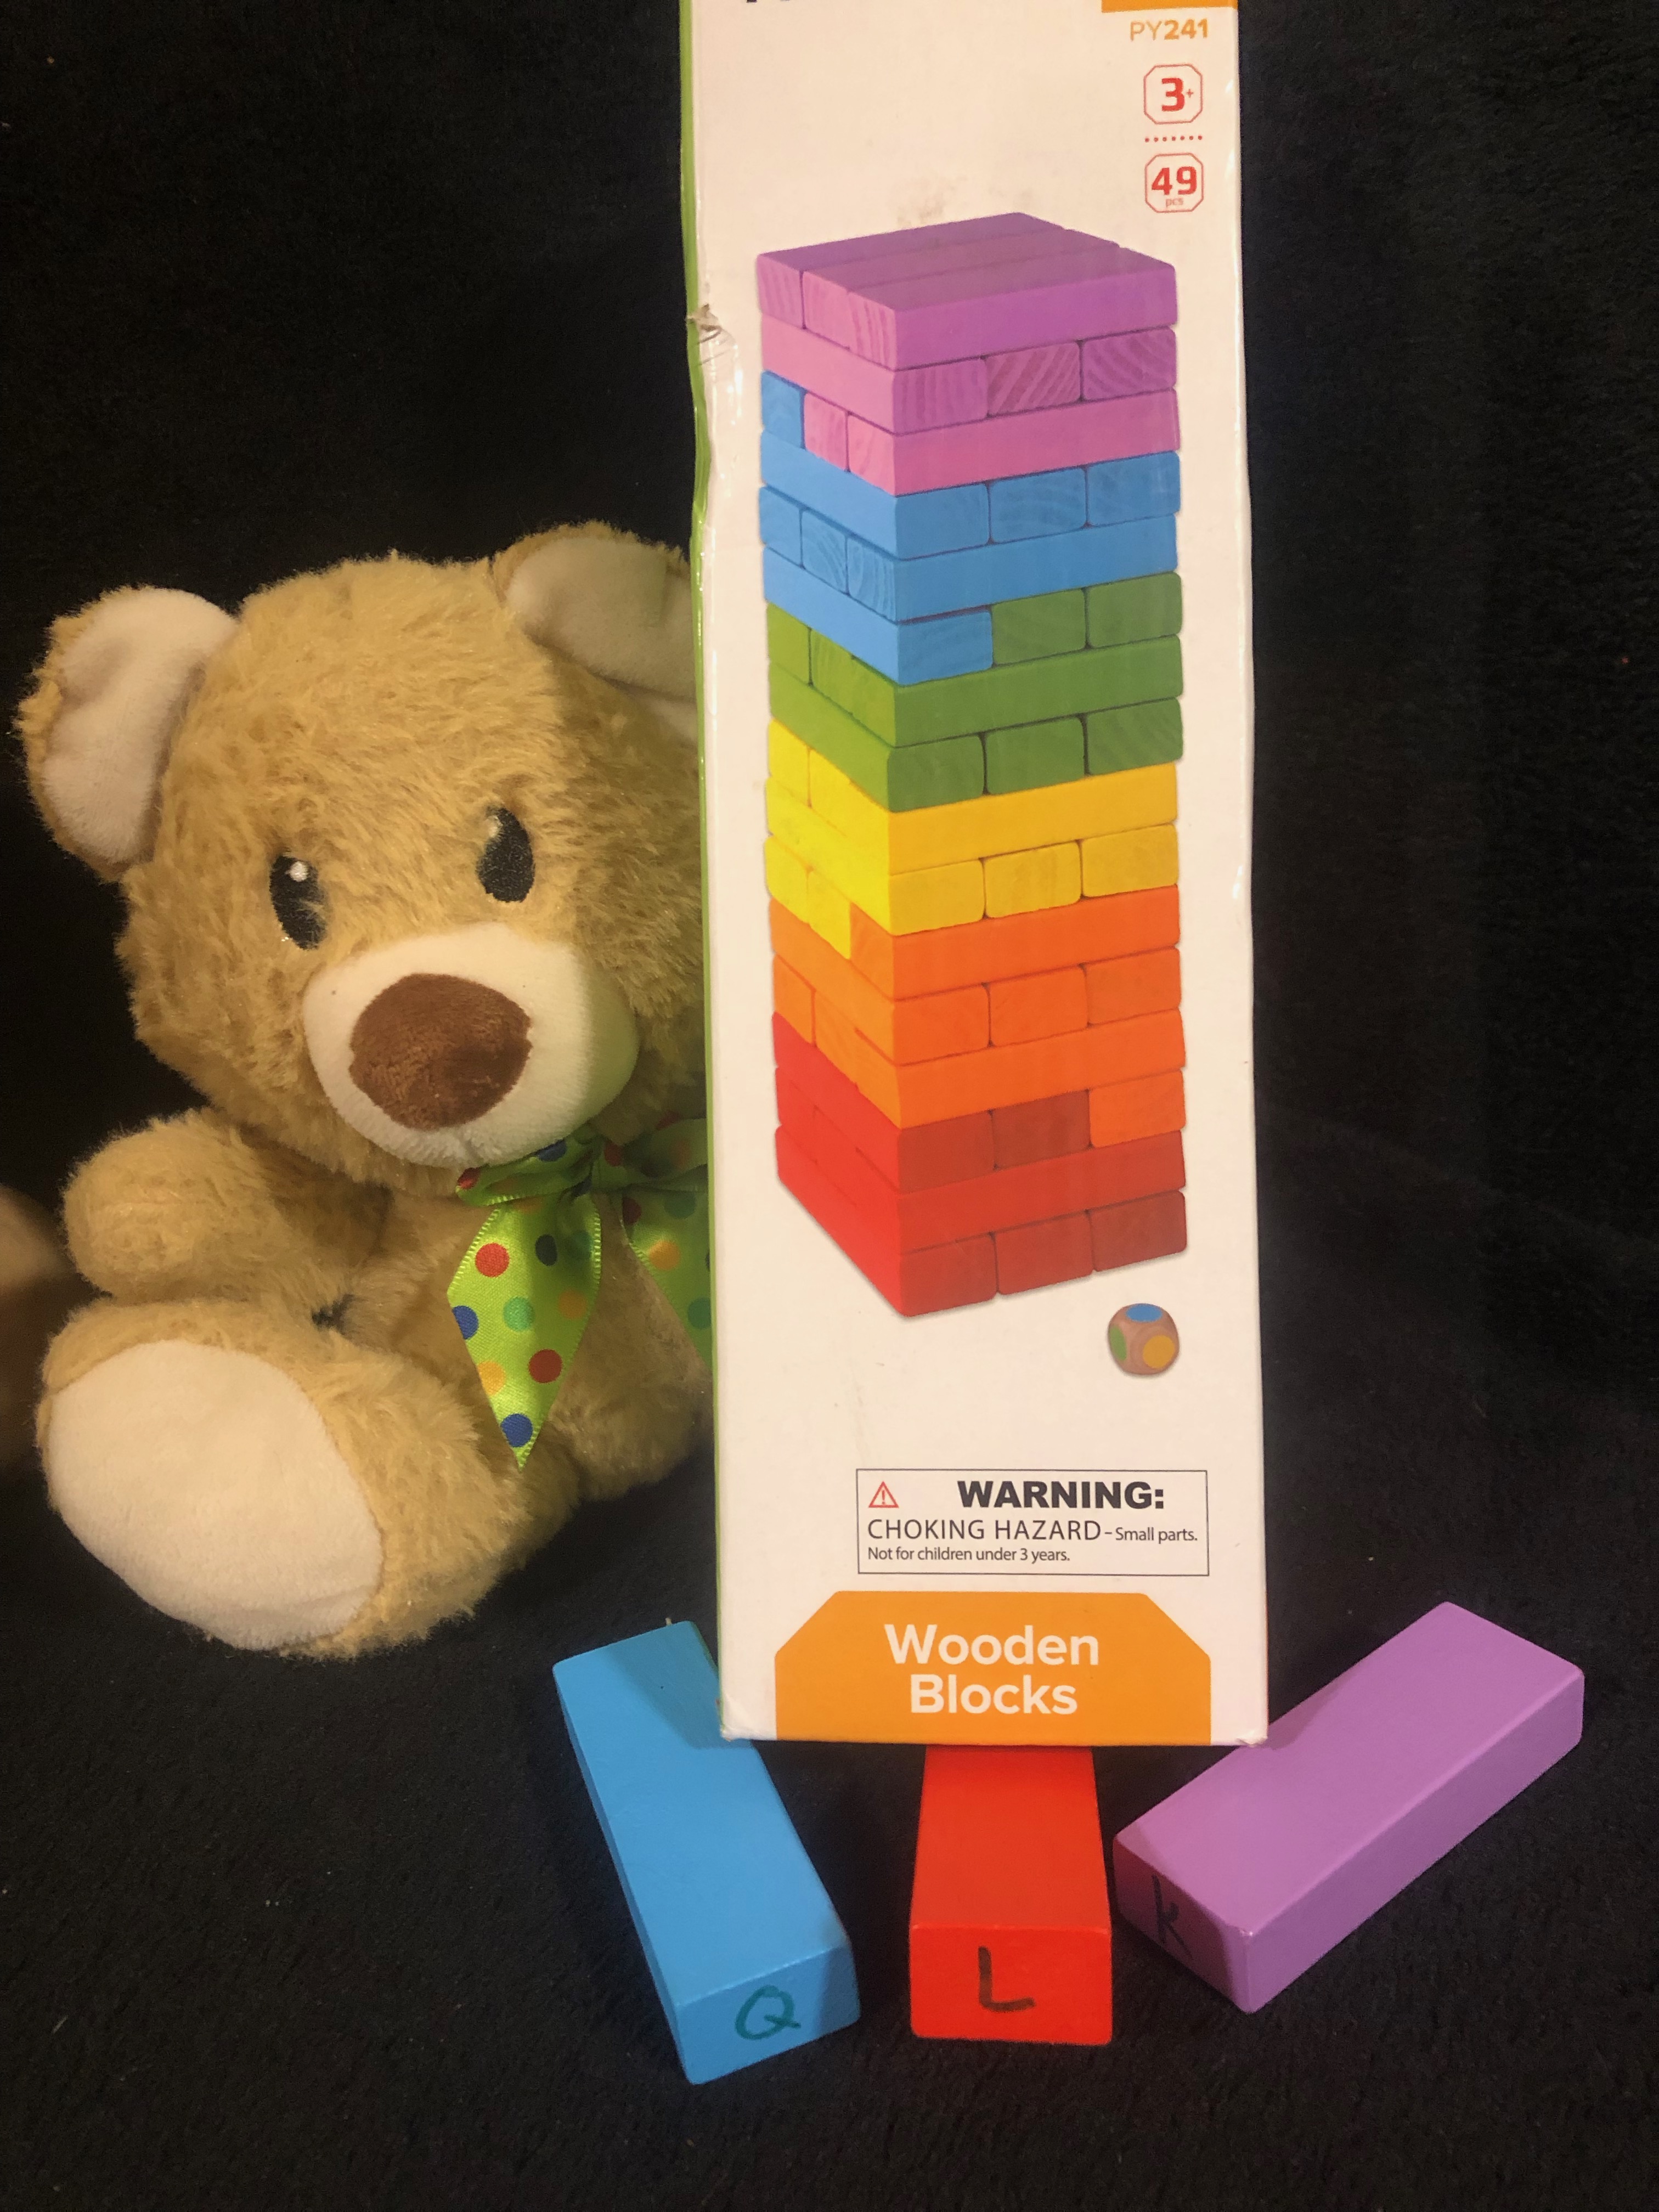
Number 1: Jenga! We love Jenga at our house. I love to add sight words, equations, vocabulary words, story elements…you name it! Simply add your content on the ends of the blocks and as you play, the kids can name the sight word, or give the answer to the equation, or if it says Characters on the end, the student can name characters from a recent book. You get the idea. Here’s our link for Jenga: https://amzn.to/3QEymac
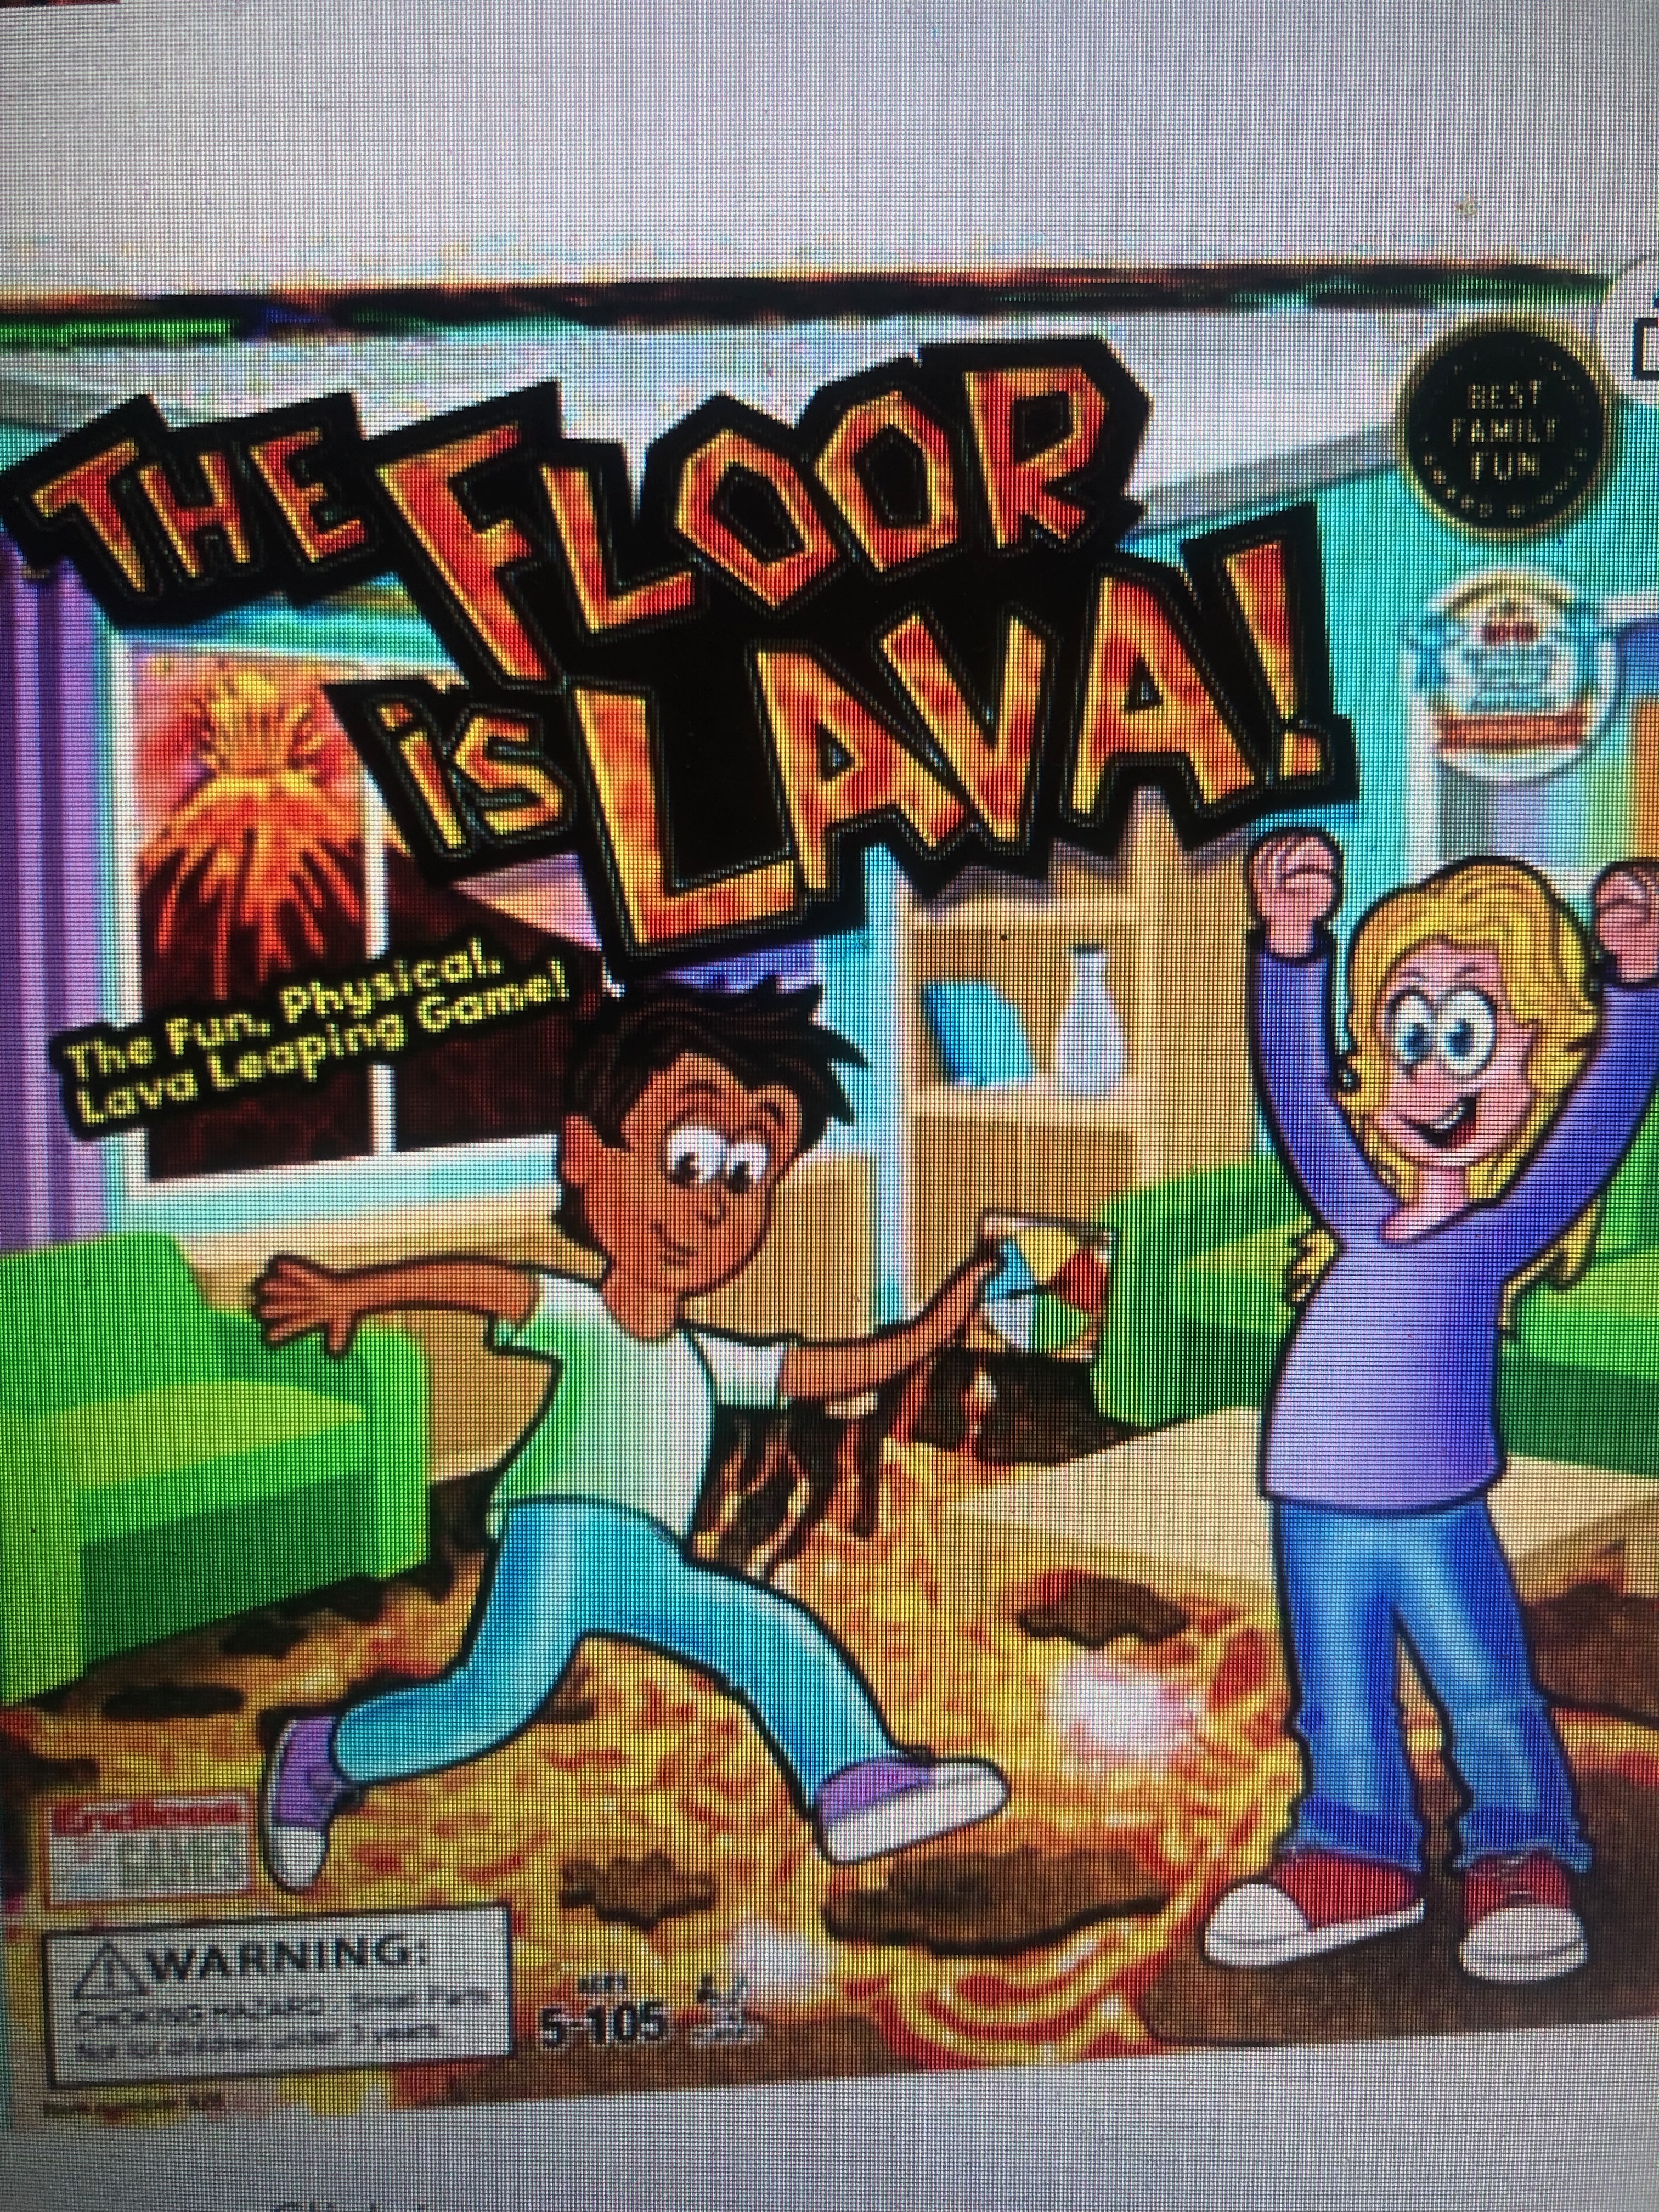
Number 2: The Floor is Lava! This is such a fun way to add movement into the learning. Simply spread The Floor Is Lava tiles out in the room, or outside, and play as you normally would. Have a pre made stack of content cards and as you get to the end of the turn and are on the correct tile, show the student a content card and they can read the word, solve the equation, tell you the multiplication fact, etc. You can find it here at the affiliate link: https://amzn.to/3Oy1tKr
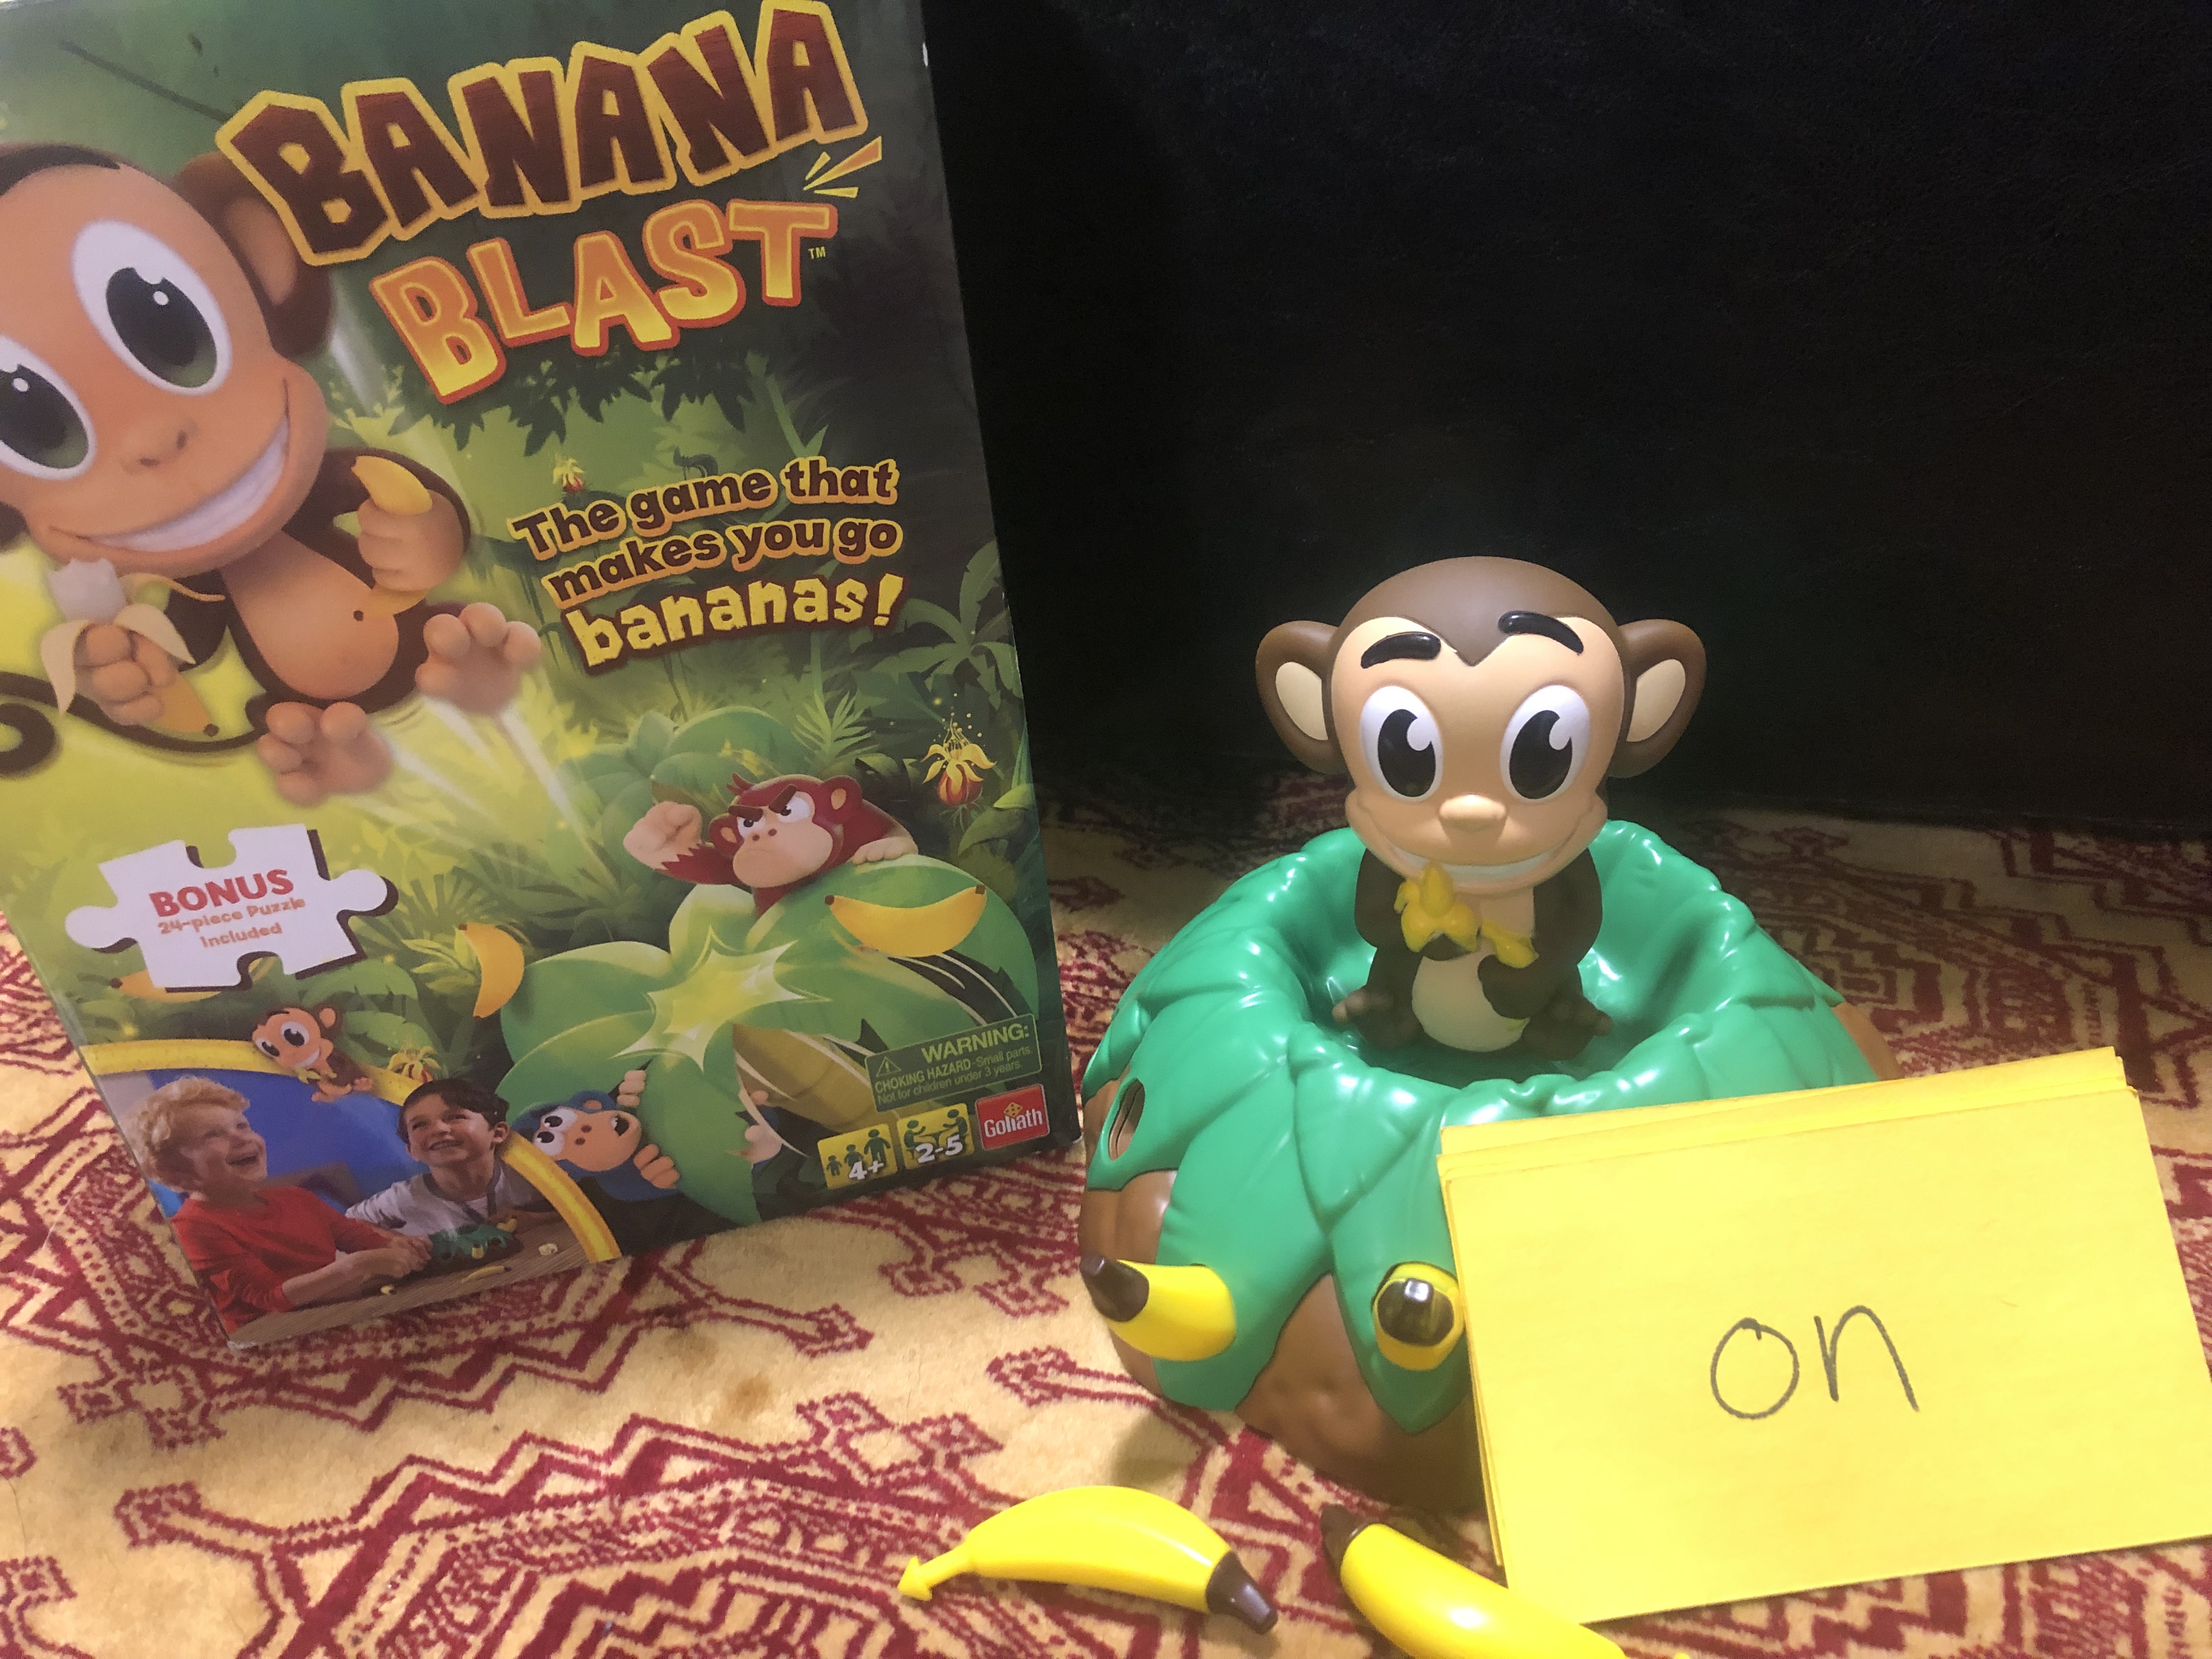
Number 3: Banana Blast! This is so silly and you will most definitely hear giggles when you pull this one out. Have a pre made stack of content cards on hand and play as you normally would. If the student is to remove one banana, they read one content card. If it’s two bananas, two content cards. Take turns and I always make sure to show the content card on my turn so the student can see whatever is on the card and hear my answer. Find it here: https://amzn.to/3QOyYdN
Number 4: Pancake Pile Up! This game is really easy to add stickers to. Simply write out what you want your student to practice and stick to one side of the pancakes. Then race to finish your stack. After you finish, turn the pancakes over and read the content you’ve put on the pancakes. It’s a super quick and easy one. You can find it here: https://amzn.to/3HGKHqj
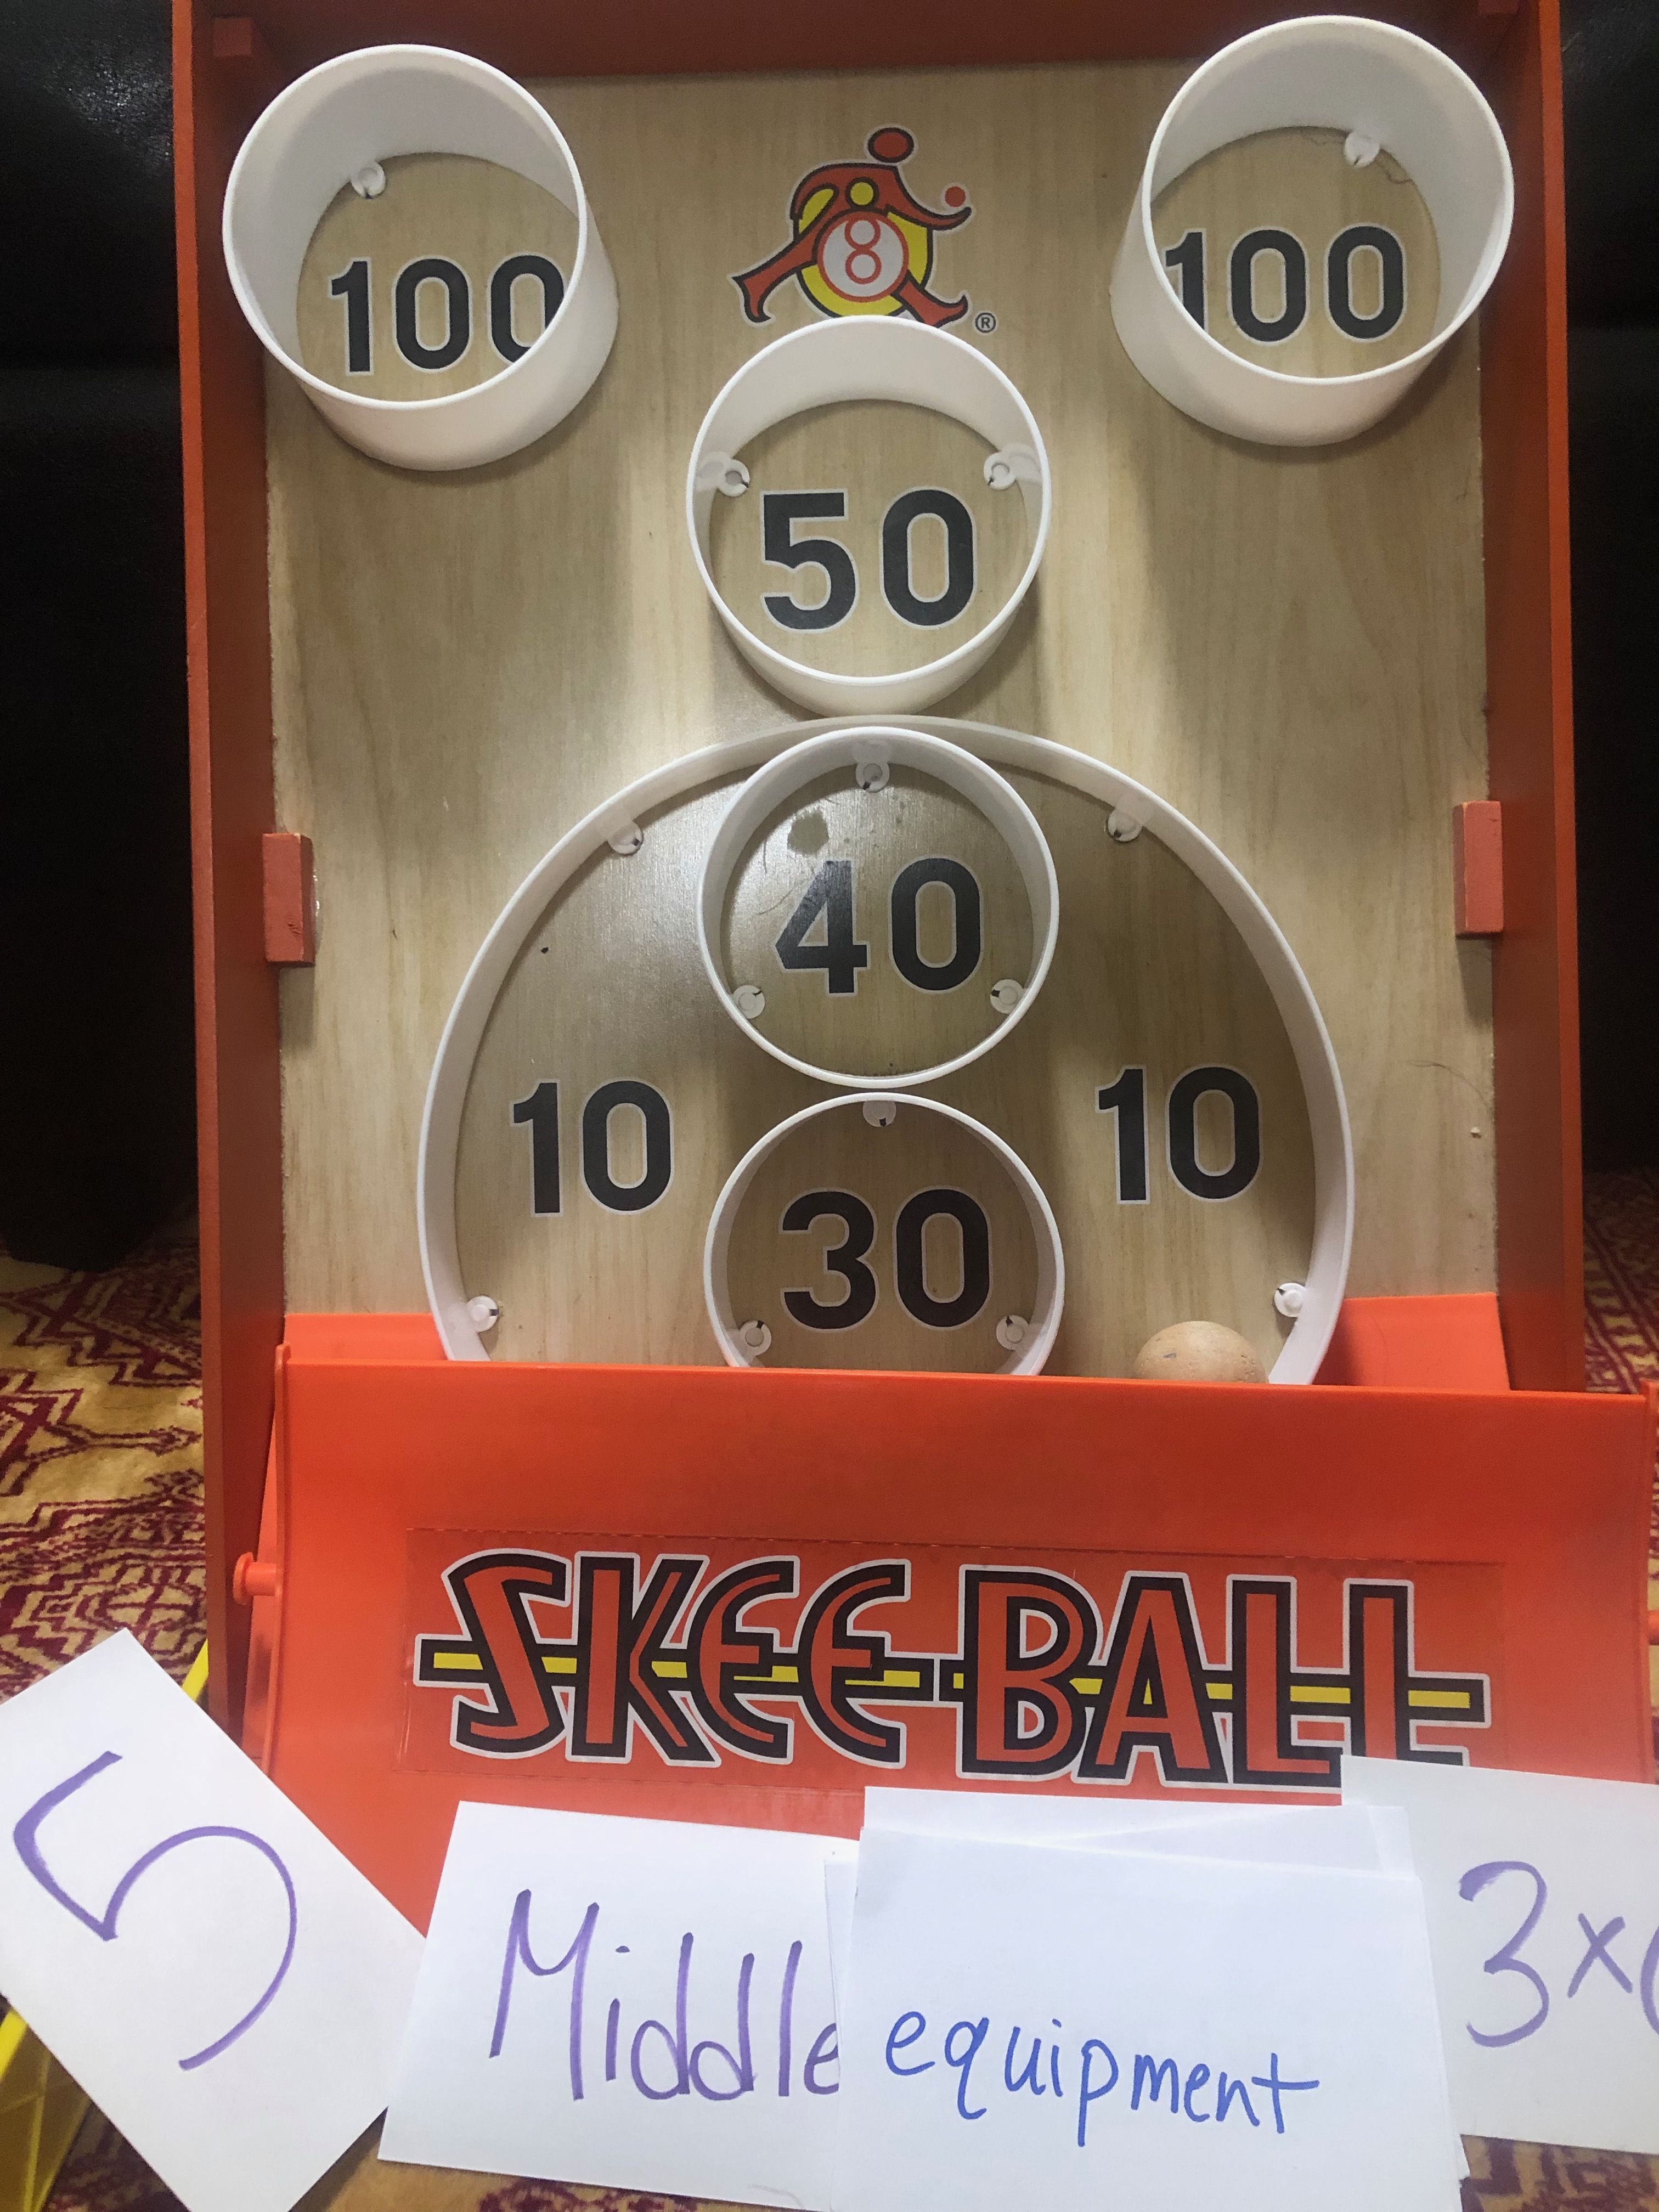
Number 5: Skee Ball! Ok, this one is on the list because it’s my favorite game of all time! I got this one year for my son’s bday and it’s been well loved. It is a crowd pleaser for sure. You will need to pre make your content cards as well as 3×5 cards with the numbers to match your Skee Ball set. In this case, 100, 50, 40, 30 and 10. Place some content cards under each numbered 3×5 card. After each person’s turn, they read whatever content cards match the numbers they got. I have found that when I’ve used this for sight word practice, the active movement and engagement helps those words solidify in the student’s mind. Find it here: https://amzn.to/3Ow5q2w
We hope your family enjoys these as much as we do! Let us know if you try one, which is your fav!
As much as I love having a facial, I also love doing it more than my budget and schedule allow. I have been honing my home facial routine and here are my current must haves:
If you google facial steps, there are many! I have found that I can use this set of steps once a week with great success. My 45 year old skin is healthier, less broken out and more moisturized. I do some of these steps on a daily basis, but this whole routine just once a week.
Here we go:
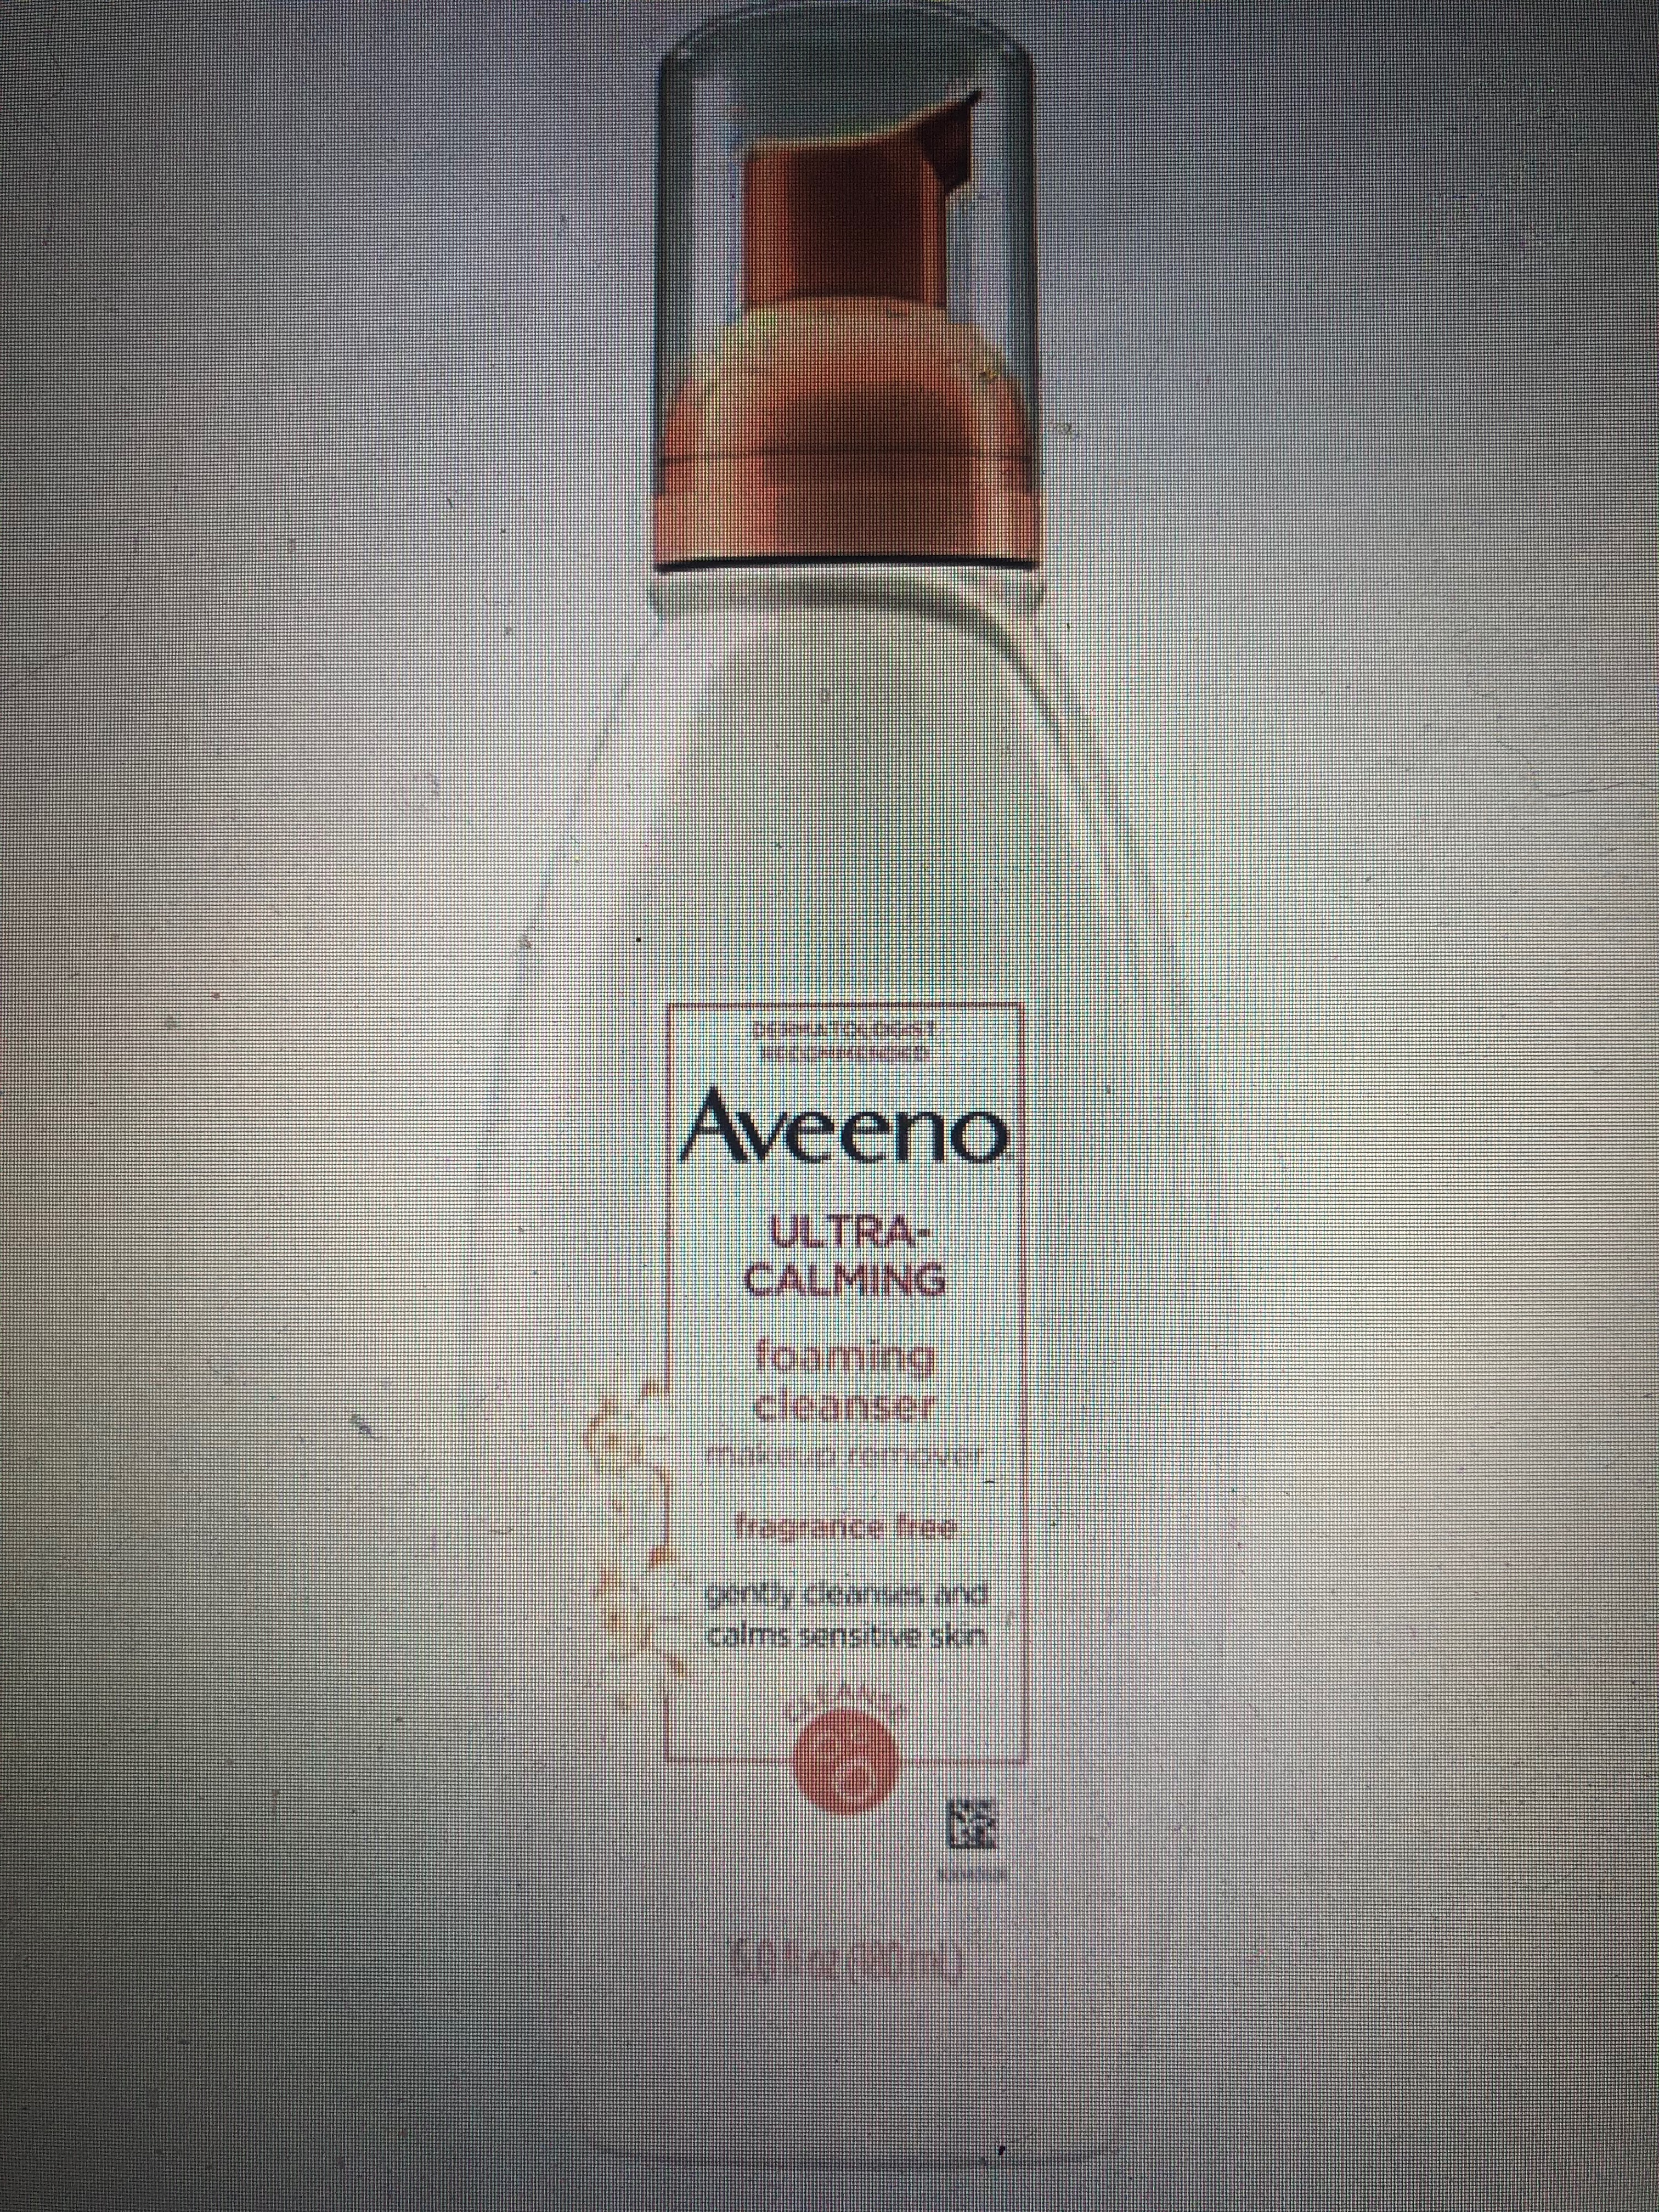
Step 1: Cleanse. It has taken me a lot of trial and error to find a cleansing method that works for me. My skin is sensitive and prone to dry patches and acne, so I have to be really gentle. This has been a lifesaver for me! https://amzn.to/3OMdYm7
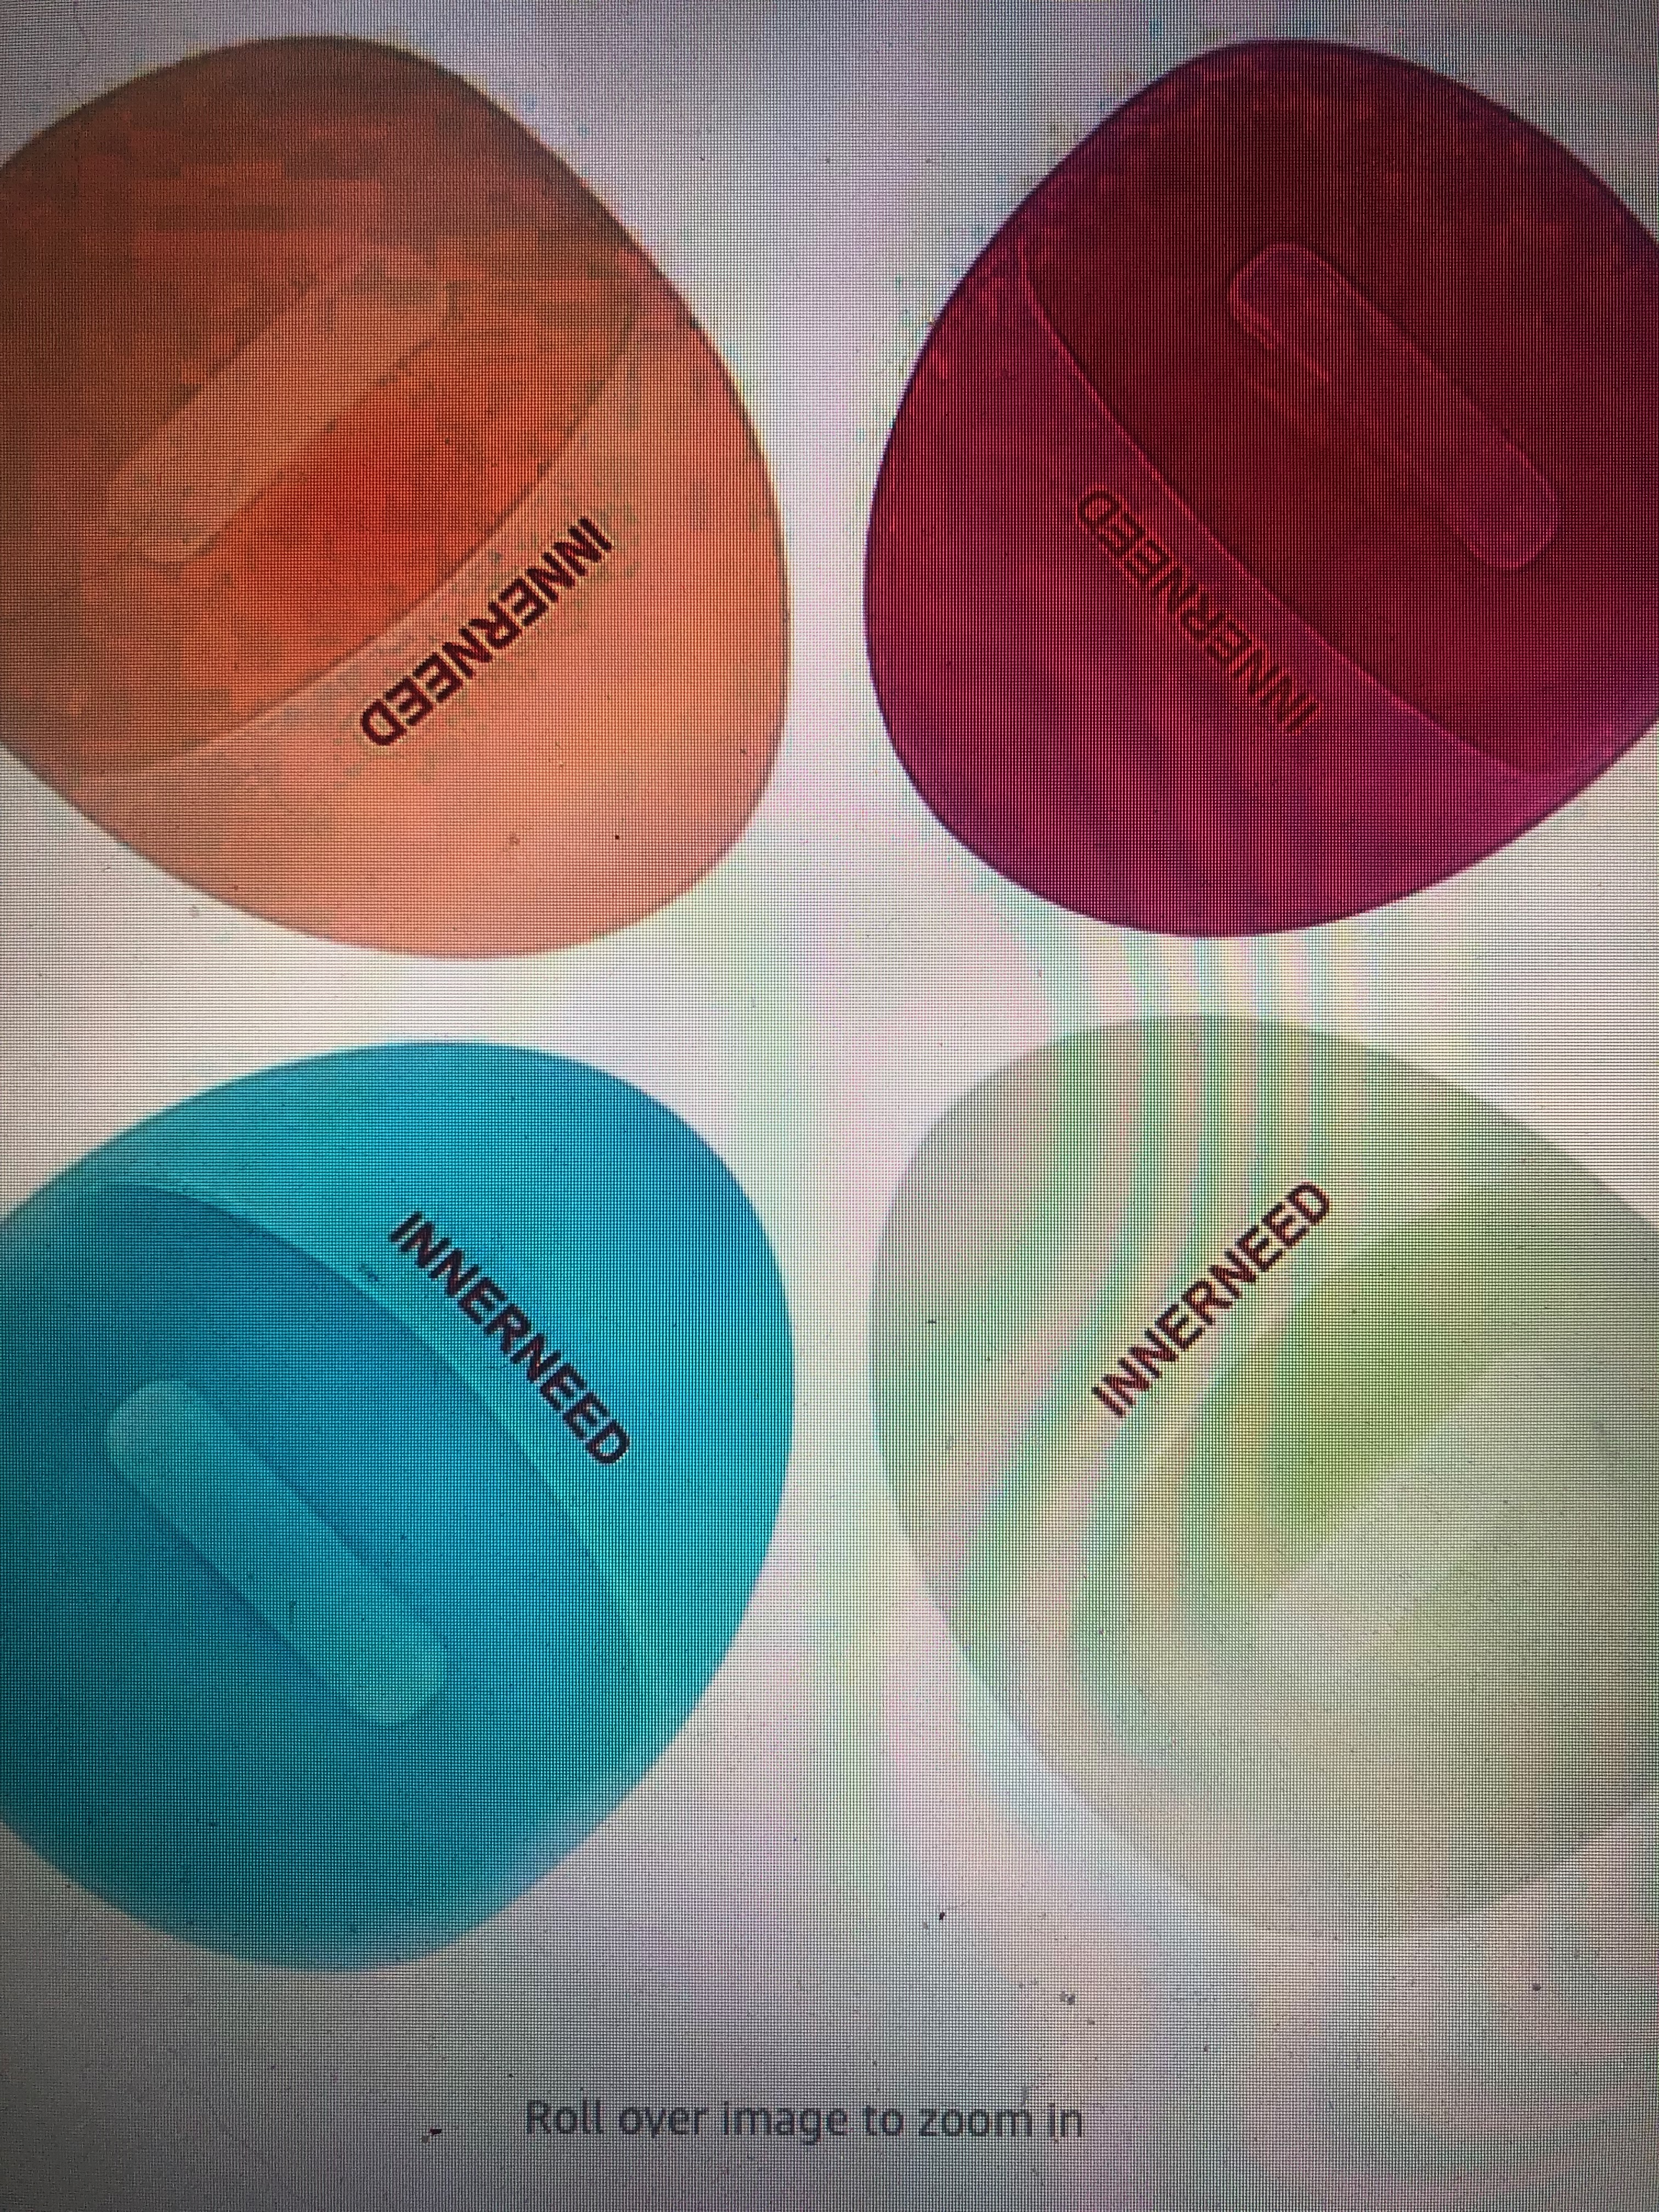
I put two pumps on this little round sponge and it massages my skin while it cleanses. If you haven’t tried these little sponges, they would work with any cleanser and feel SO good! There is something about the little nubs that really does make it feel like a massage. They come as a 4 pack so plenty to share with your housemates or even give to your friend to try. https://amzn.to/3n2twpZ
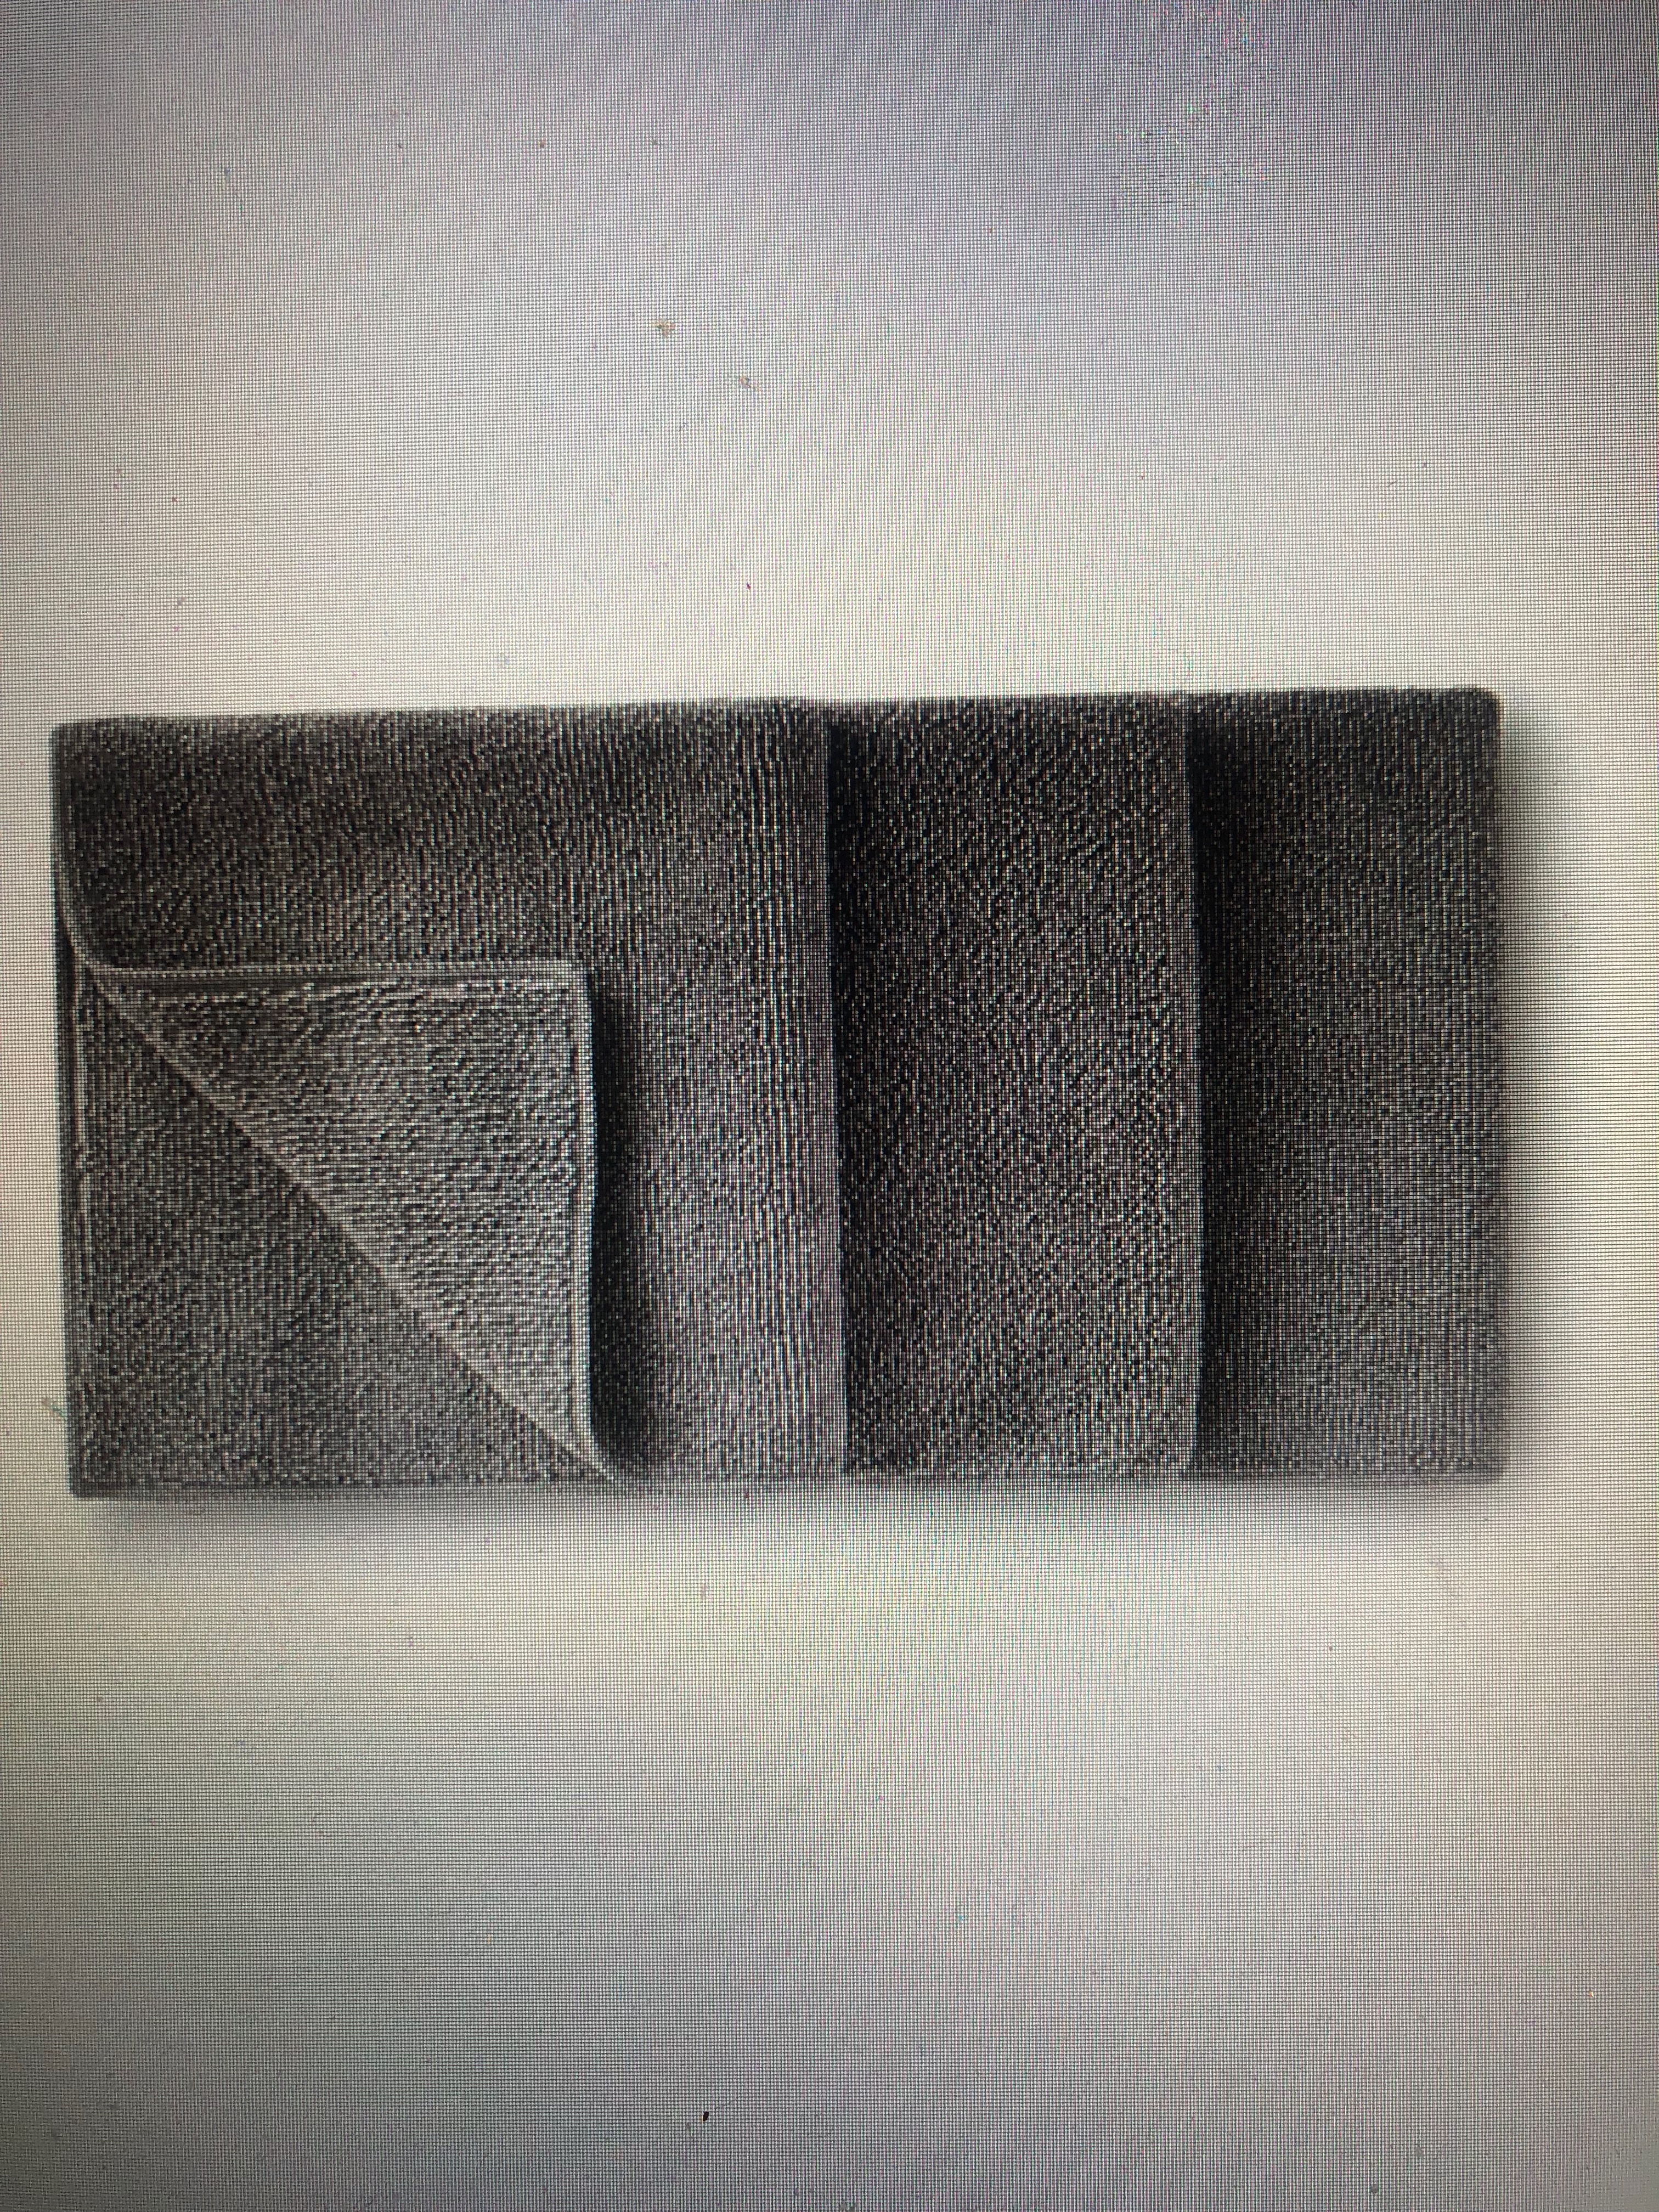
After a little massage, I use my Norwex body cloth to help me remove any leftover eye make up. I love my mascara, but it does tend to stick around after my initial face wash. This cloth is so soft and easily removes the mascara without adding anything to it but water. They come as a three pack and you can find them here: robinday.norwex.biz
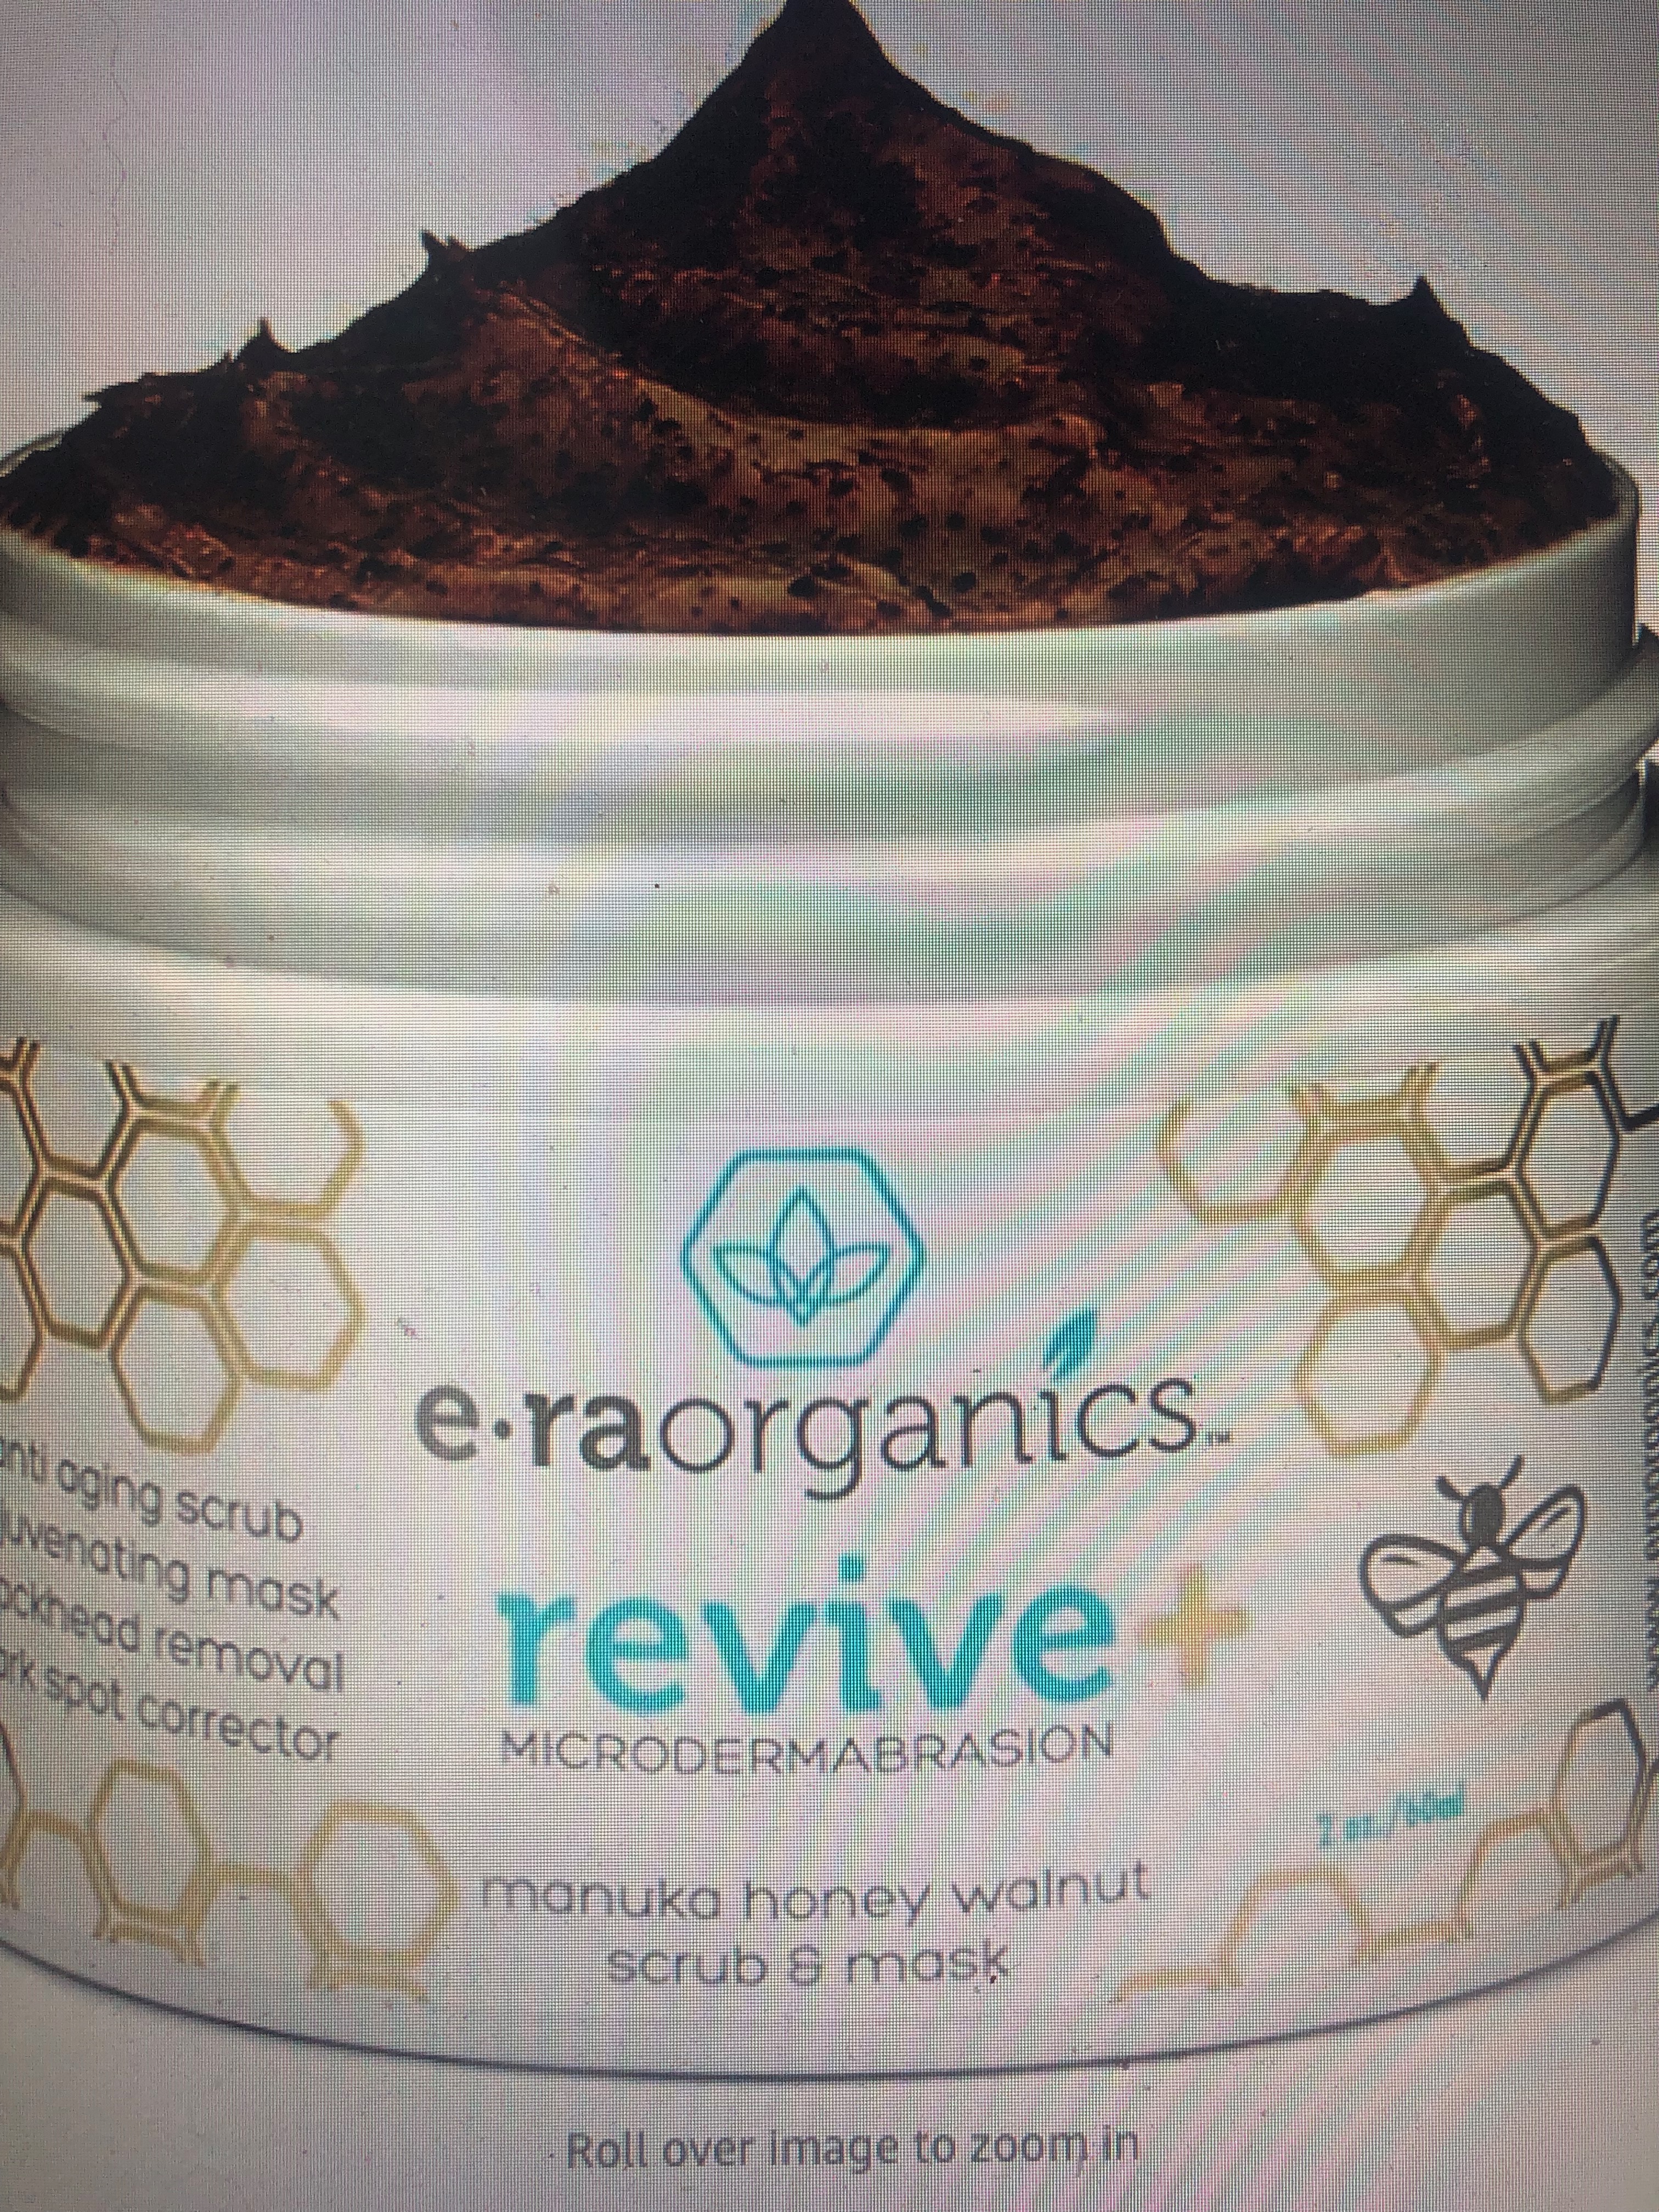
Step 2: Exfoliate. Again, it has taken me awhile to find the right exfoliator for my skin. Something not too harsh but that will do the job. I have enjoyed this one a lot. I just make sure my face is still very wet and then scrub away! https://amzn.to/3bafyPX
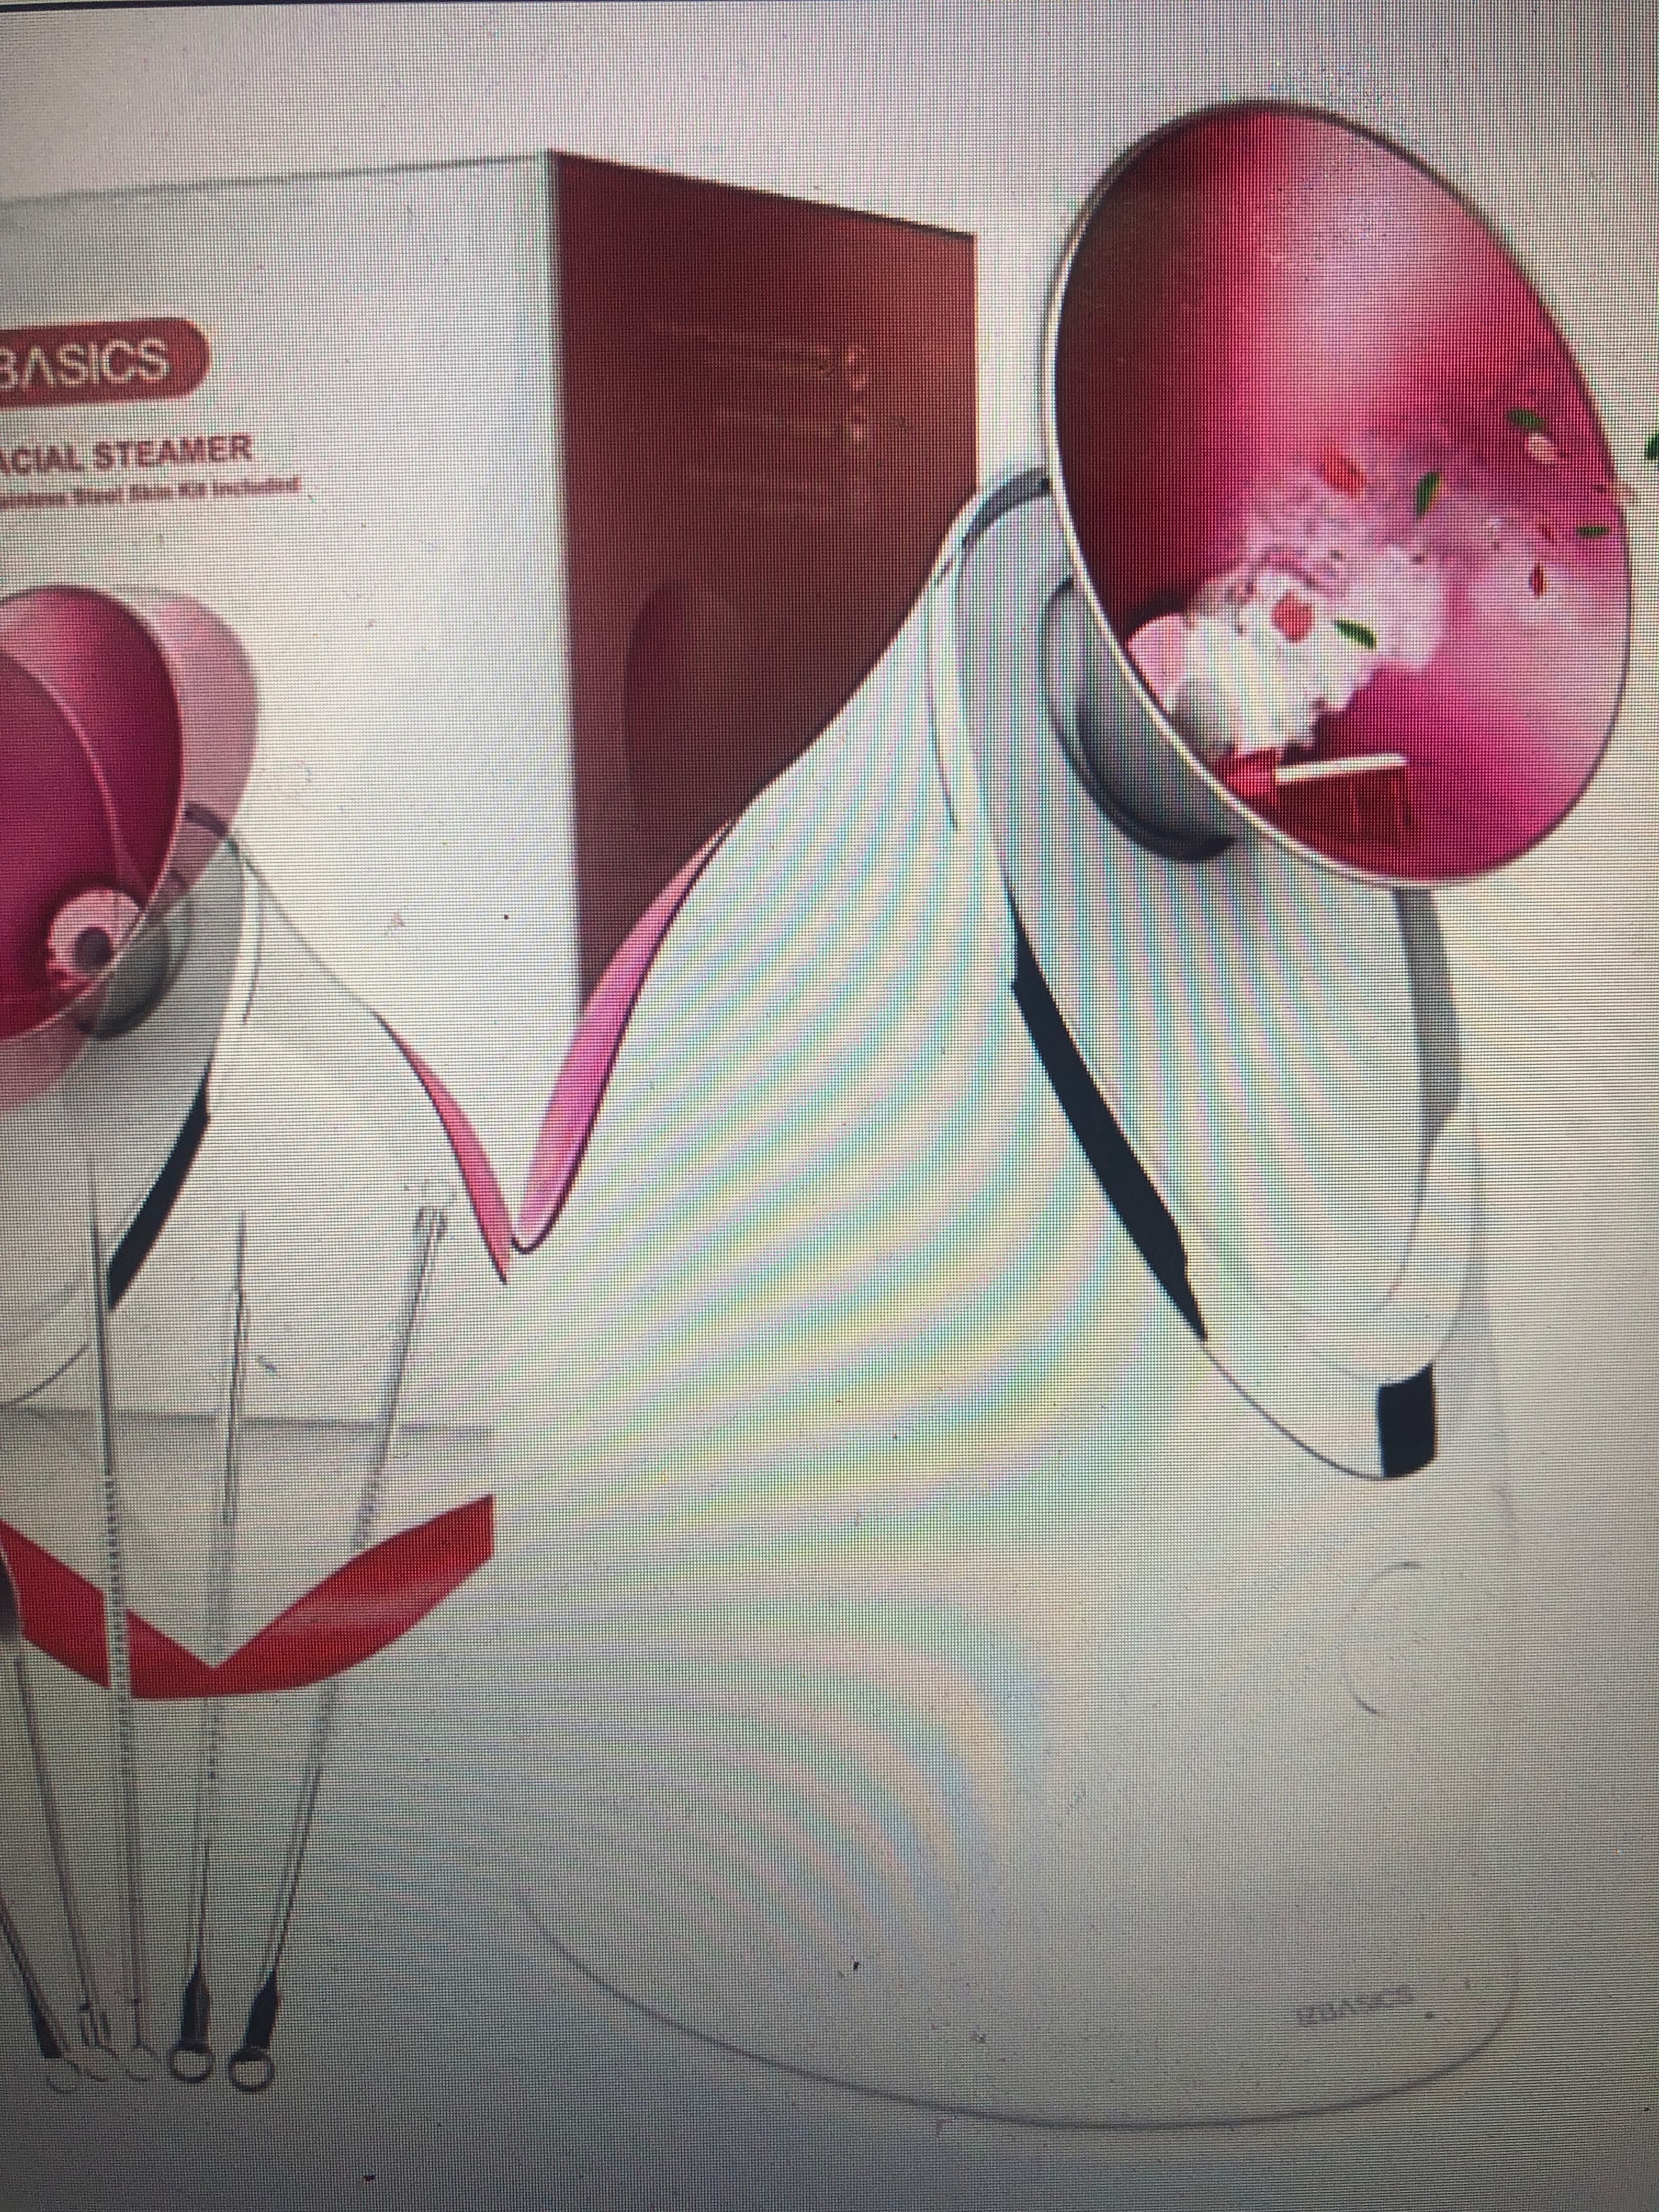
Step 3: Steam. I’ve already talked about my wonderful steamer in other posts, but it truly is awesome! It is the best 10 minutes of my week. Simply add distilled water and voila… let the magic happen. The steam opens up your pores and will make you sweat out some toxins. Gross I know, but important for your skin’s health. Here’s the steamer I like: https://amzn.to/3xJQ6s5
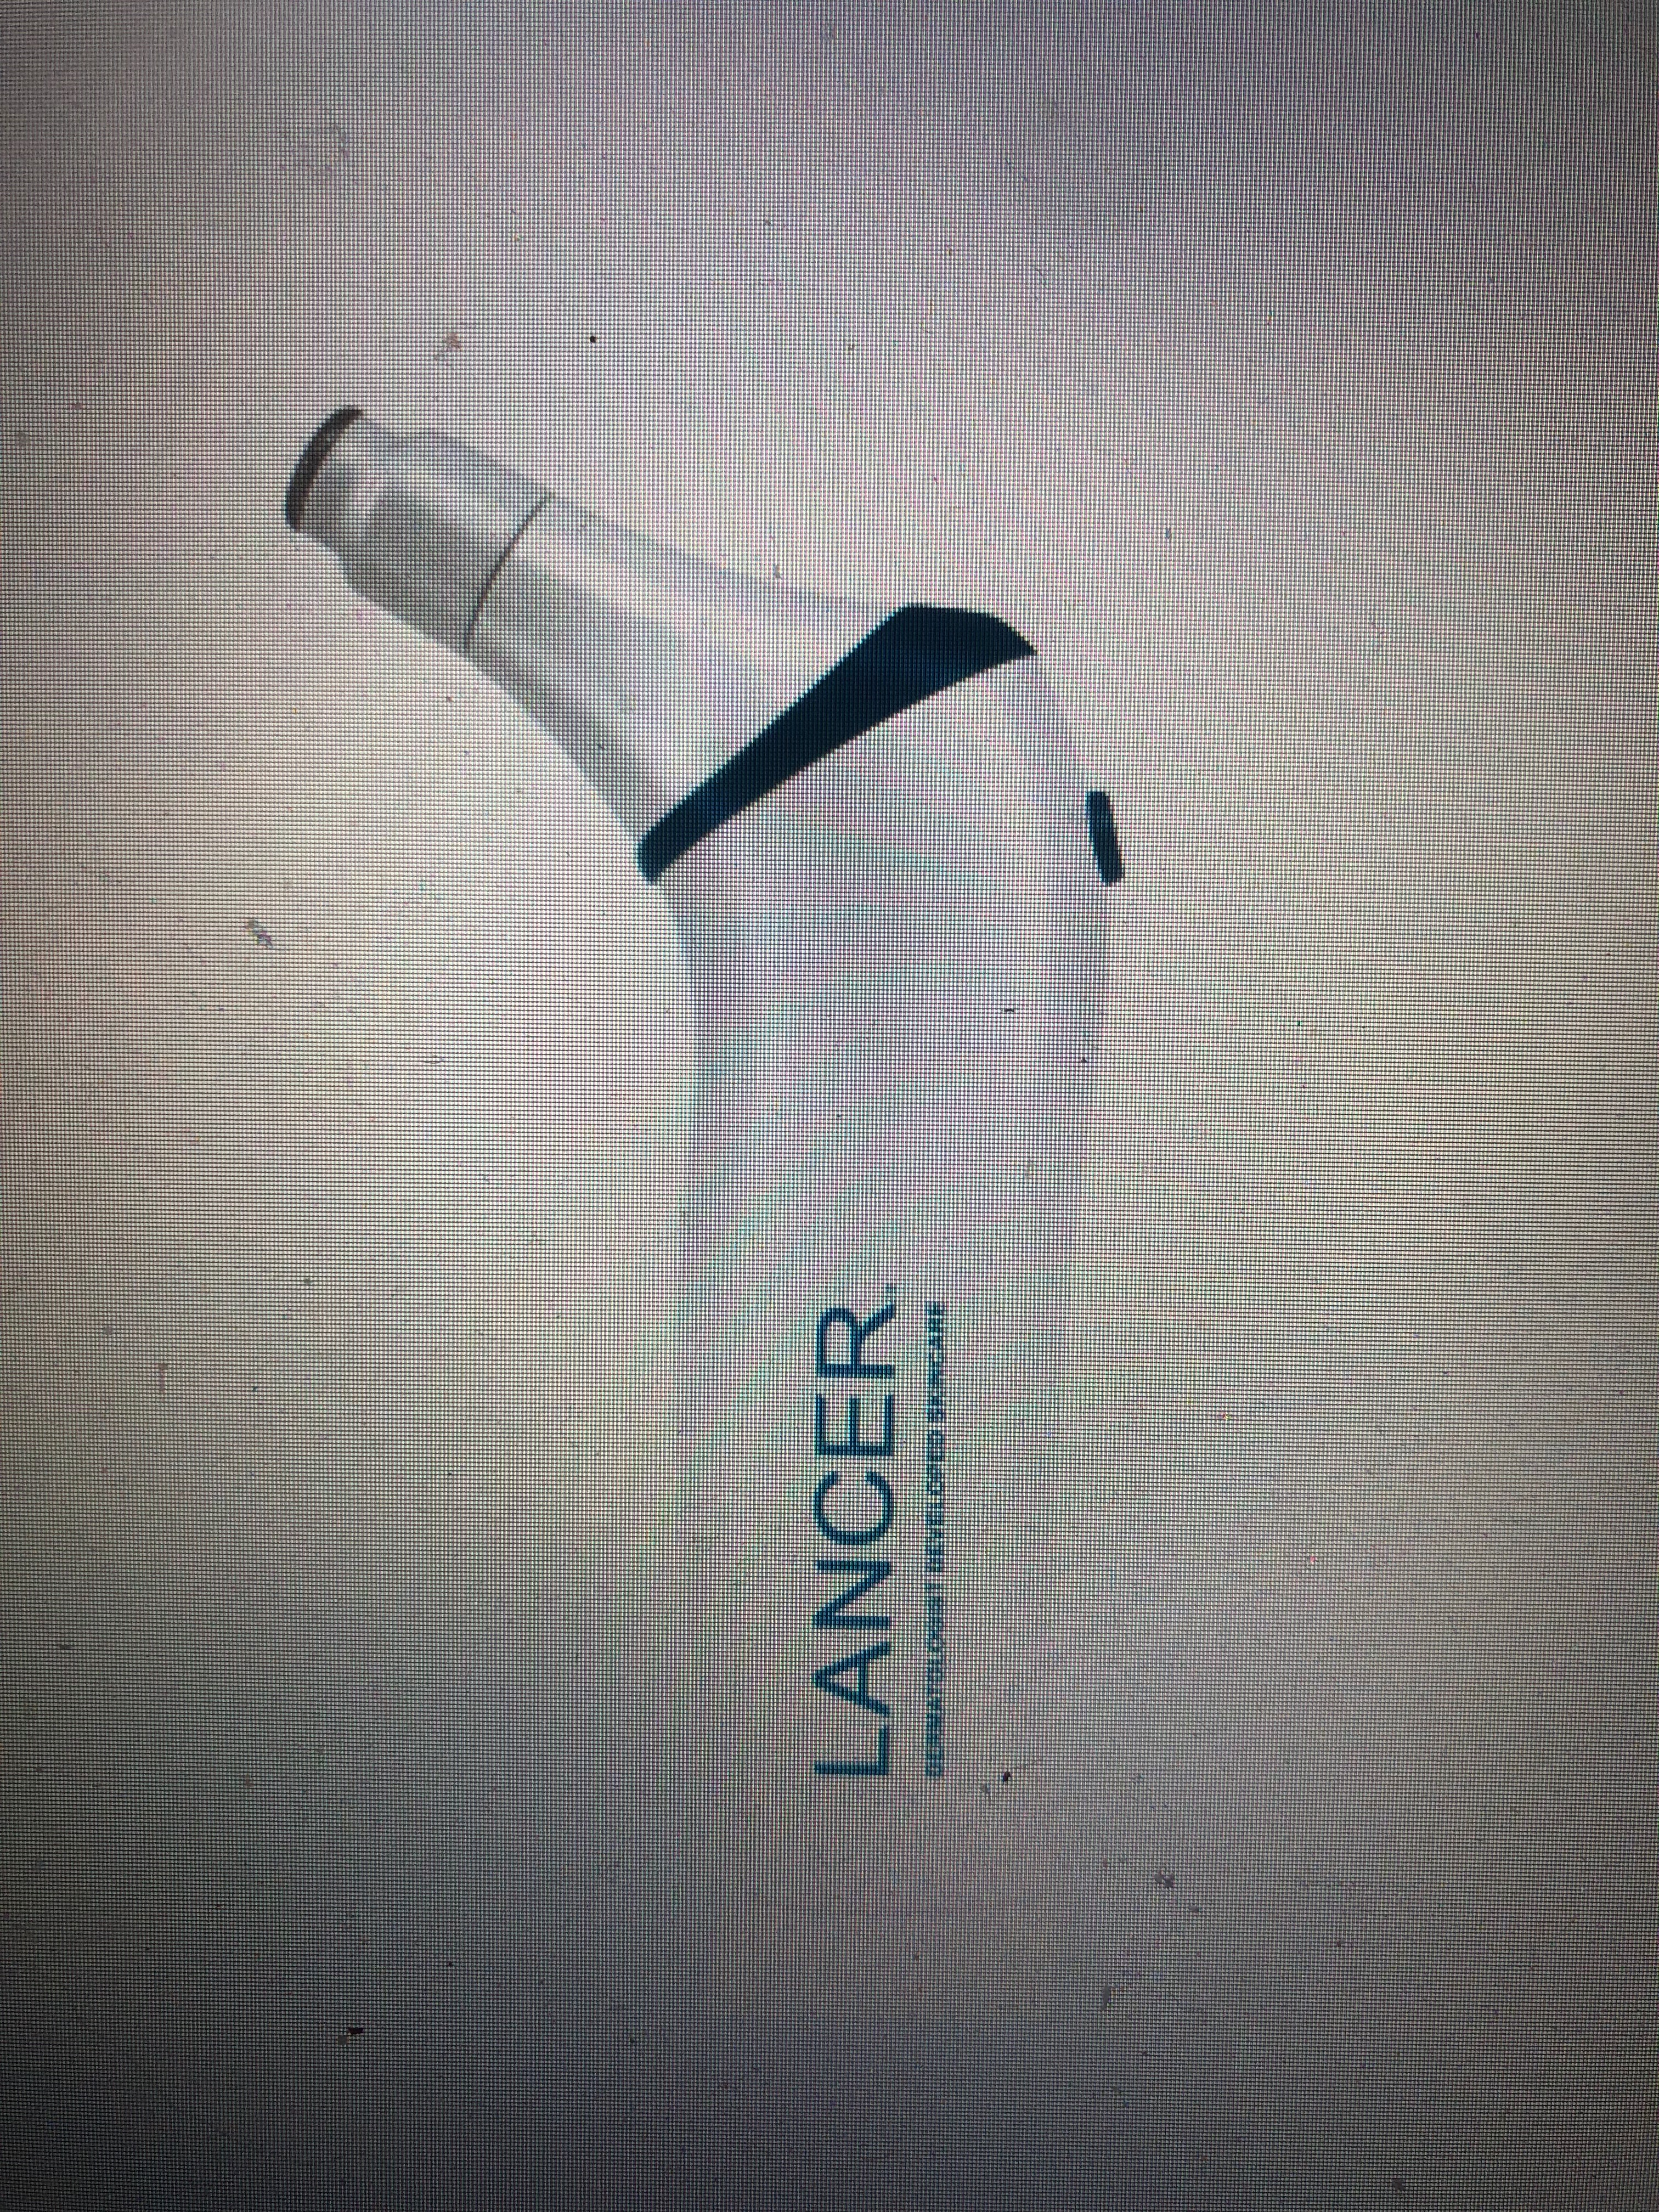
Step 4: Pore sucking. Ok, it’s actually called Microderm abrasion but pore sucking is pretty accurate. I use the Lancer Microderm machine. This is by far the most expensive item on my list and I researched it for a few months before I ordered one. It is like a little vacuum that you use to unclog your pores. It has been helpful for me to use once my pores are steamy and open, this goes across the surface of your skin and removes the excess gunk from your pores. After your are done, you can take the little collector off and see the gunk that’s been removed. It’s oddly satisfying. Watch for sales because you can very often find a 10-15% off sale at Lancer. https://www.lancerskincare.com/pro-polish-microdermabrasion-device
Step 5: Mask. To be honest, I am hit and miss on this step. I have yet to land on a mask I love that doesn’t cause major breakouts on my face. This is supposed to be where the mask step is if you have a mask you use and love..insert here!
Step 6: Tone. We are getting near the end at this point! It’s now time to tone your freshly beautified skin. I have tried oodles of toners in the past and have landed on this one. If you want that spa smell at home, this is heaven in a bottle! Just simply mist and you’re all set. https://oakessentials.com/products/balancing-mist
Step 7: Moisturize. We are finally at the end and you get to put on all the good stuff that your skin will soak up and love you for. You can use any of your night time serums/moisturizers at this point. I do two final moisturizing steps to complete my weekly facial routine. First, I use the needless serum. It is so moisturizing and just feels so good on my skin. https://www.drmtlgy.com/products/needle-less-serum
Finally, I have been using argan oil as my final moisturizer. Pure and chemical free works for me! https://amzn.to/3tN8780
I have not always taken good care of my skin and am now on a mission to make it as healthy as possible. I am not an esthetician and still recommend professional facials when you get them, but I have tried so many different things through the years and am pretty happy with this current regimen for my combination skin. Maybe there’s something here that will work for you too!
Some of the links above are affiliate links which means I may get a small commission at no extra cost to you.